Active Directory File Share Setup
Setting up a simple file share in an Active Directory environment.
Note
This exercise assumes you have completed the initial Active Directory setup.
You must have a functioning Domain Controller and at least 1 Windows client joined to the domain.
The Domain Controller and Windows client should be able to communicate with each other (you can test this with pings)
Objective
We will configure a role-based file share in Active Directory to practice access control, NTFS permissions, and group-based authorization. The goal is to simulate how corporate environments manage departmental file access and enforce least privilege.
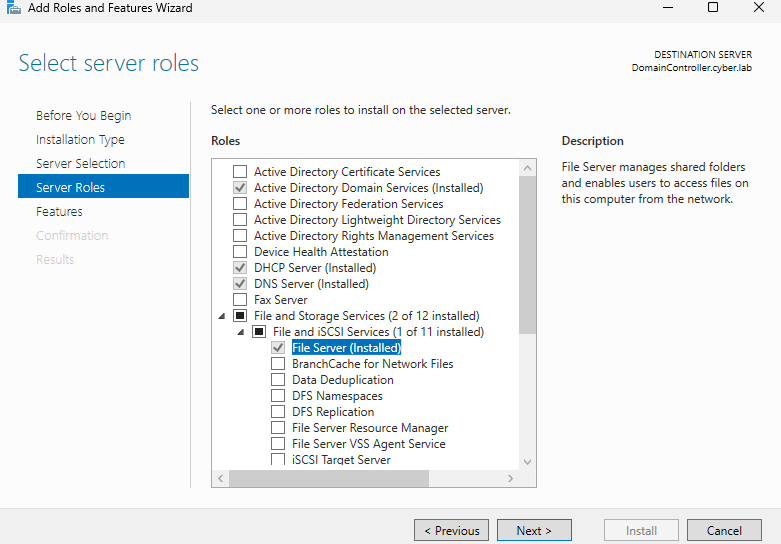
Install File Services
On the DC VM, head to the Server Manager Dashboard
Click Manage > Add Roles and Features
Click on next until you get to Server Roles
The File Server should be installed by default, if not, go through the installation wizard
Creating the Share
Our DC VM will act as the file server
On the C:\ of the DC, create a folder called Shares
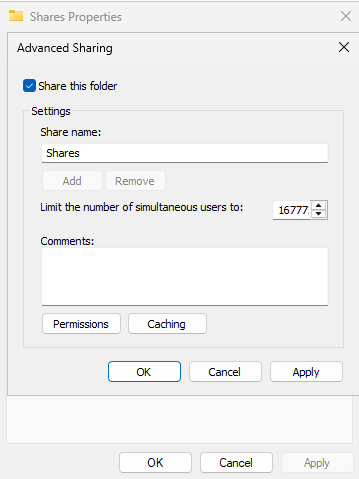
Right click on the new folder and head to Properties > Sharing > Advanced Sharing
Make sure Share this folder is checked
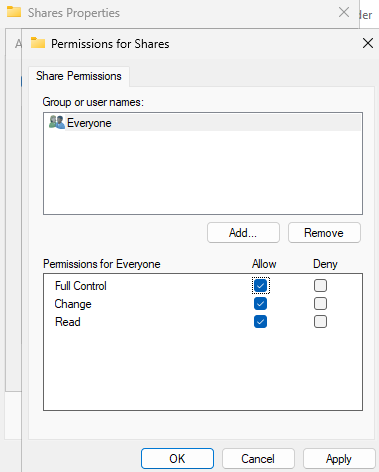
Click on Permissions belkow comments
Allow full control , change, and read permissions for everyone
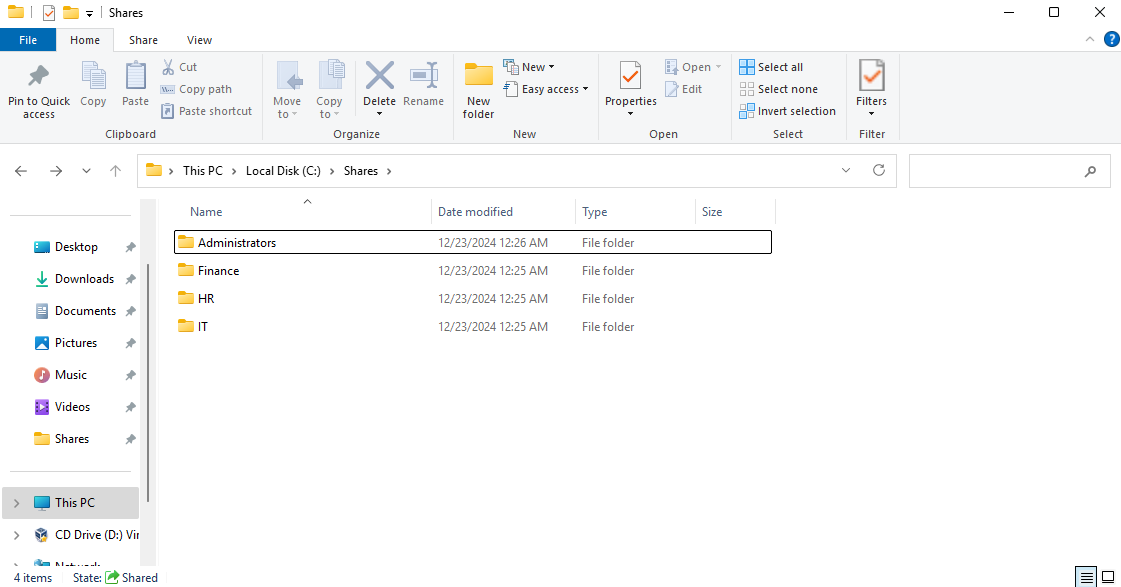
Within the Shares folder, create some additional folders
I created Administrators, Finance, HR, and IT to simulate different roles in a corporate environment
Creating Security Groups
Now we will create security groups for these different roles so that they can access the appropriate shares (Administrators should get access to the Administrators share, IT should get access to the IT share, etc.)
Head to AD Users and Computers
Create a new OU for security groups (Action > New > Organizational Unit)
Under security groups, create another OU for shared folders
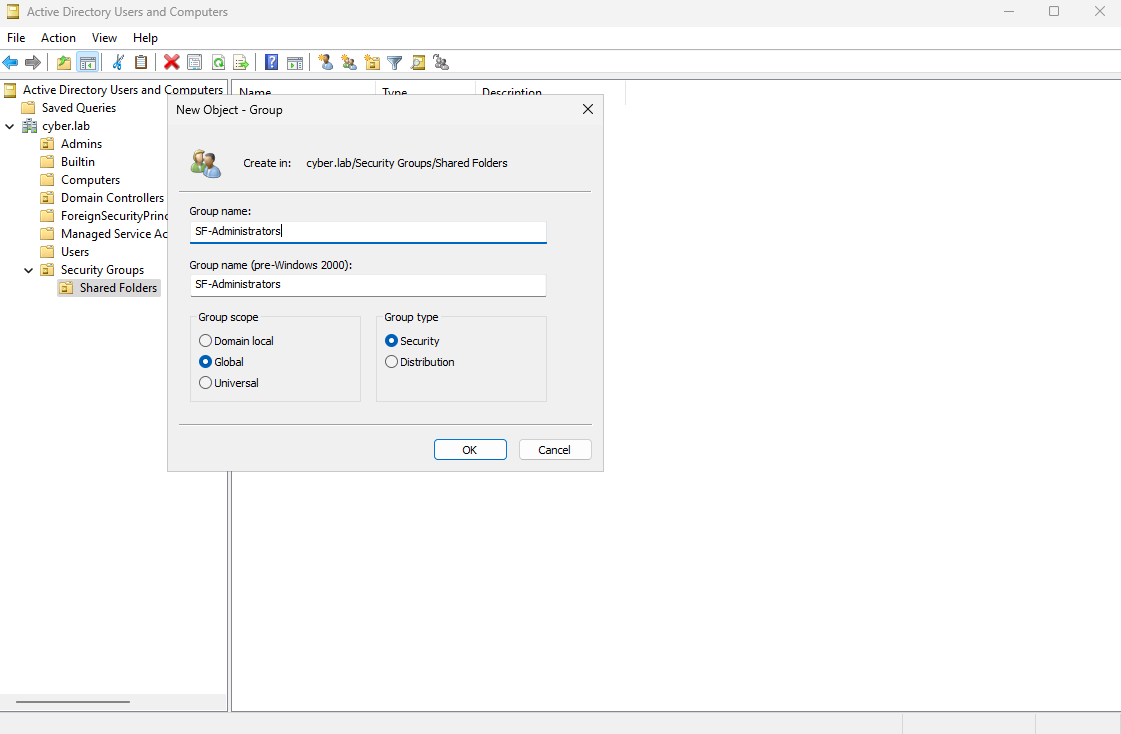
Right Click Shared Folders > New > Group
This group will be for the Admins
I named it SF-Administrators
Set the scope to global and the group type to security
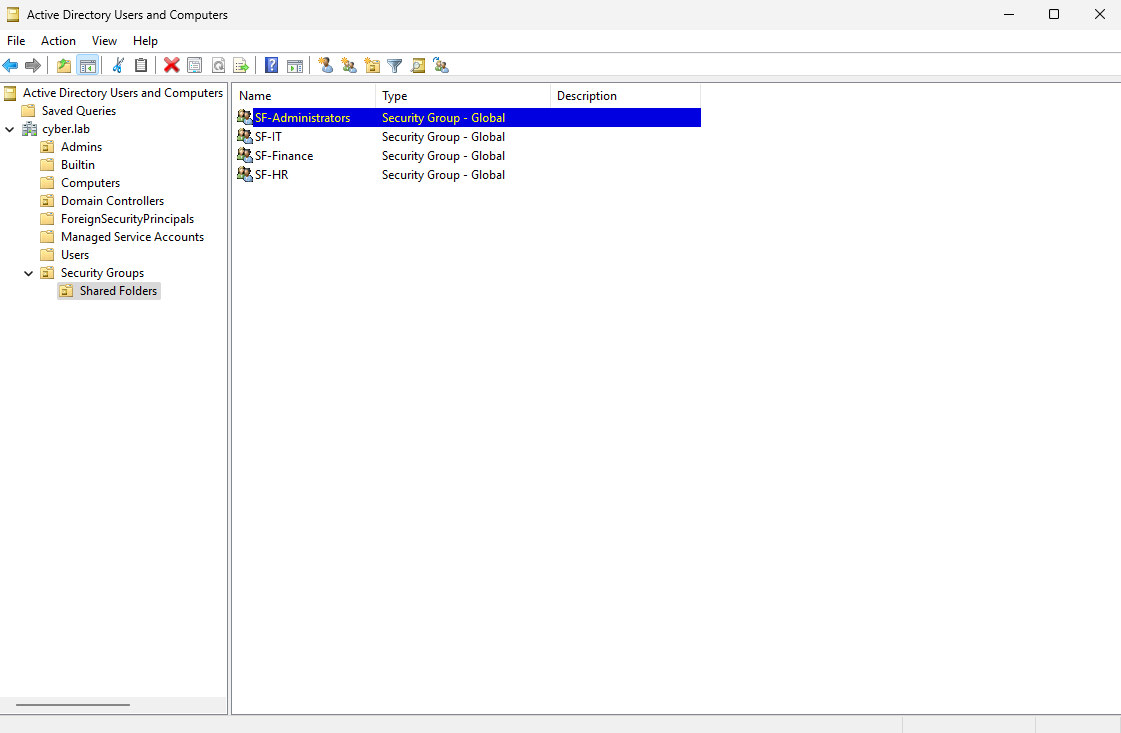
Follow the same process and create security groups for Finance, HR and IT, keeping the SF naming convention
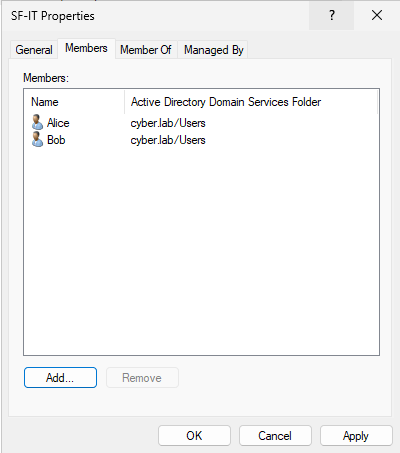
Once all the groups are created, right click on one of the groups and head to Properties > Members > Add
In this case, I am editing SF-Administrators
Enter the name of a valid AD user and click Check Names
You may also add the Administrator and Domain Admins as members
Click OK
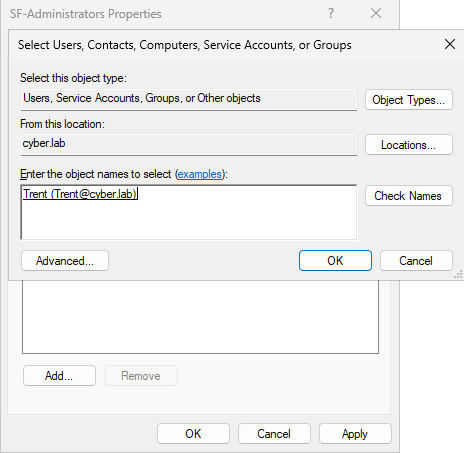
Apply
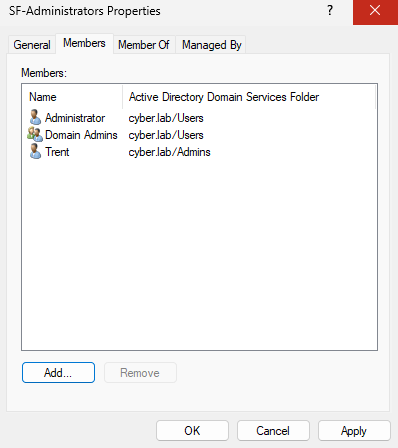
This is my setup:
Trent: Admin
Bob: IT and Finance
Alice: IT and HR
Right click the shares folder from the C drive and go to Properties > Security > Advanced
Next to Owner, click on Change
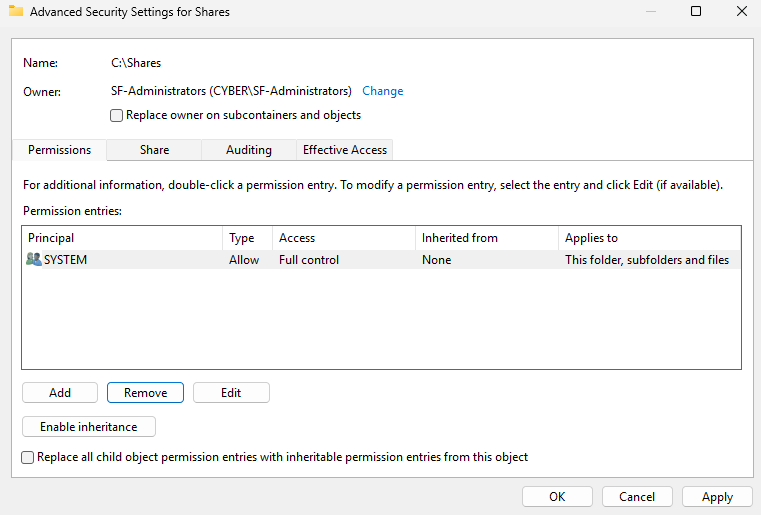
Set the object owner to SF-Administrators and click OK
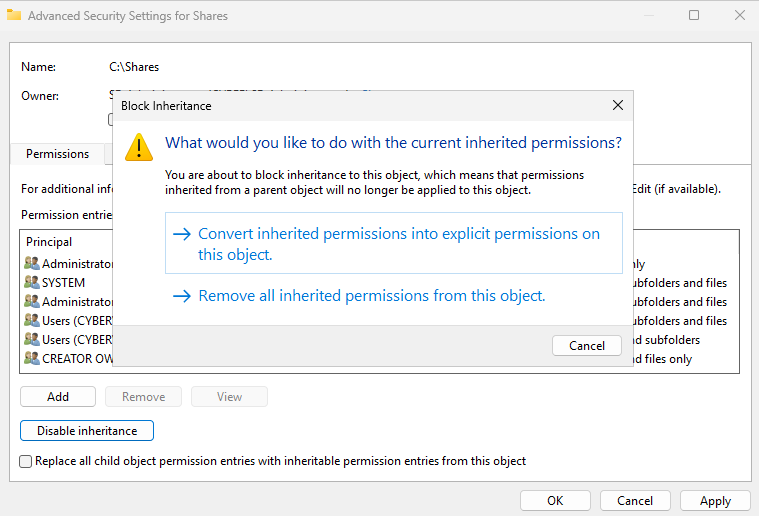
Click disable inheritance
Select convert inherited permissions into explicit permissions on this object
Make sure you are still on the permissions tab
Remove every principal except SYSTEM
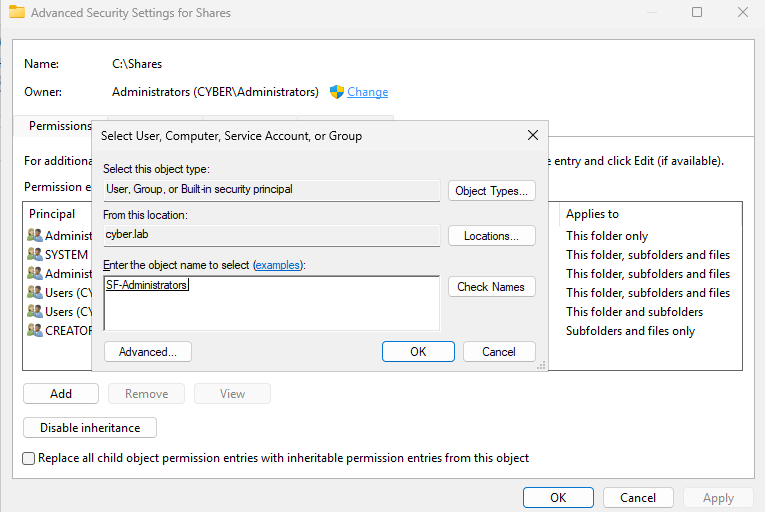
Then, Add new principles
Click Select a principle
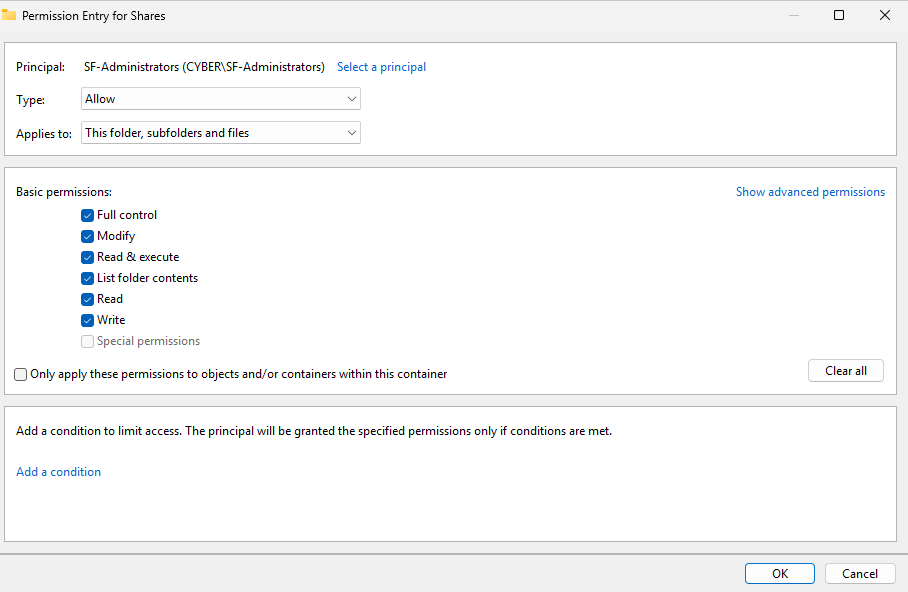
Add SF-Administrators, click Check Names and OK
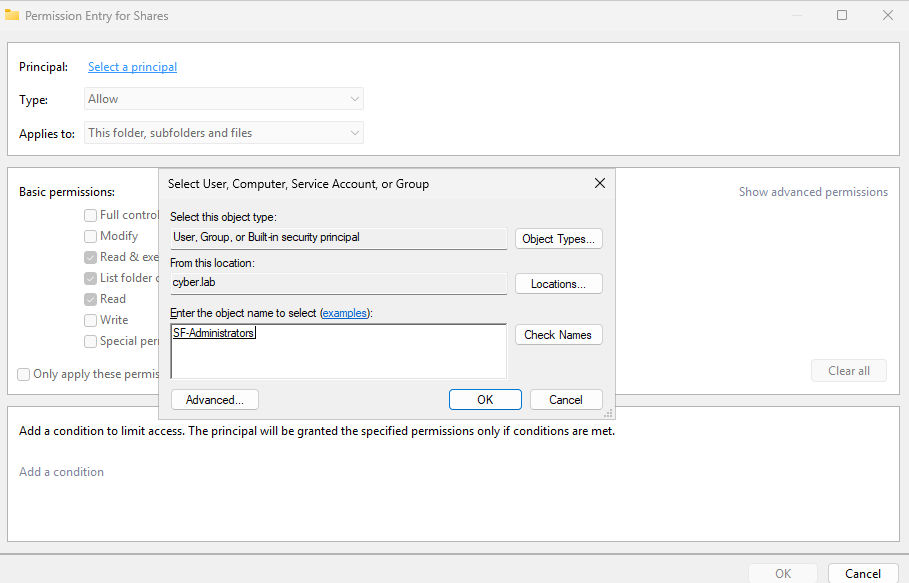
Under basic permissions, check Full control permissions and click OK
Add another principal
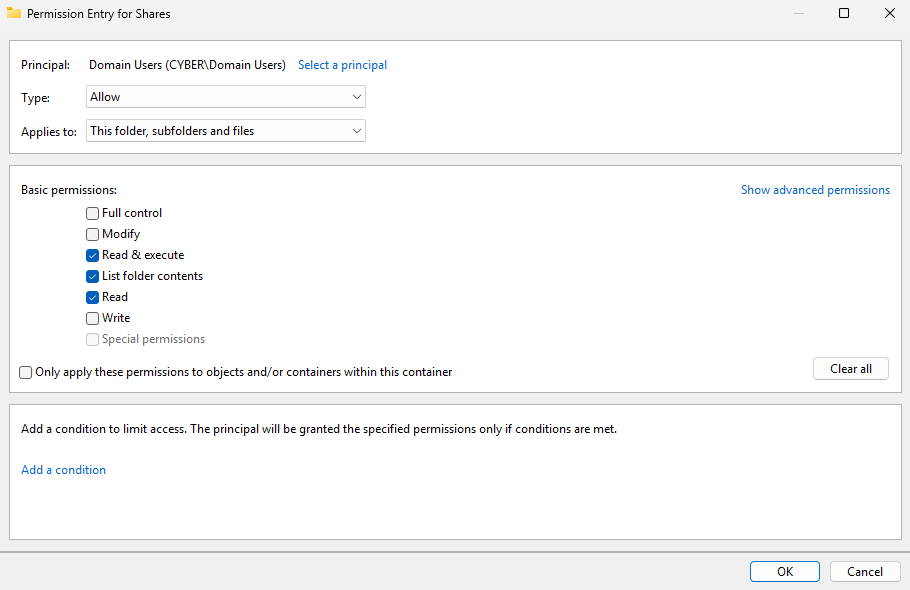
Click Select a principle and add Domain Users, click Check Names and OK
Under basic permissions, click Clear all and only select read & execute, list folder contents, and read
Click OK
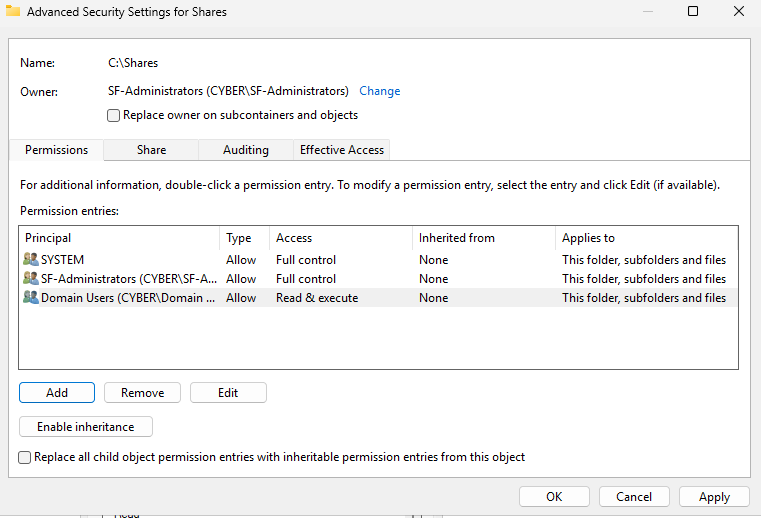
The permissions tab for the Shares folder should look like this
Head to C:\Shares\ (you should see the Admins, Finance, HR, and IT folders)
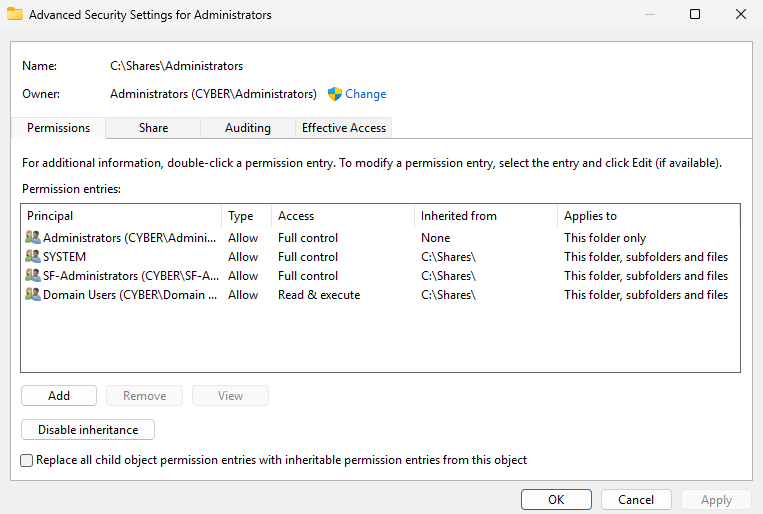
Right click the Administrators folder > Properties > Security > Advanced
Remove Domain Users from the list of principals and disable inheritance
Click OK
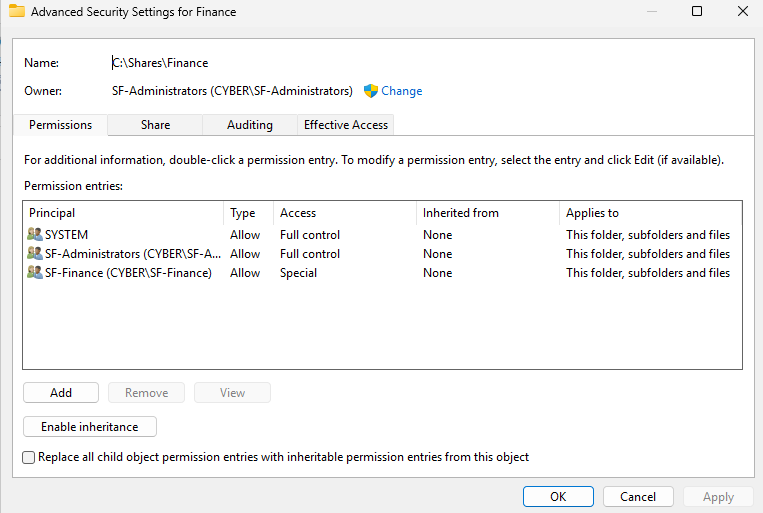
Right click the Finance folder > Properties > Security > Advanced
Change the folder owner to SF-Administrators
Make sure SYSTEM and SF-Administrators have full control permissions
Remove Domain Users if they are under the list of principals
Make sure inheritance is disabled (the Enable inheritance button should show)
Then click Add a principal

Click select a principal and add SF-Finance
Click Show advanced permission on the right hand side to display the advanced permissions options
Click on full control, then uncheck the following permissions: Delete, Change permissions, Take ownership
These permissions make sure that members of the Finance security group can create, delete, and modify files within the Finance share, but not delete the Finance share itself
Click OK
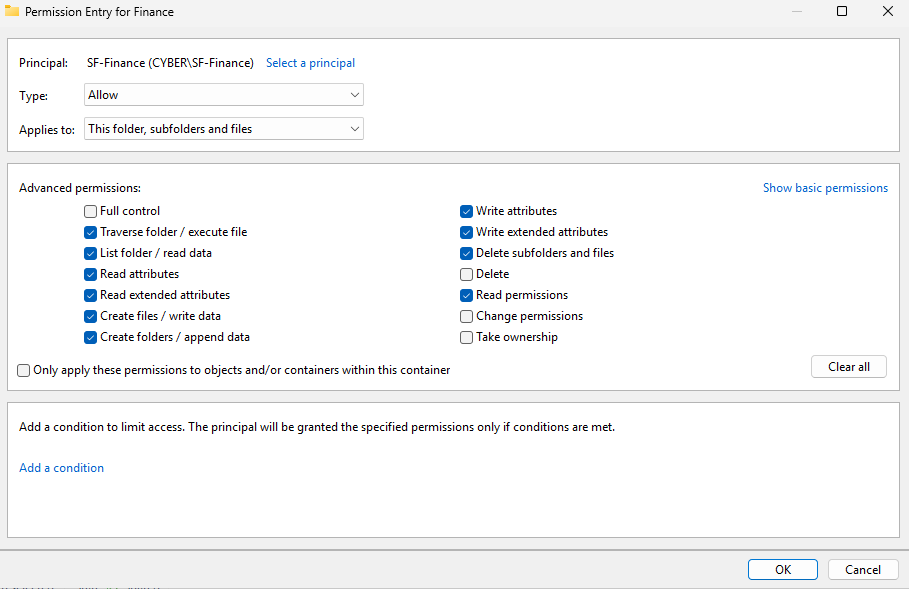
The permissions tab for the Finance share should look like this
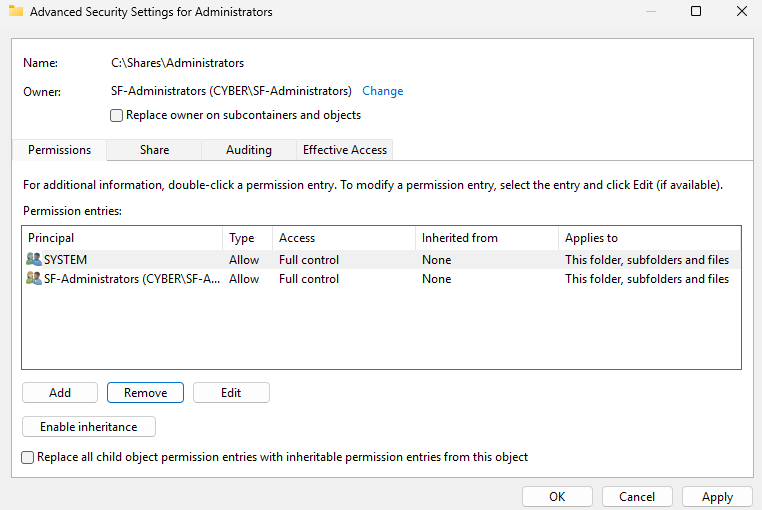
Follow same process for the rest of the shares. Each share should have SYSTEM and SF-Administrators as the principal with full control permissions, and the respective security group with special permissions.
This is what the Administrators share looks like
Nobody should be able to view the contents of the Administrators share except members of SF-Administrators
Deploying the File Share via GPO
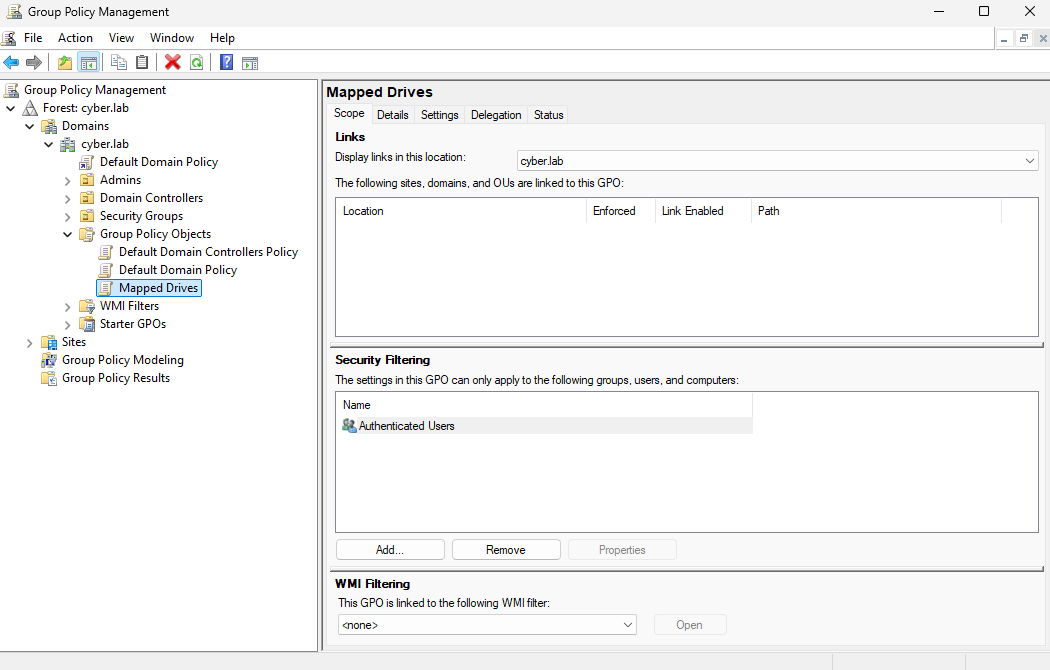
Head to Group Policy Management on the DC VM
Go to Forest > Domains > Domain Name > Group Policy Objects
Right click Group Policy Objects > New
Name the GPO Mapped Drives and double click the new GPO from the left side bar
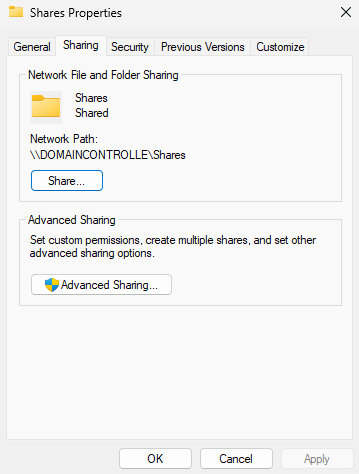
Right click the Shares folder on File Explorer and head to Properties > Sharing
Remember the NetBIOS issue I mentioned during the initial setup? The listed Network Path (\\DOMAINCONTROLLE\Shares) is incorrect because the NetBIOS name of the DC is technically different from the hostname.
The hostname of the DC is DomainController
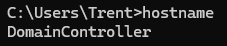
However, the Network Path is listed as \\DOMAINCONTROLLE\Shares because the NetBIOS name of this machine is DOMAINCONTROLLE
AD clients will refer to the DC with its hostname, not the NetBIOS name.
The correct network path is \\DomainController\Shares in my situation
Again, DomainController is a bad computer name because of the length and case sensitivity of the NetBIOS naming convention
On Group Policy Management, right click the Mapped Drives GPO and click Edit
Head to User Configuration > Preferences > Windows Settings
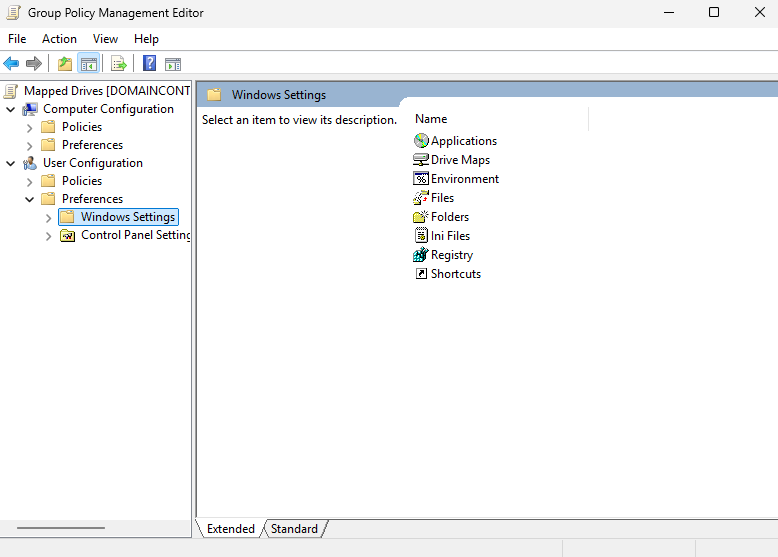
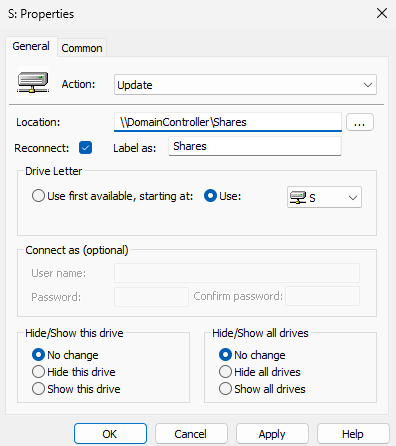
Right click Drive Maps, New > Mapped Drive
Enter the proper Network Path of the share into the Location box
Check Reconnect
Label as Shares
I used the S drive letter
Leave no change for hide/show this drive and hide/show all drives
Click Apply and OK
Drag the Mapped Drives GPO to the Domain
Click OK to link the GPO to the Domain
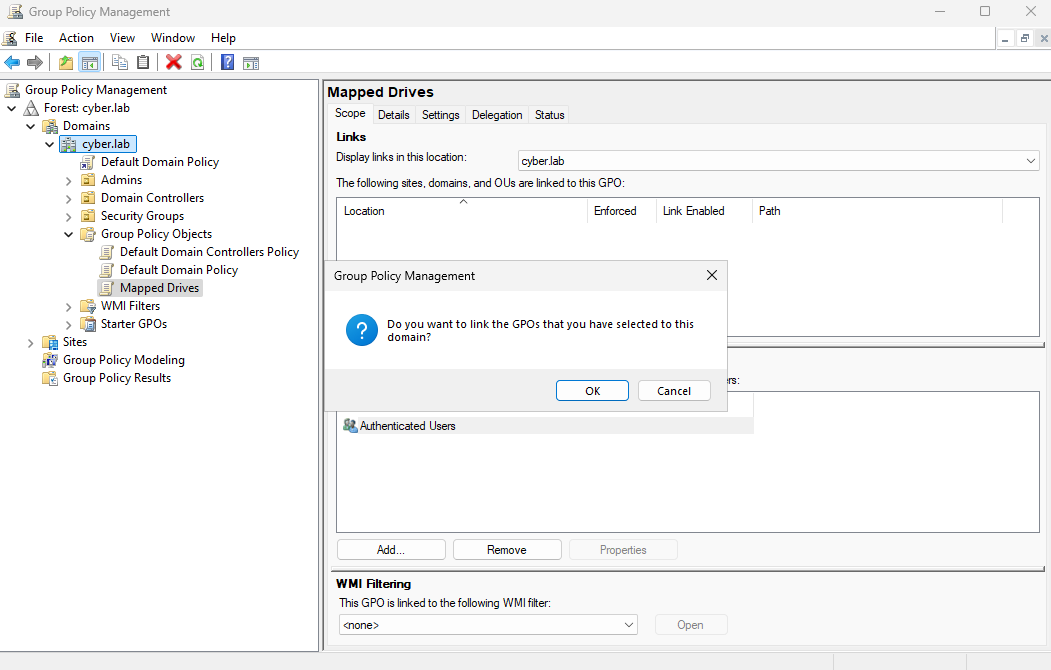
On Mapped Drives, under links, the domain should appear under location with link eneabled

Testing
Log into one of the client VMs (Bob or Alice)
Make sure network discovery is turned on
To turn enable network discovery, open Control Panel, head to Network and Sharing Center > Advanced sharing settings, and then in the Network discovery section, select Turn on network discovery and save the changes
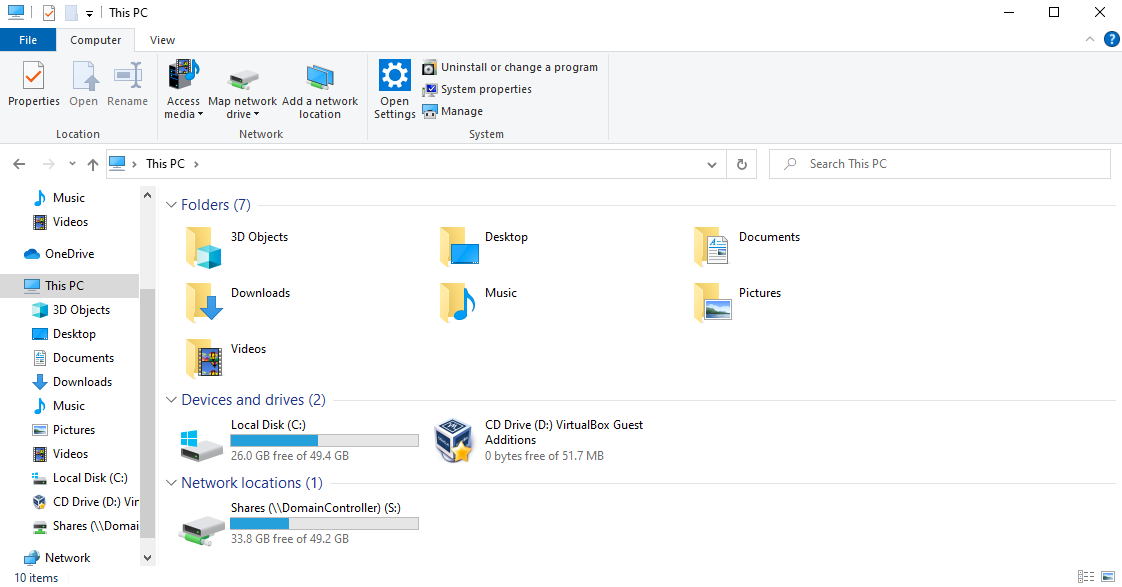
We should see the share (\\DomainController or S:)
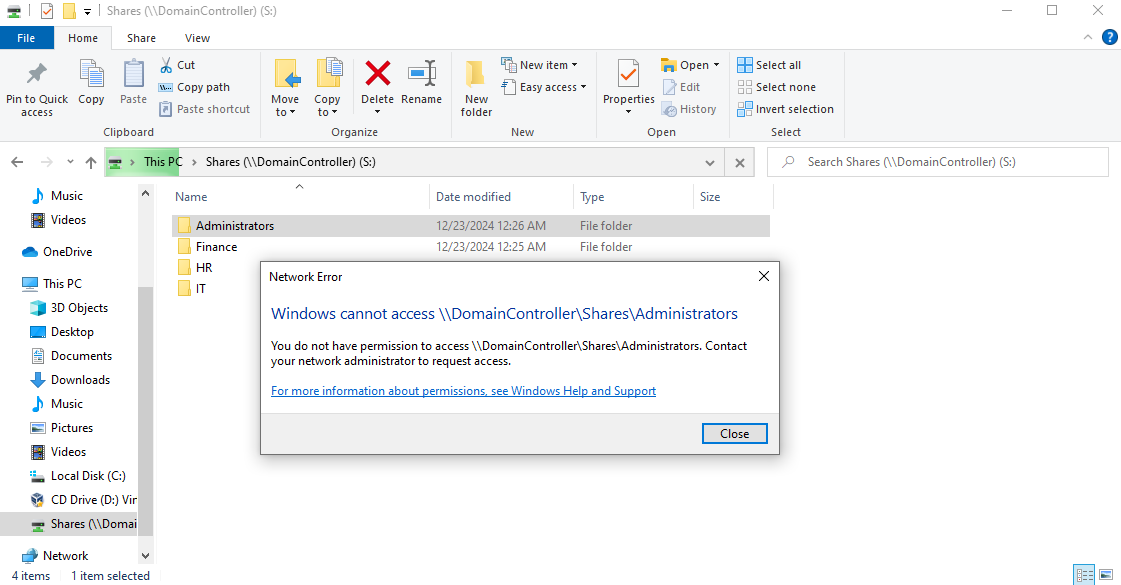
Notice that we can’t access the Administrators share as Bob or Alice since they are not in the Administrators group
As Bob, I am able to access the IT share and create a new file
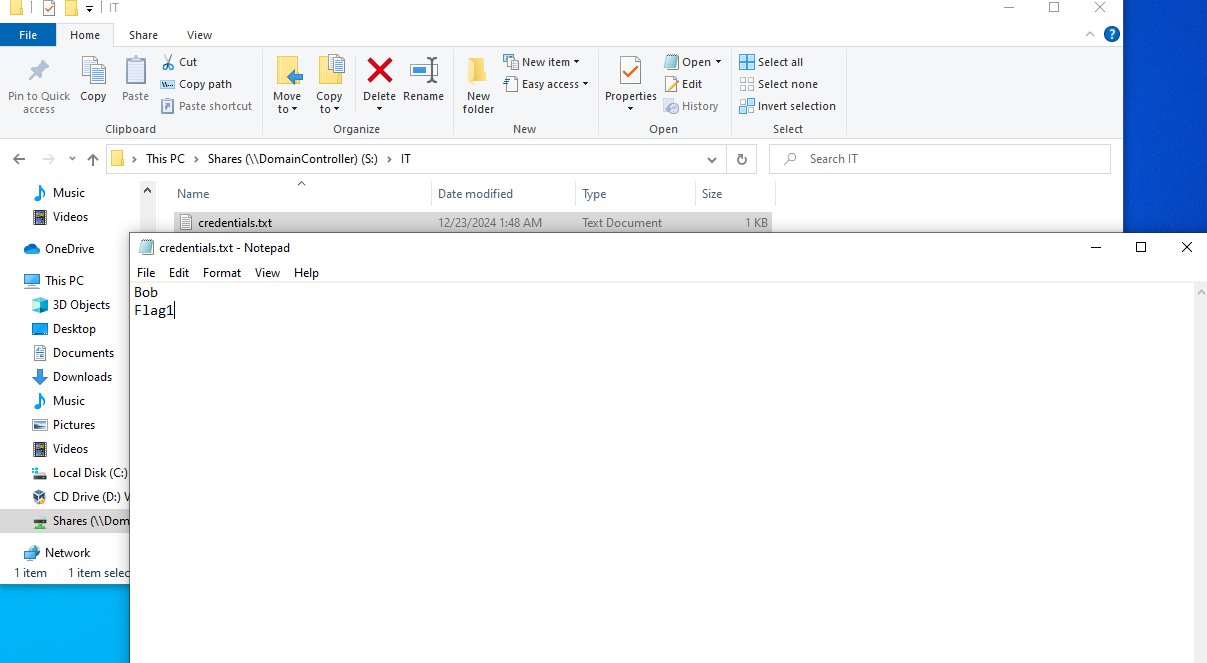
We now have a functioning file share with proper security groups
Challenges & Troubleshooting
- Incorrect NTFS vs. Share Permission Alignment
- Initially granted access through share permissions but forgot to configure NTFS permissions, resulting in users being able to see the share but not open folders.
- Misconfigured Inheritance
- Folder inheritance caused unintended access for lower-privileged groups and required manually breaking inheritance and configuring explicit permissions.
Learning Outcomes
Gained hands-on experience designing and implementing least-privilege access models.
Learned how AD groups interact with NTFS and share permissions to enforce access control.
Practiced real-world troubleshooting of access issues from the user perspective.