Kali Linux VM Setup
Setting Up a Kali Linux VM (ISO).
ISO Download & VM Setup
Get the Kali Linux ISO from: https://www.kali.org/get-kali/#kali-installer-images
Select Installer
From VirtualBox, click on Machine > New like usual
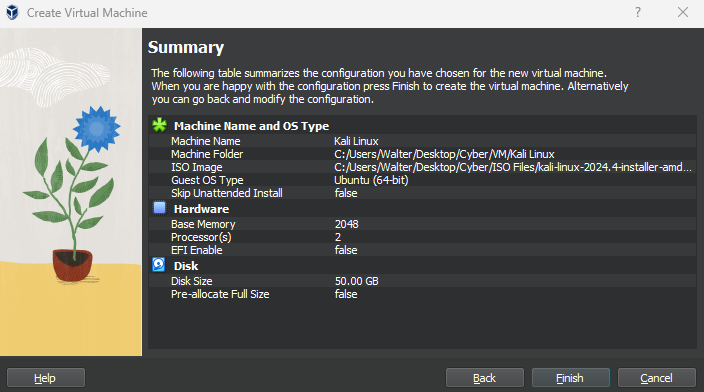
I gave this VM 2GB RAM, 2 CPUs, and 50GB storage
Set Adapter 1 to cyberlab-admins.
Keep in mind that this network (10.10.3.0) has DHCP enabled.

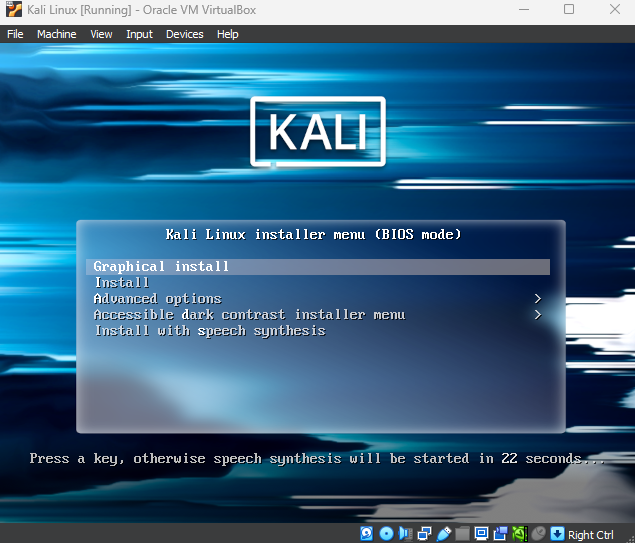
Launch the VM
Select graphical install
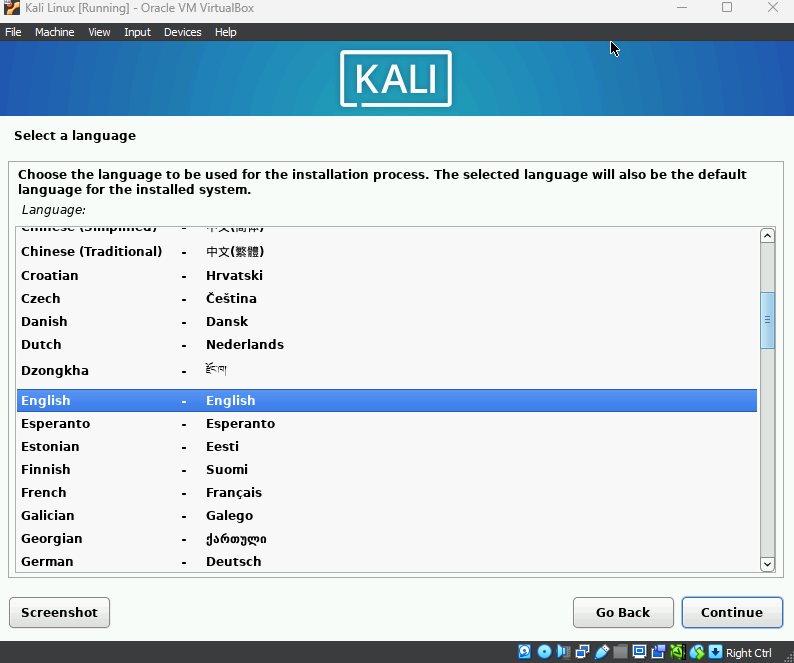
Select your language
Continue
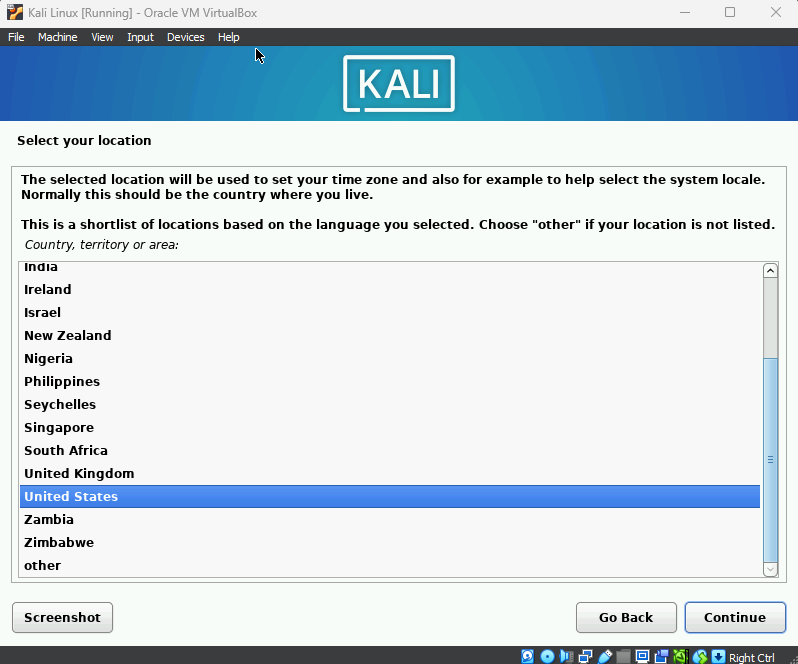
Select your country
Continue
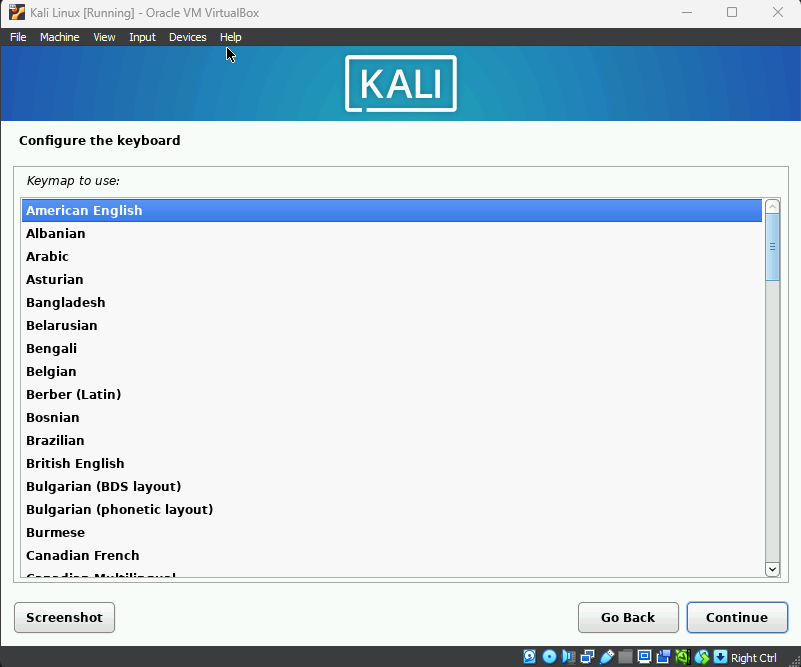
Select your keyboard layout
Continue
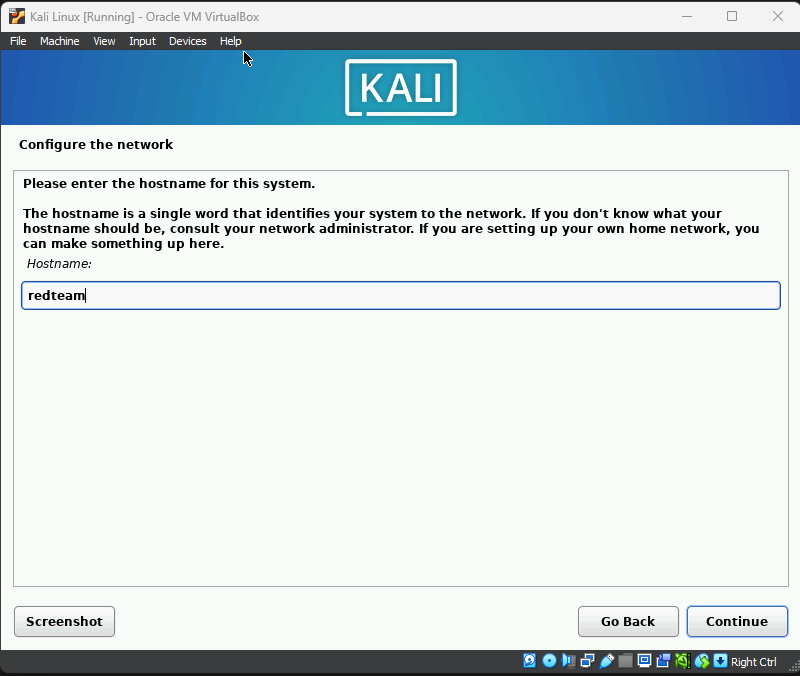
I set the hostname to redteam, but it can be anything
Continue
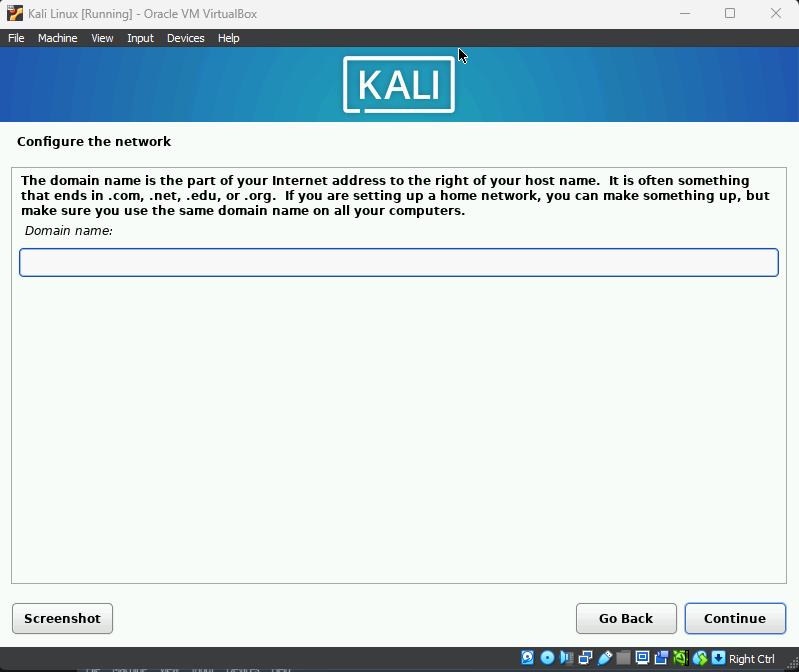
Leave this empty
Continue
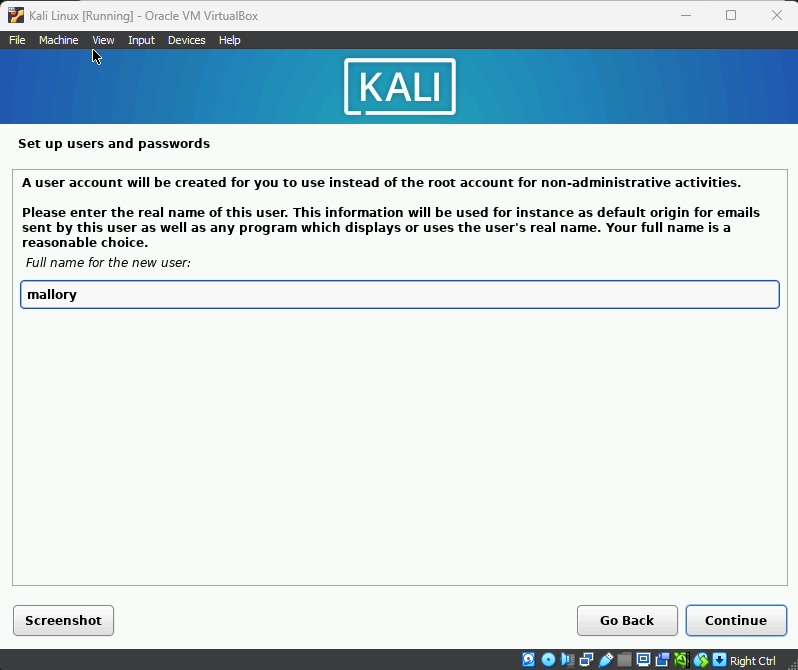
Enter a user name
Continue
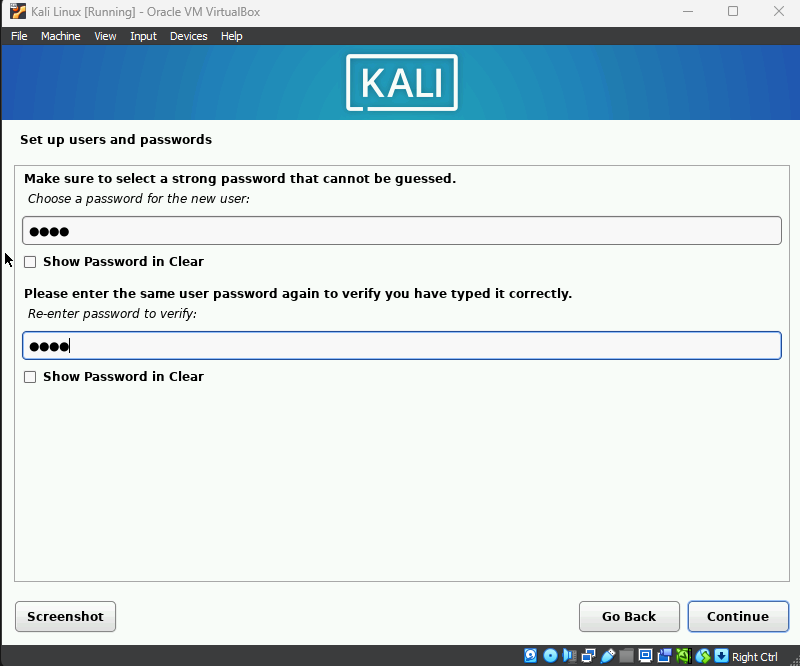
Enter a password
Continue
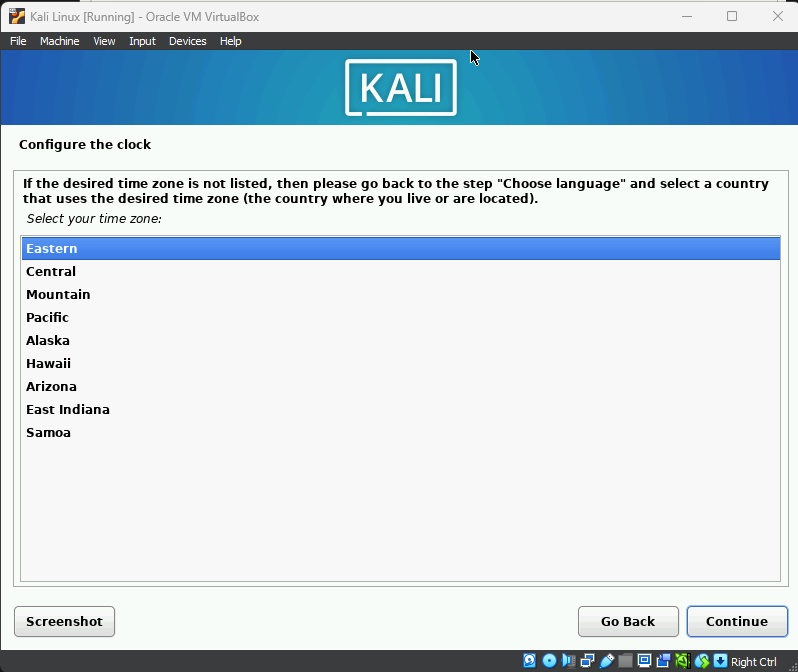
Select your time zone
Continue
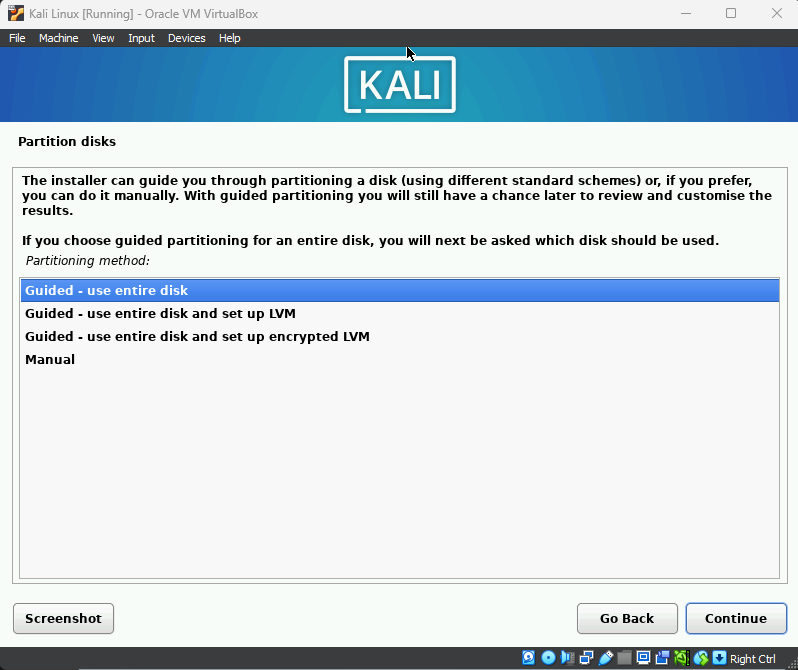
Select Guided -use entire disk
Continue
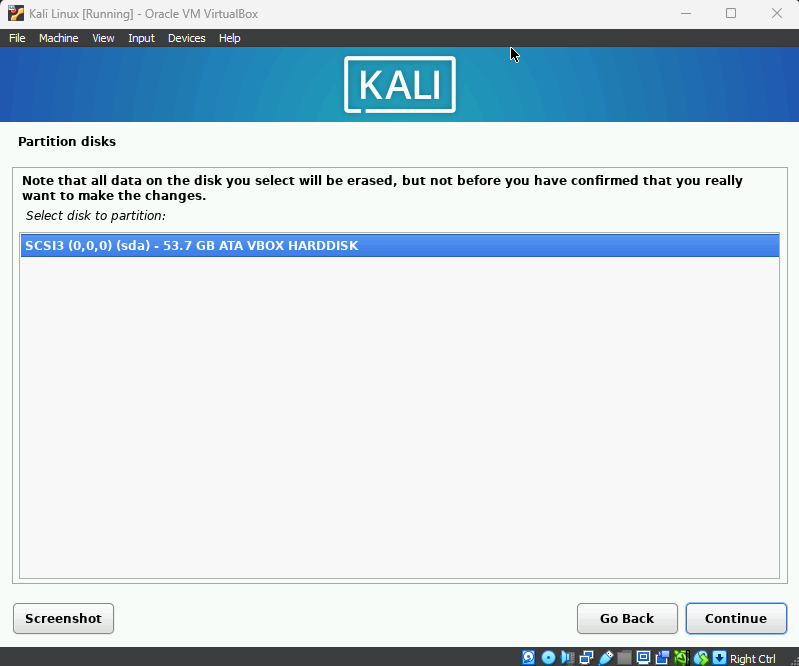
Select the VBox Hard Disk (50 GB)
Continue
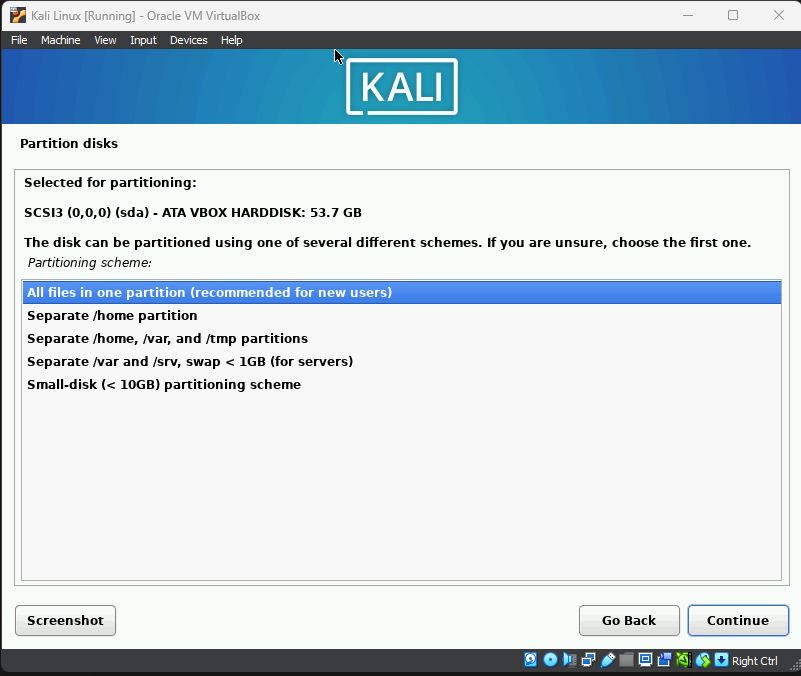
Select All files in one partition
Continue
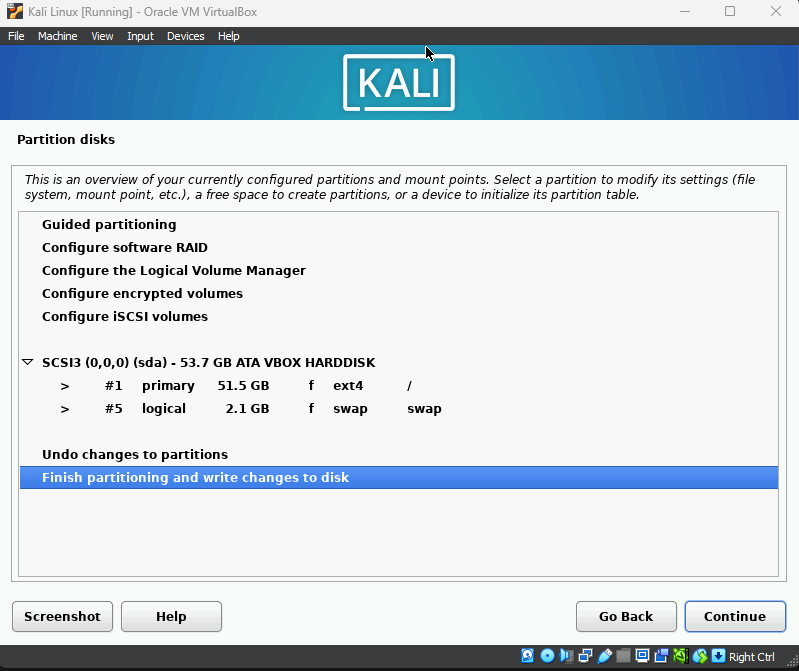
Select finish partitioning and write changes to disk
Continue
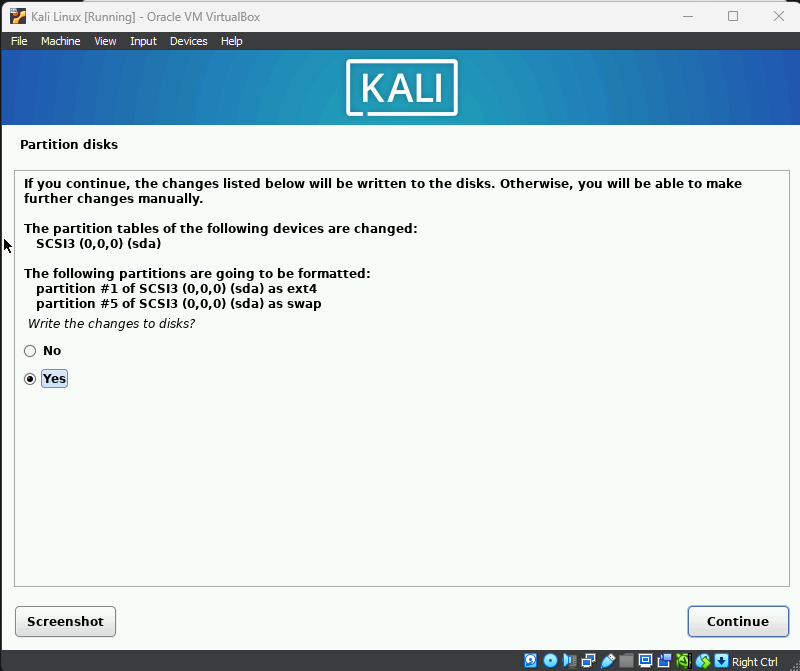
Write the changes to disks (Yes)
Continue
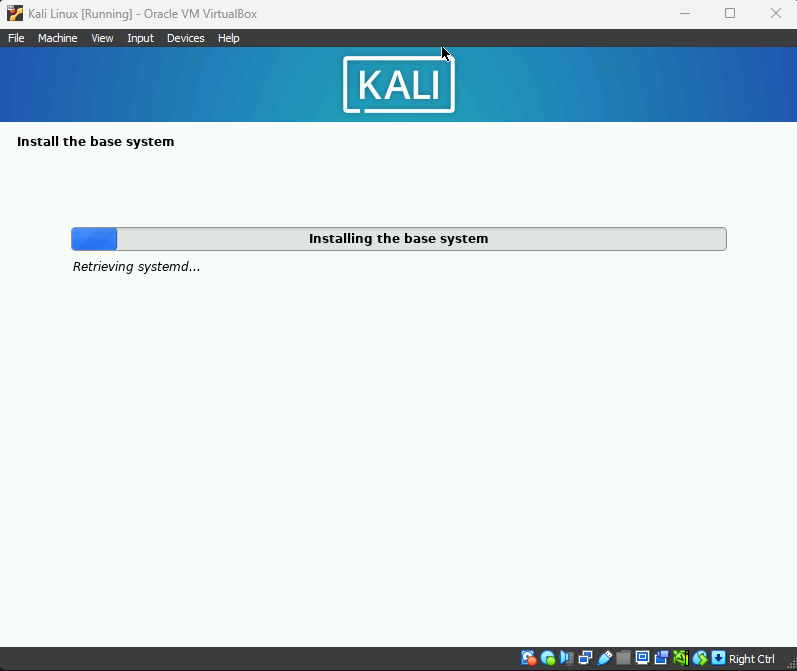
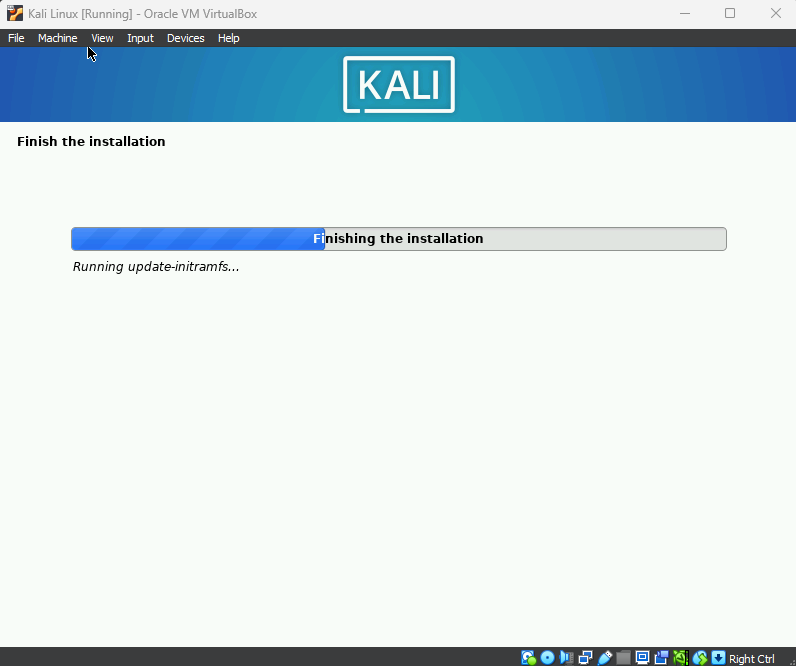
Wait for the base system installation to finish
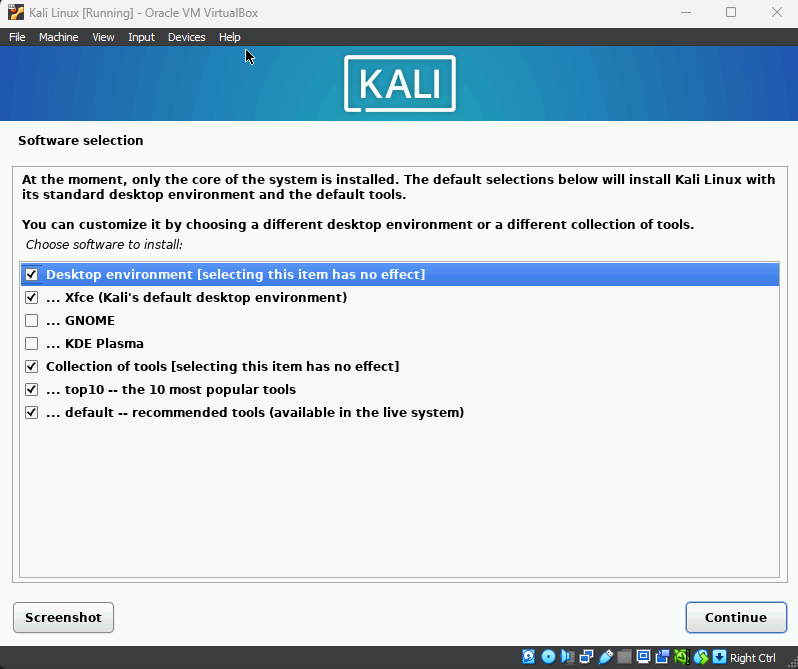
Leave Desktop environment checked
Continue
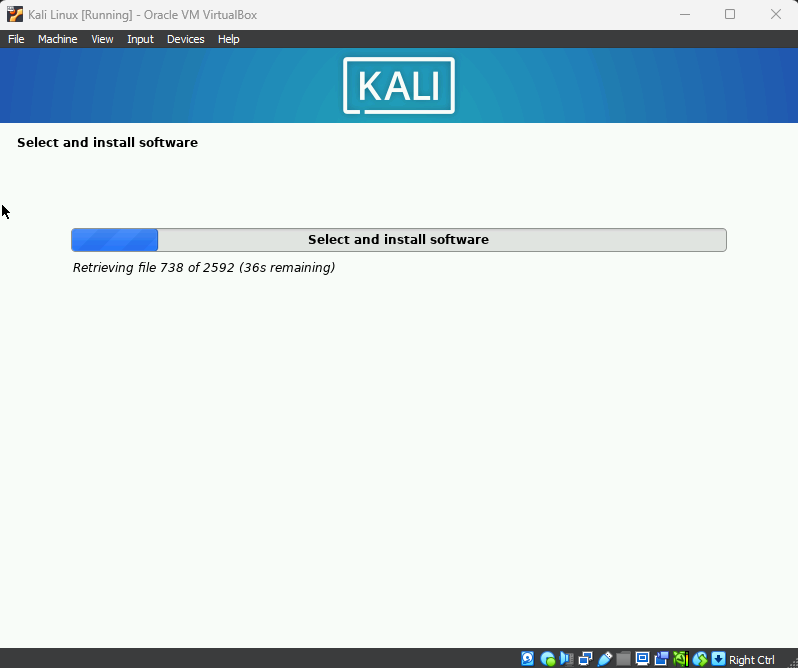
This will take around 20 minutes
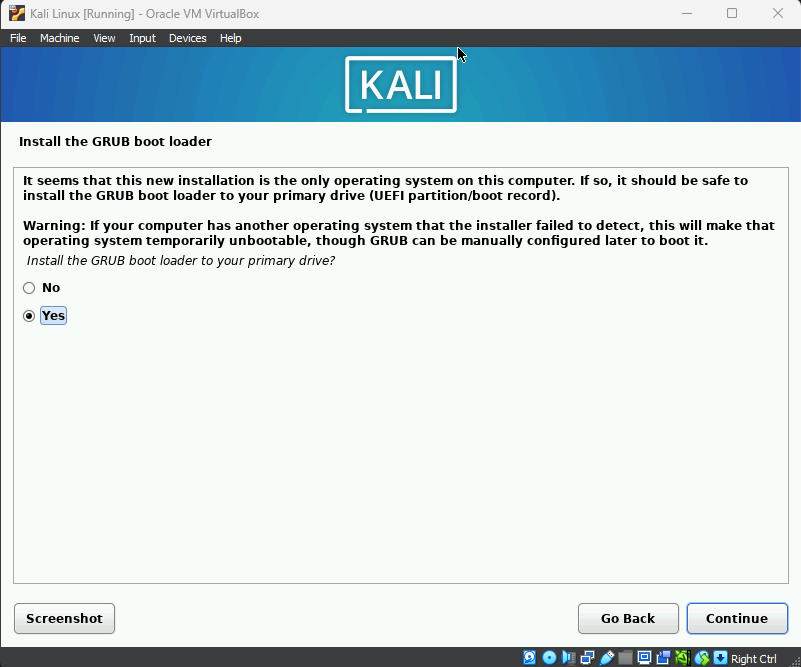
Install the GRUB boot loaded to your primary device (Yes)
Continue
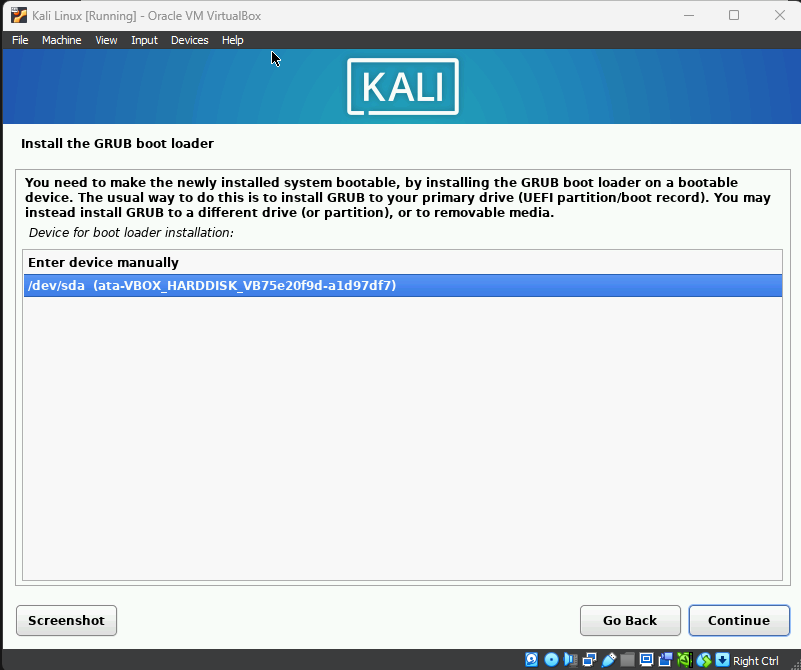
Select the hard disk
Continue
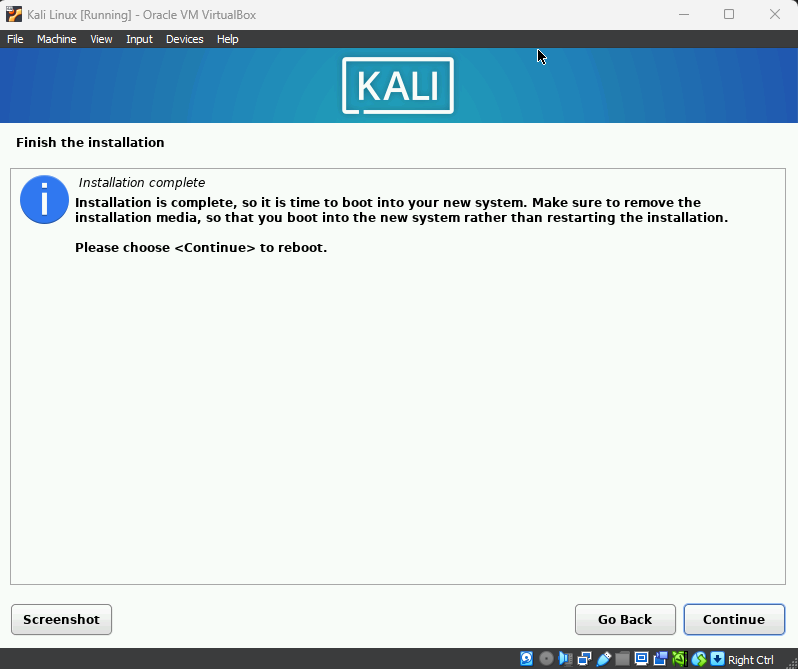
Finishing up
Continue to reboot and stop the VM
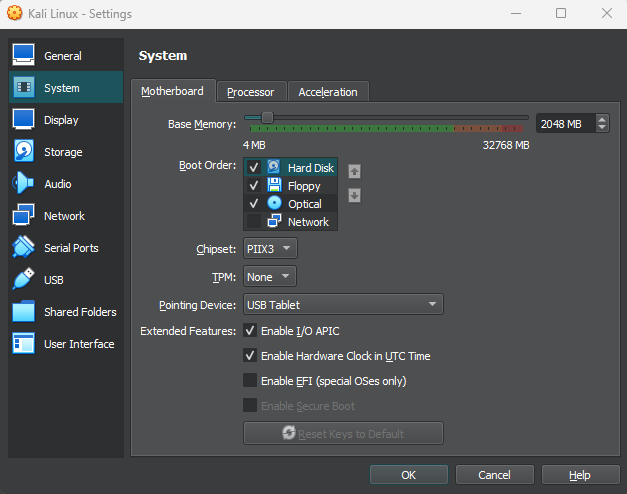
Remember to change the boot order in Settings > System > Motherboard
The VM should boot from hard disk first
Launch the VM
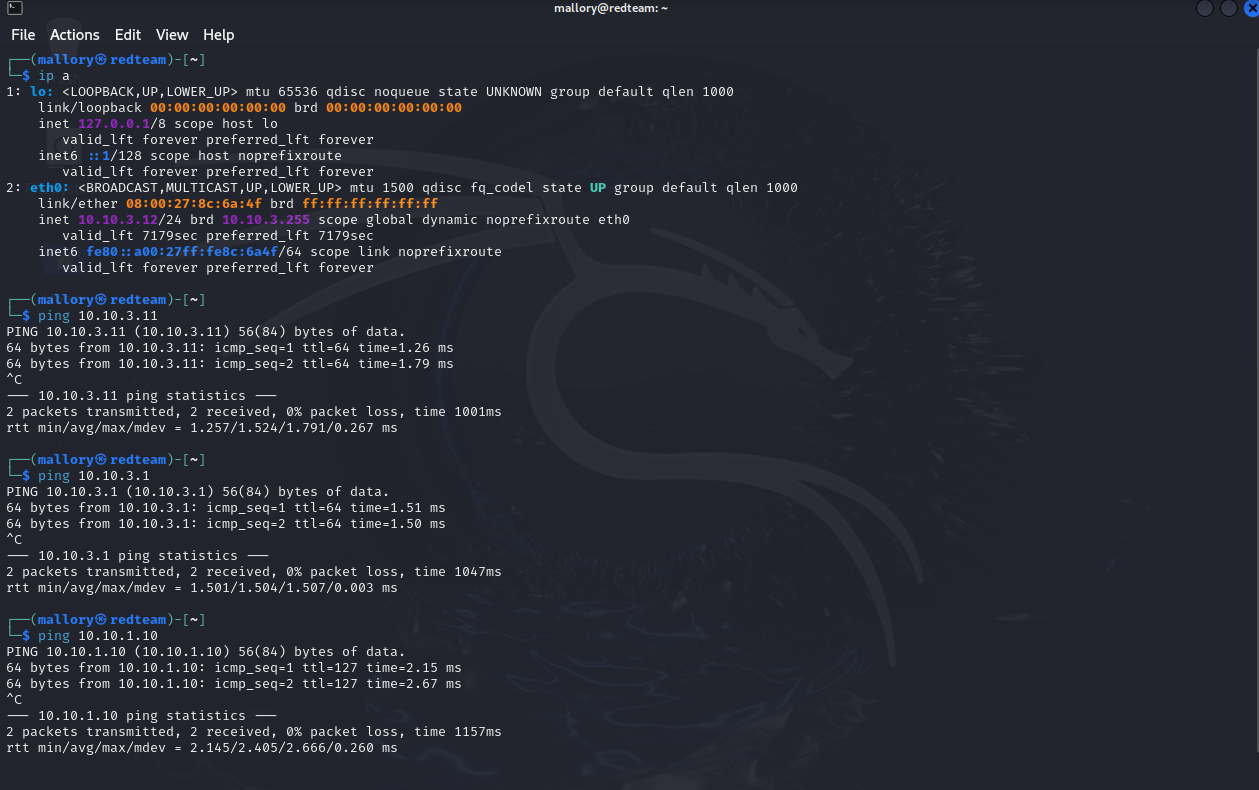
We have DHCP enabled for this subnet so we do not manually need to give it an IP address
This VM has the IP address 10.10.3.12/24
We should be able to ping every VM besides the Windows 10 clients