Sysmon Deployment via GPO
Using Group Policy Object to execute a script that installs Sysmon from the shared drive.
Note
This exercise assumes you have completed the file share setup and have Wazuh up and running.
Sysmon Download and Installation
System Monitor (Sysmon) is a powerful logging tool for Windows machines. It can log and monitor various system events and activity, such as process creation, network connections, file modifications and more.
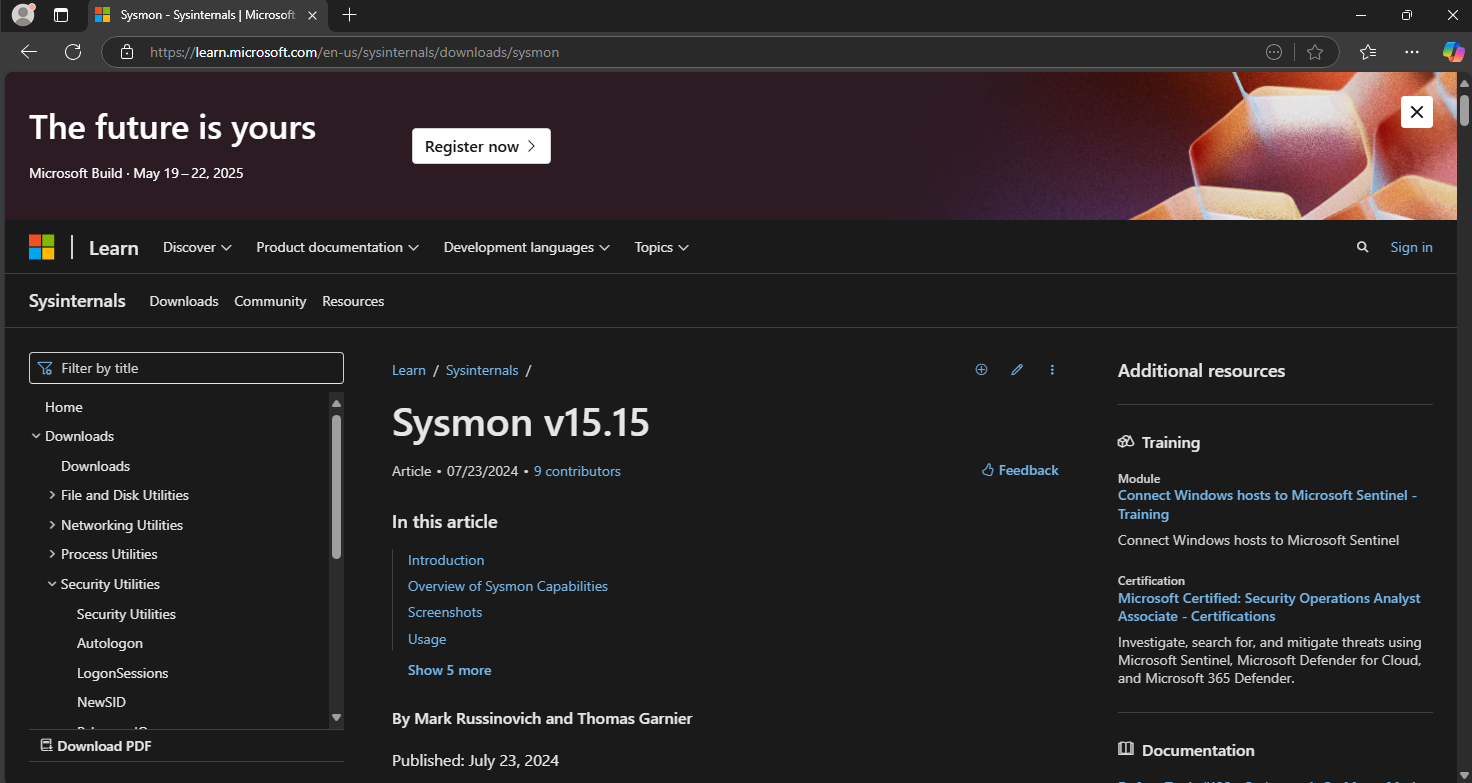
Download Sysmon from: https://learn.microsoft.com/en-us/sysinternals/downloads/sysmon
The latest version of Sysmon is v15.15 as of 3/22/25
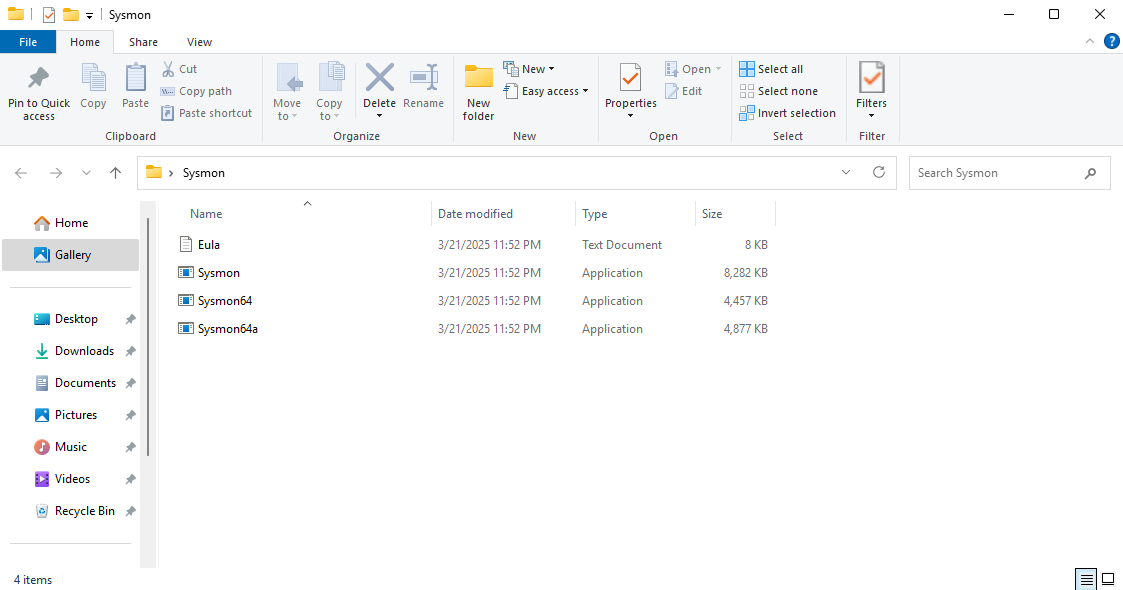
Extract the zip file
We will need a Sysmon XML config to log certain events
I am using sysmonconfig.xml from https://github.com/olafhartong/sysmon-modular
Look for sysmonconfig.xml at the bottom of the page
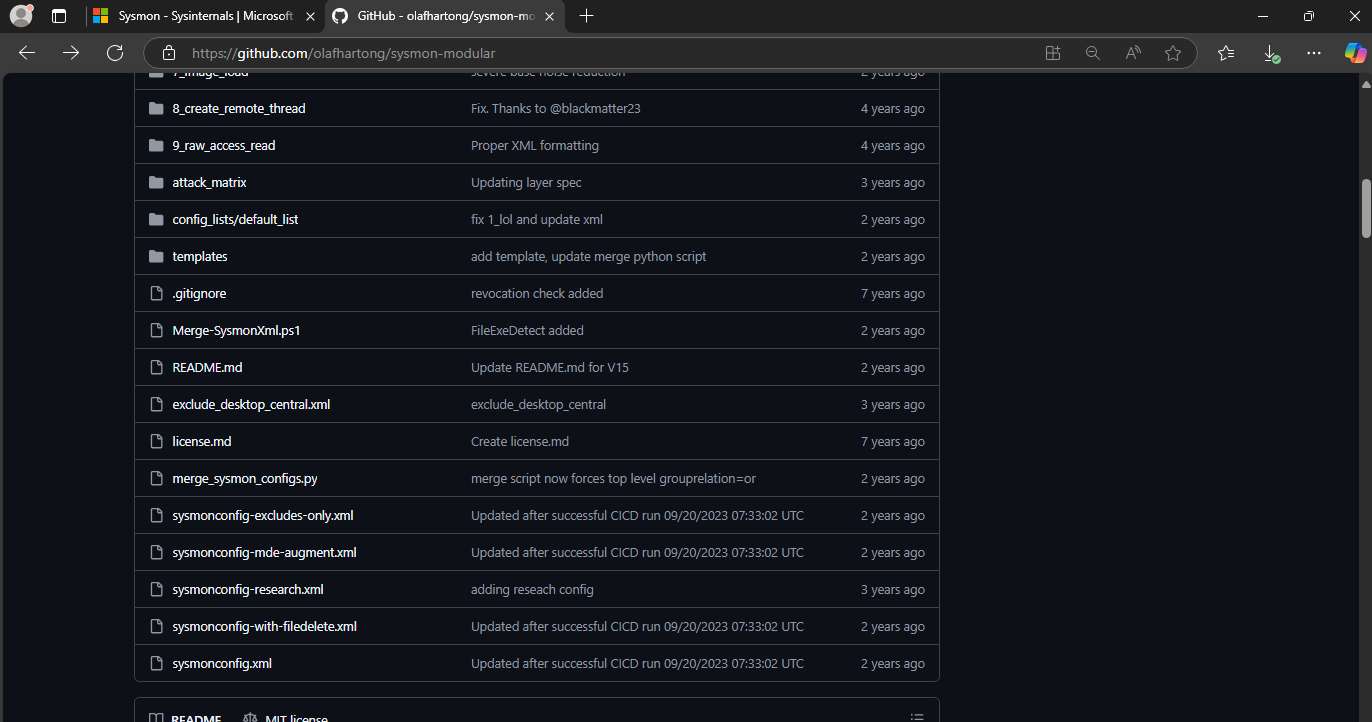
Click raw
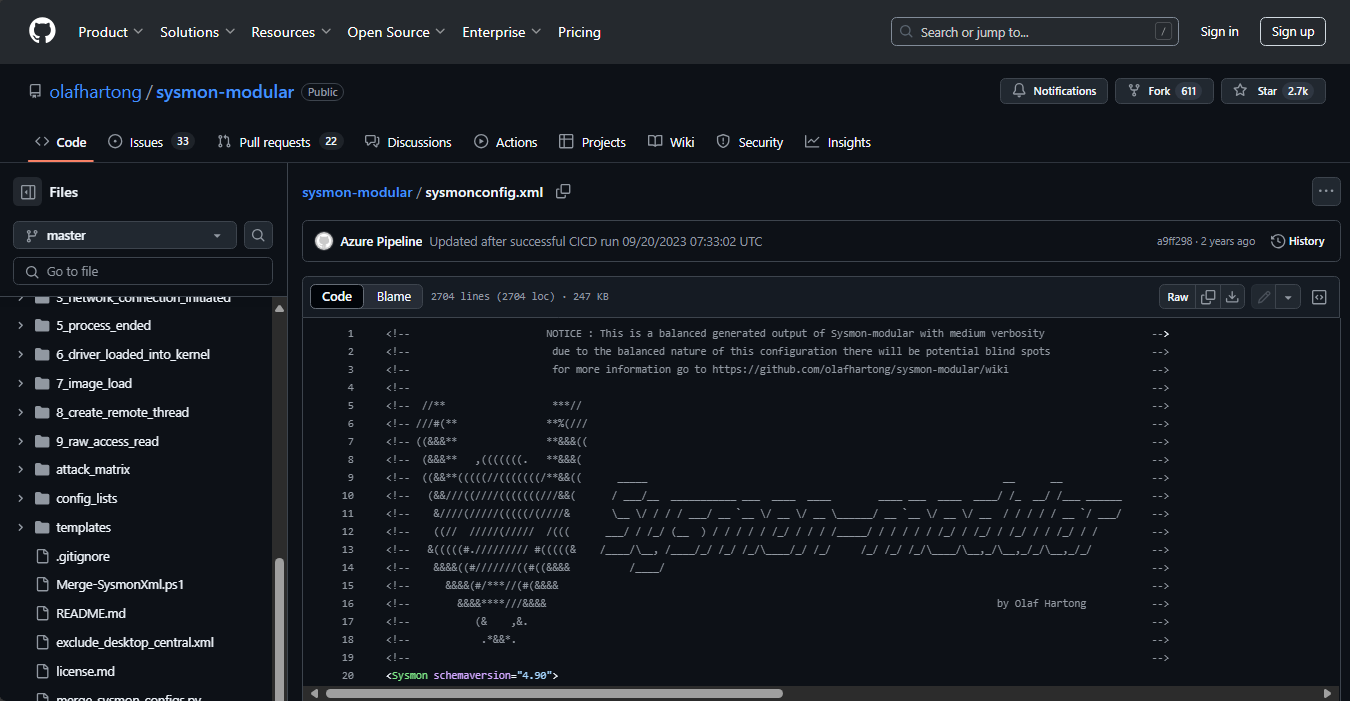
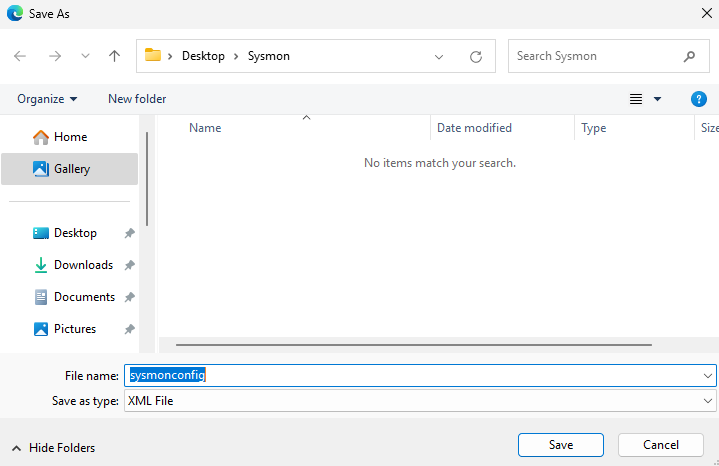
Right click on the page and save as sysmonconfig.xml
Save it in the Sysmon directory (the extracted zip)
Open PowerShell as administrator
Run .\Sysmon64.exe -i .\sysmonconfig.xml
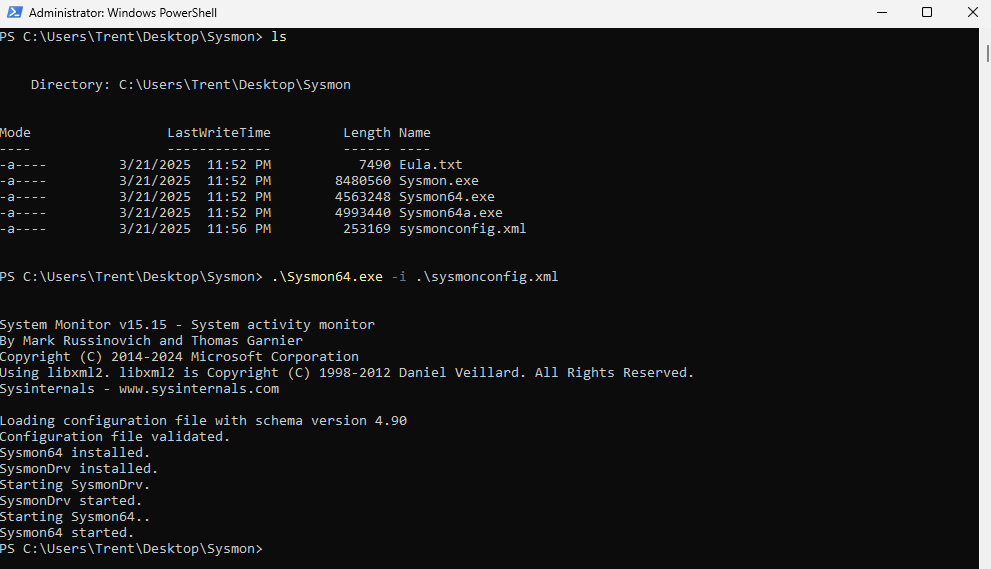
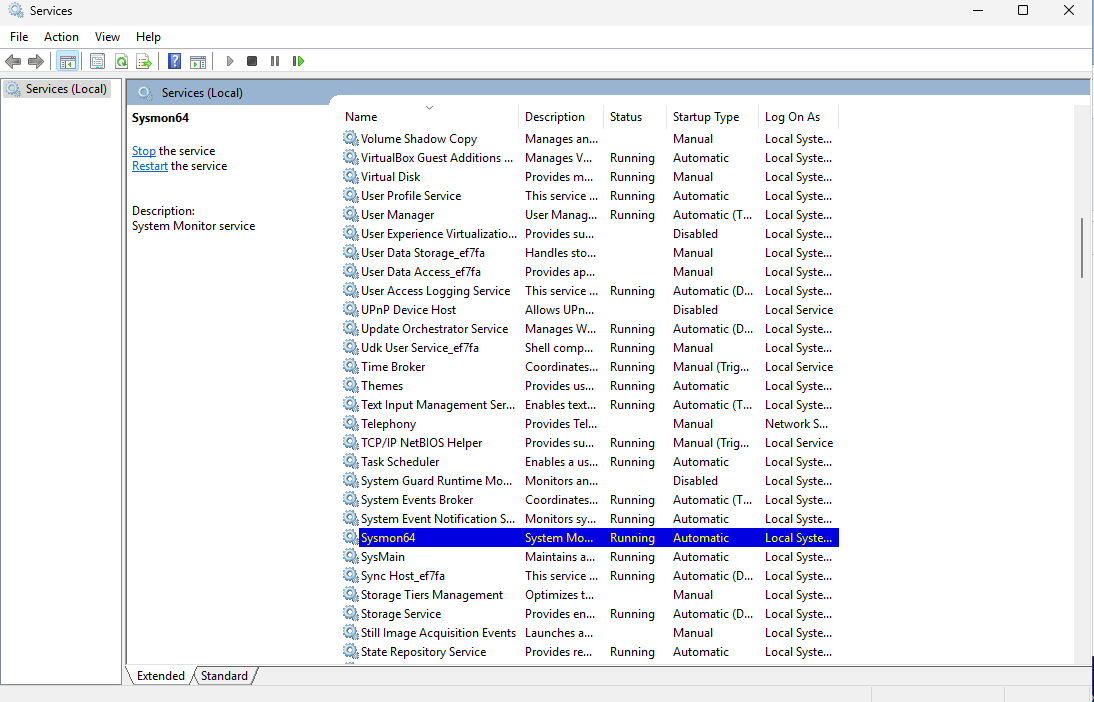
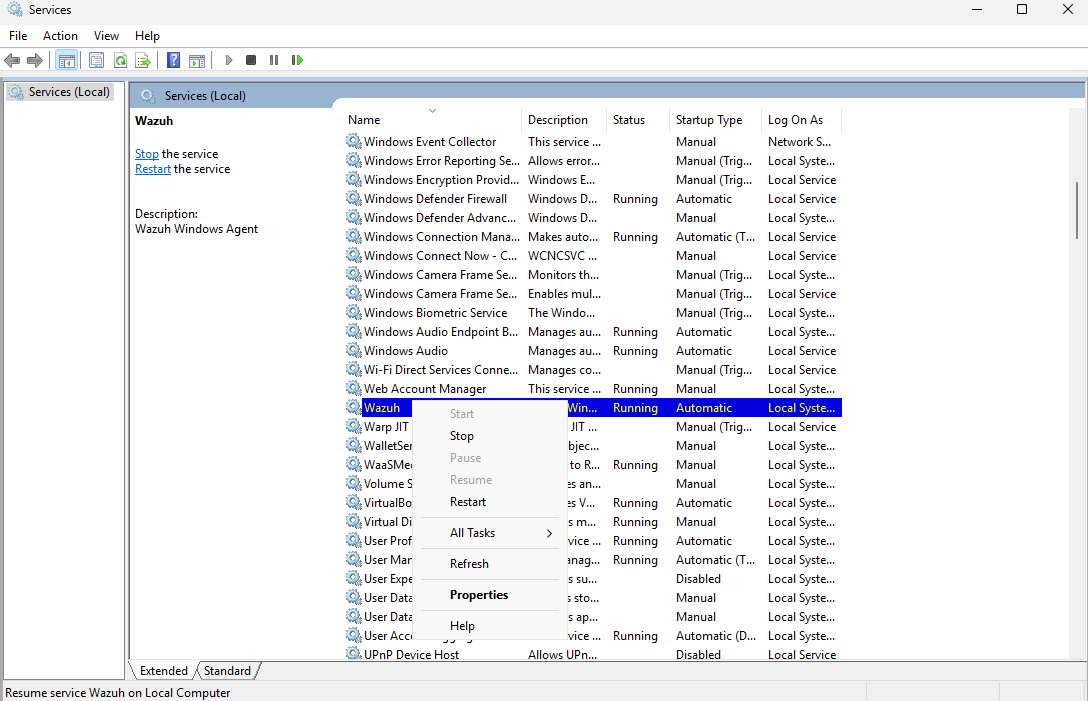
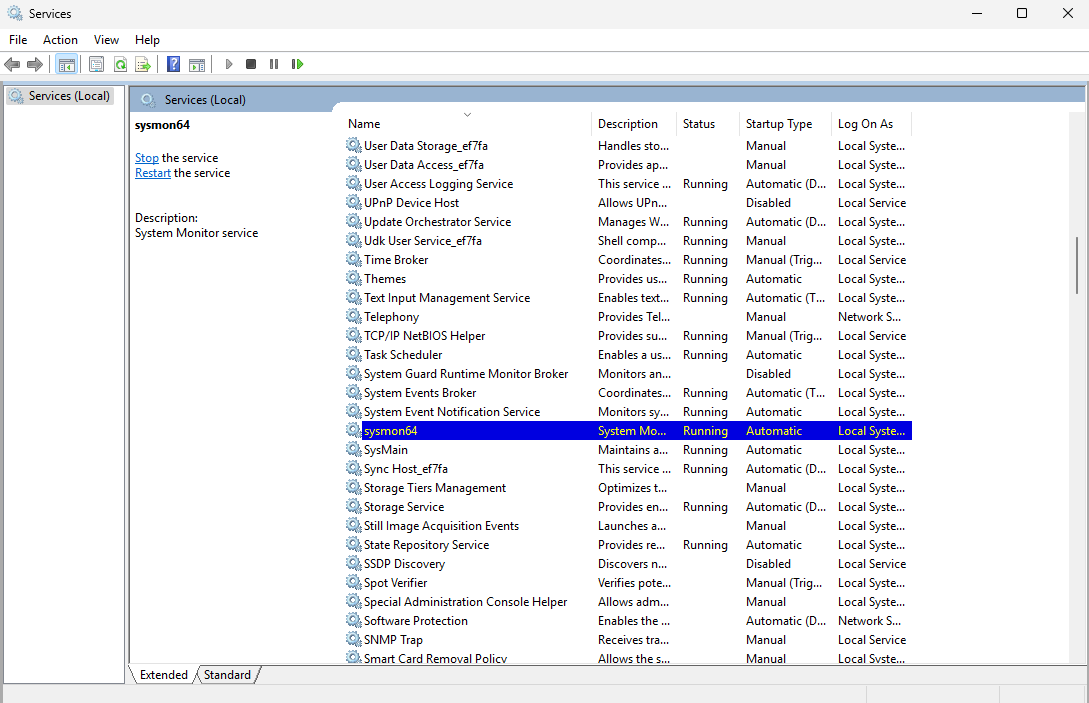
Check services to make sure Sysmon is running
It will be listed as Sysmon64
Forwarding Sysmon Logs to Wazuh
We will forward our Sysmon logs to Wazuh so we can view them in a centralized dashboard
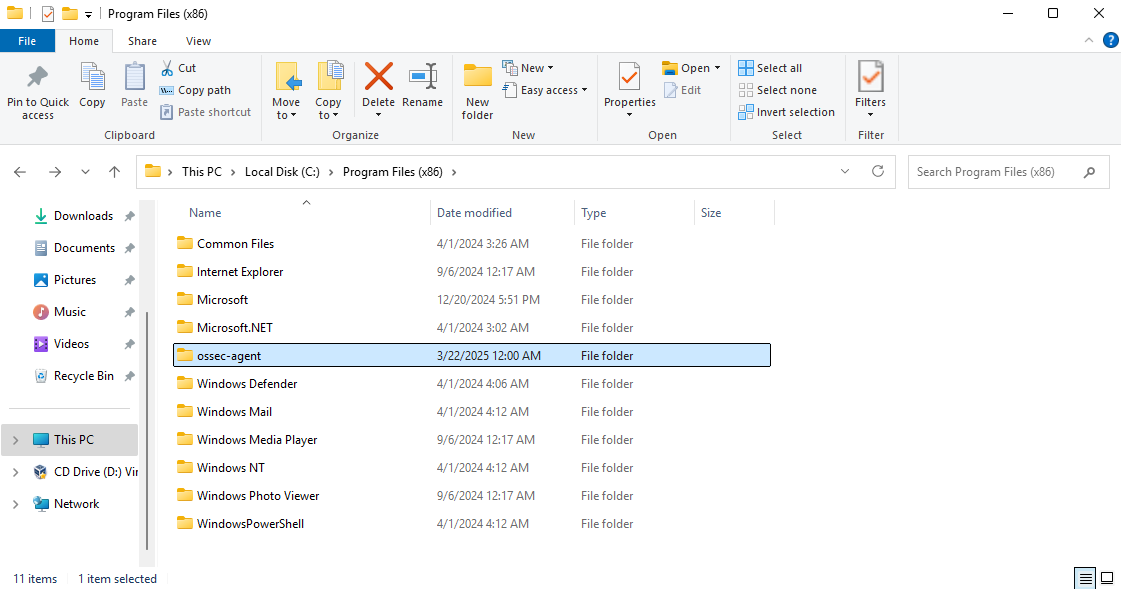
Head to C:\Program Files (x86)\ossec-agent
Make a backup of ossec.conf just in case
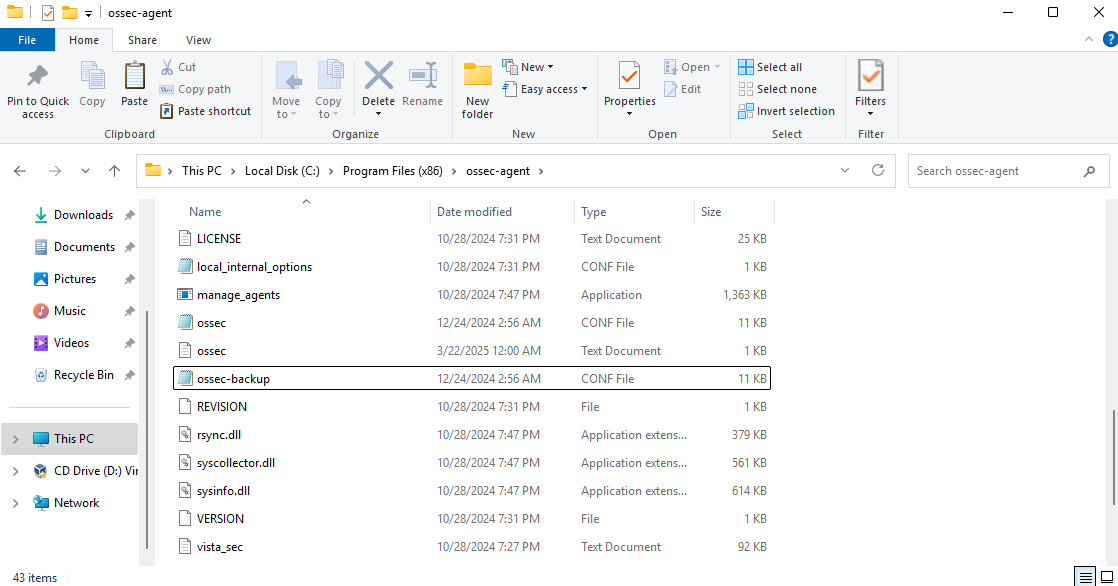
Open ossec.conf (not the backup)
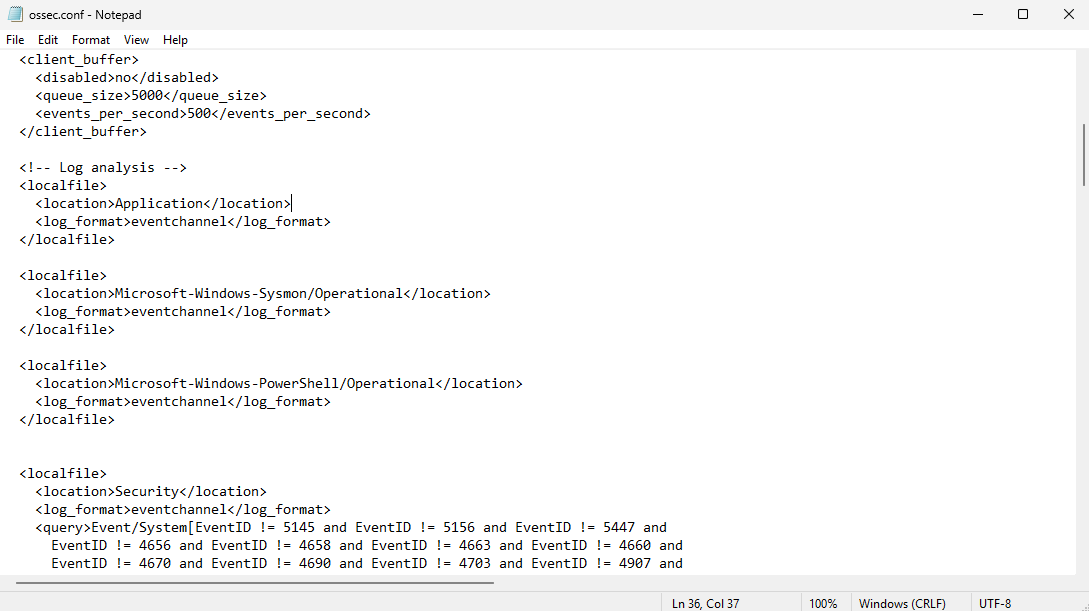
Scroll down until you see log analysis and add these rules
1
2
3
4
5
6
7
8
9
<localfile>
    <location>Microsoft-Windows-Sysmon/Operational</location>
    <log_format>eventchannel</log_format>
</localfile>

<localfile>
    <location>Microsoft-Windows-PowerShell/Operational</location>
    <log_format>eventchannel</log_format>
</localfile>
Save the file
Restart Wazuh from the Services menu
Head to the Wazuh dashboard (I am using the Ubuntu VM for this)
We should see some logs generated by Sysmon or PowerShell
There are a lot of false positives, so it still needs some tuning
Security Group and File Share Setup
We will create a new security group with all of our workstations so we can automate the Sysmon deployment
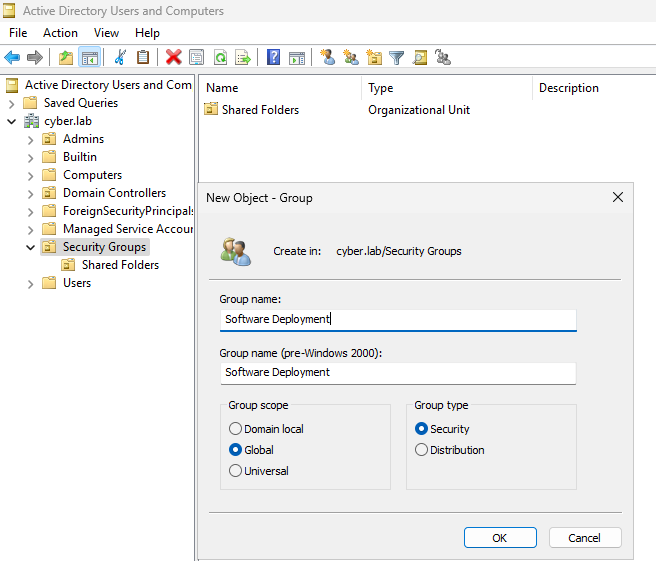
On the DC VM, Head to AD Users and Computers
Right Click Security Groups > New > Object
Set a name for this group (I named mine Software Deployment)
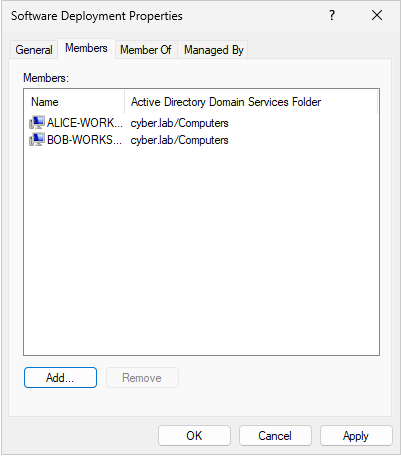
Right click on the group and click Properties > Members > Add
Click on Object Types
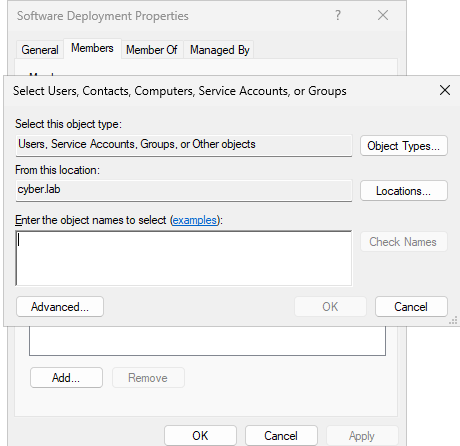
Only check Computers and click OK

Enter the workstation names and click check names to verify them
In this case, I only have Bob-Workstation and Alice-Workstation
Click Apply and OK
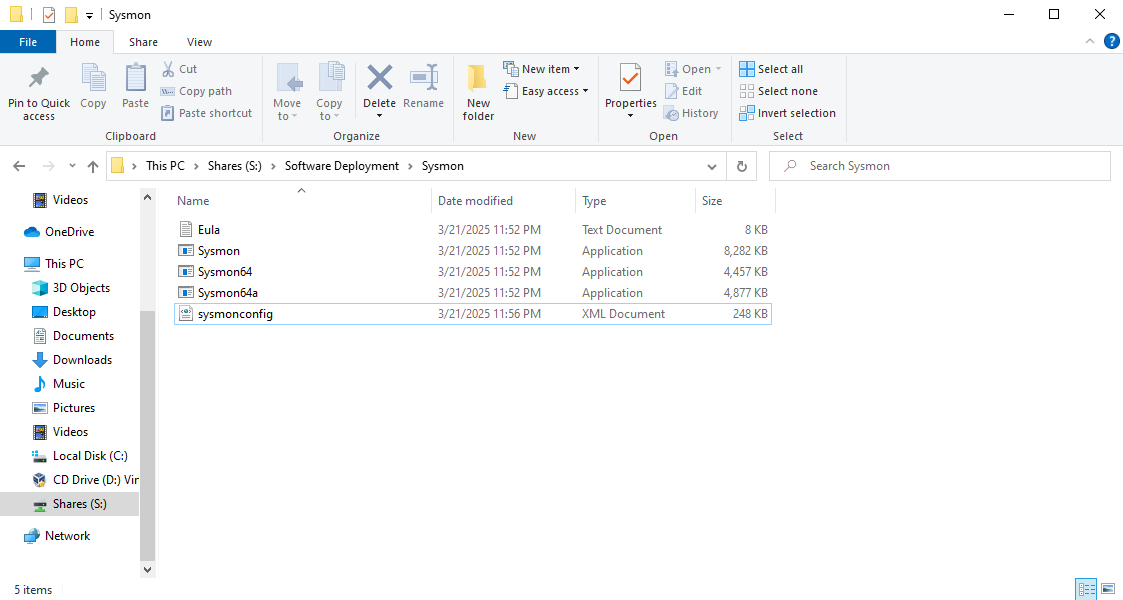
In the Shares directory (\\DOMAINCONTROLLE or :S as we have set up) make a new folder called Software Deployment
Copy the Sysmon folder containing the Sysmon application and config file into the Software deployment folder
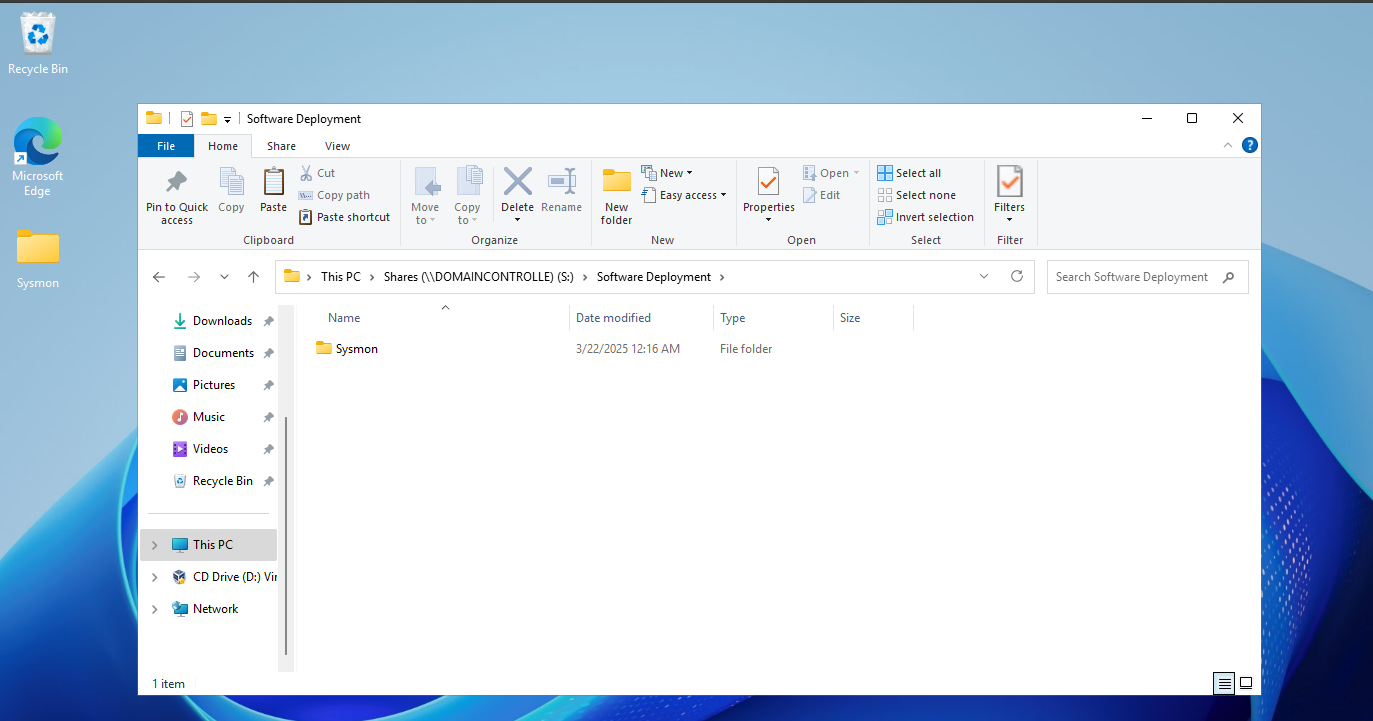
Double check to make sure all the files are there

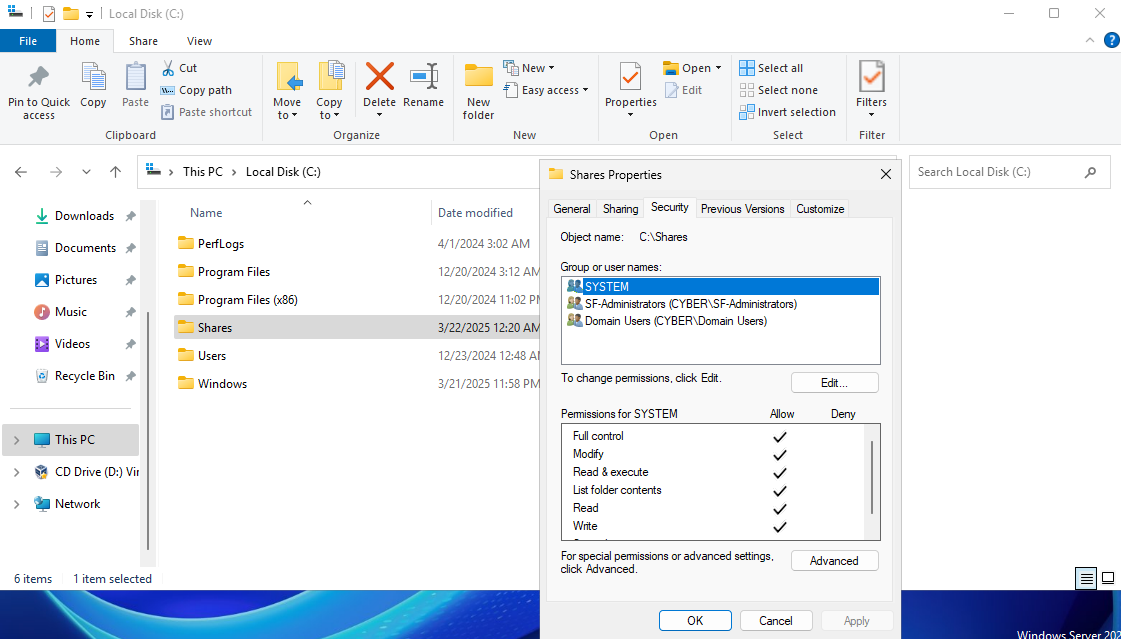
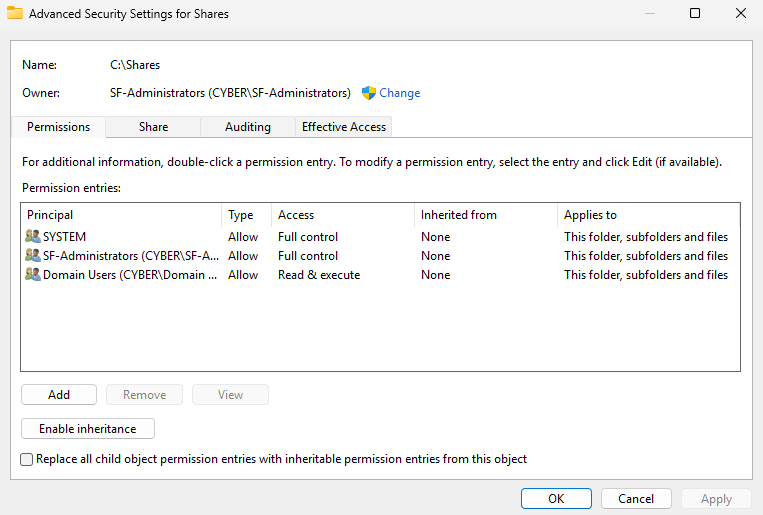
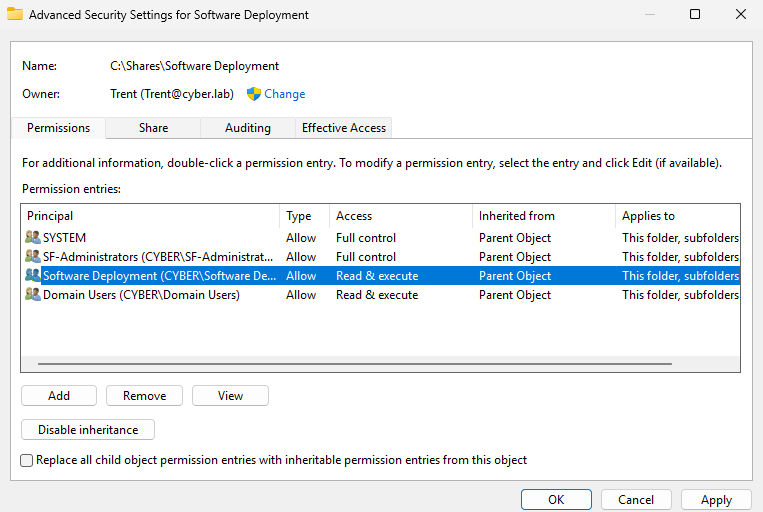
Right click the Shares folder > Properties > Security > Advanced
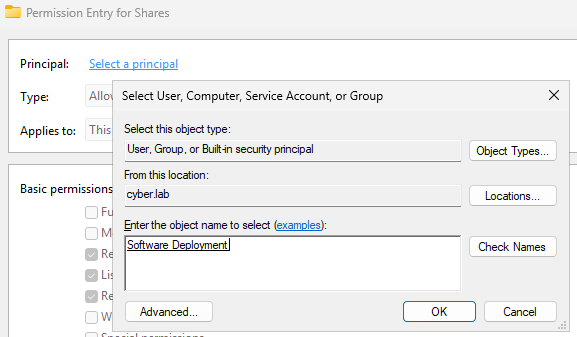
Click Add
Click Select a principal
Enter the security group name and check names (Software Deployment)
Click OK
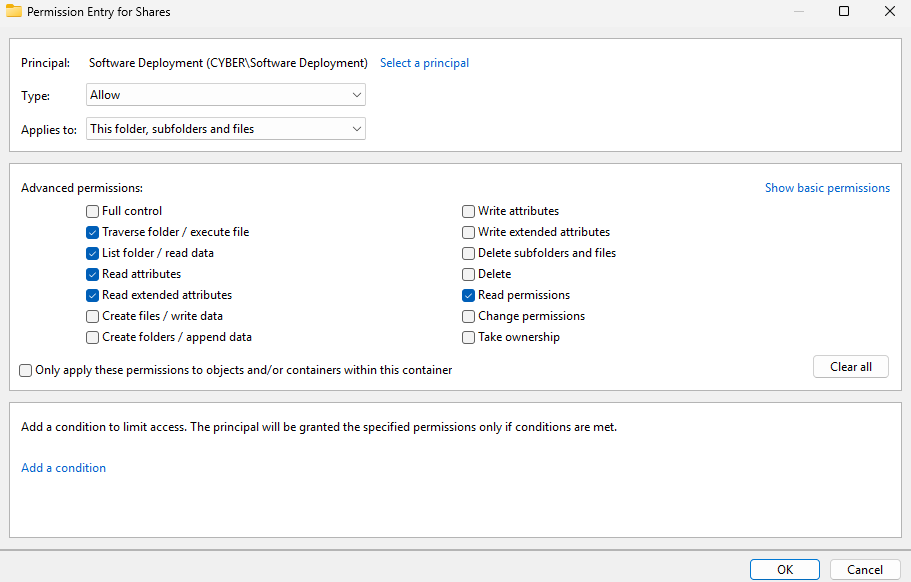
This group only needs these permissions (Read and execute)
Click OK
Click Apply
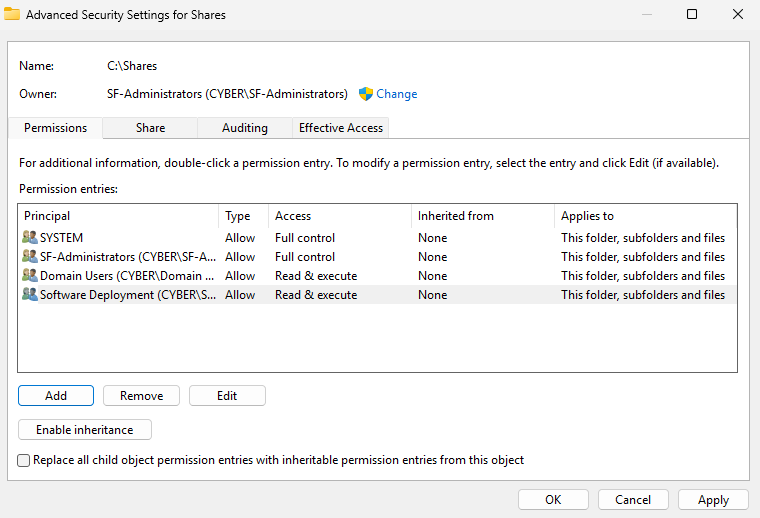
Head to the Shares folder and right click on the Software Deployment folder
Head to Properties > Security > Advanced Permissions
The Software Deployment group should have read and execute permissions for the share
We can leave inherited permissions enabled for now
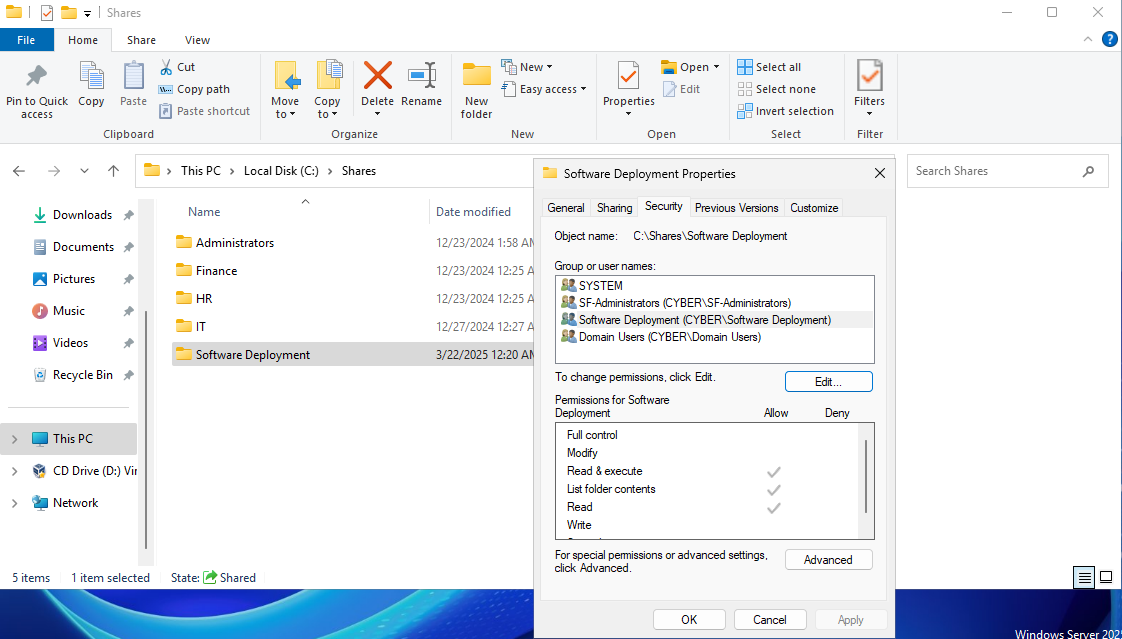
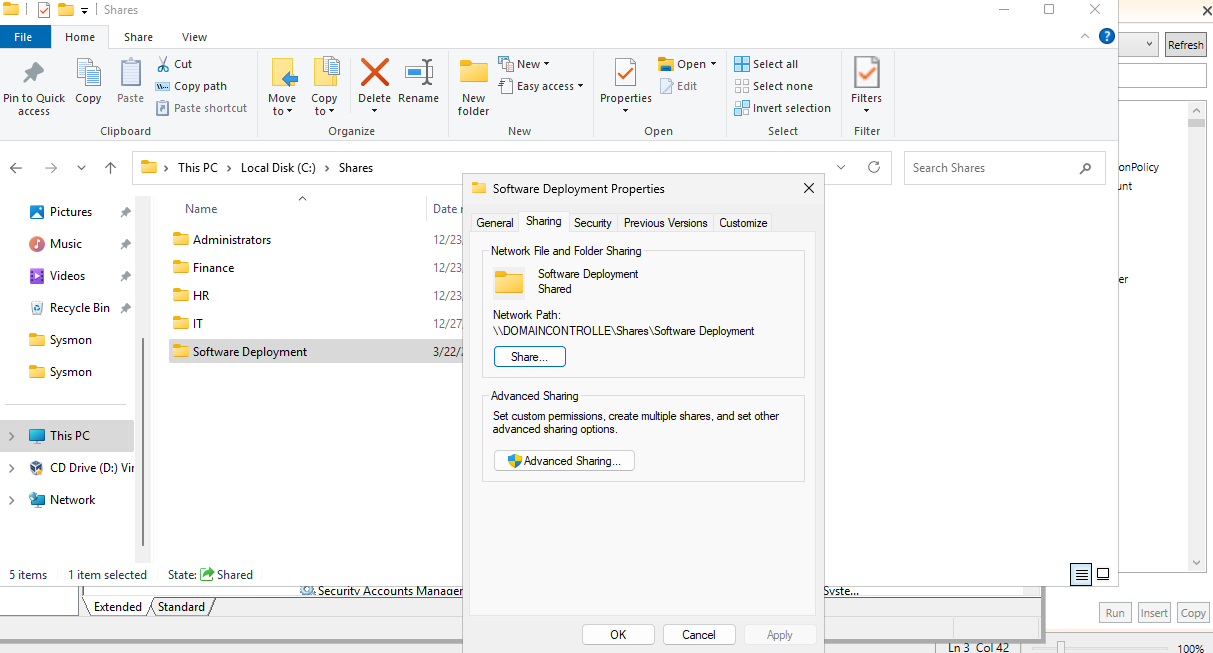
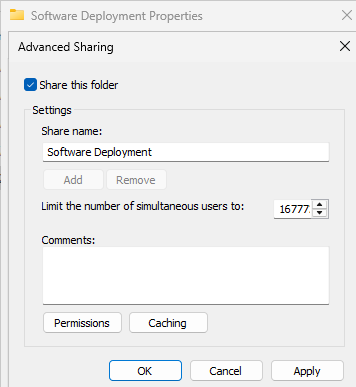
Right click the Software Deployment folder > Properties > Sharing > Advanced Sharing
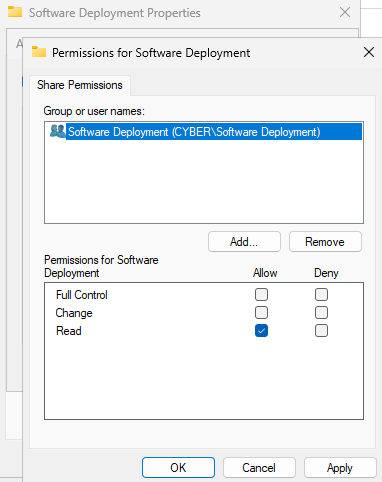
Check Share this folder and then add permissions
Add the Software Deployment group with read permissions
Launch one of the client VMs
We should be able to access the Sysmon folder via the share
PowerShell Script + Test
This is a PowerShell script that copies the Sysmon directory from the file share, puts it in the C: drive of the workstations, and then runs the same command we used to install Sysmon with the config file. It also creates a log file and adds to the file when the installation succeeds or fails (useful for troubleshooting).
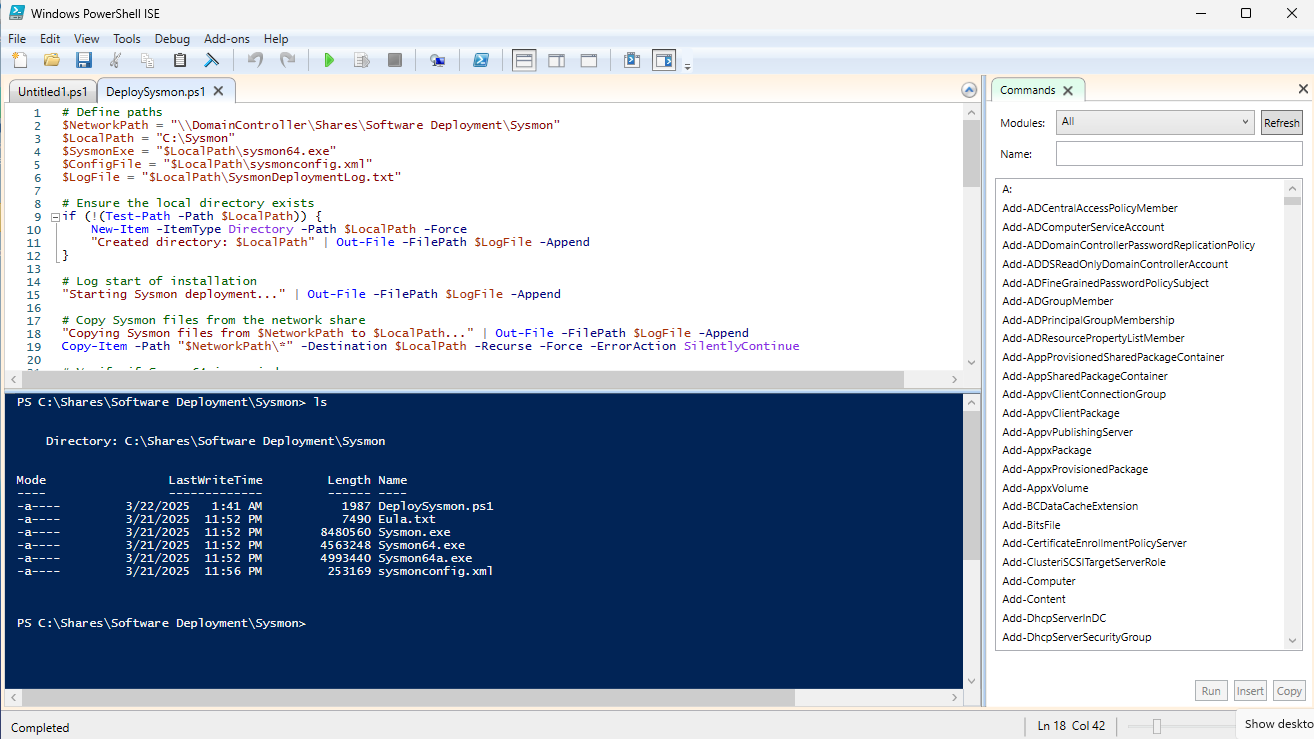
On the DC VM, Open PowerShell ISE
Paste the script and adjust the file paths (only the first 6 lines) according to your setup:
1
2
3
4
5
6
7
8
9
10
11
12
13
14
15
16
17
18
19
20
21
22
23
24
25
26
27
28
29
30
31
32
33
34
35
36
37
38
39
40
41
42
43
44
45
46
# Define paths
$NetworkPath = "\\DomainController\Shares\Software Deployment\Sysmon"
$LocalPath = "C:\Sysmon"
$SysmonExe = "$LocalPath\Sysmon64.exe"
$ConfigFile = "$LocalPath\sysmonconfig.xml"
$LogFile = "C:\Sysmon\SysmonDeploymentLog.txt"

# Ensure the local directory exists
if (!(Test-Path -Path $LocalPath)) {
    New-Item -ItemType Directory -Path $LocalPath -Force
    "Created directory: $LocalPath" | Out-File -FilePath $LogFile -Append
}

# Start writing to the log file
"Starting Sysmon deployment..." | Out-File -FilePath $LogFile -Append

# Copy Sysmon files from the network share to the local path
"Copying Sysmon files..." | Out-File -FilePath $LogFile -Append
Copy-Item -Path "$NetworkPath\*" -Destination $LocalPath -Recurse -Force

# Verify if Sysmon64 is already installed
$SysmonService = Get-Service -Name "Sysmon64" -ErrorAction SilentlyContinue
if ($SysmonService) {
    "Sysmon64 is already installed. Starting service..." | Out-File -FilePath $LogFile -Append
    Start-Service -Name "Sysmon64"
    Exit 0
}

# Install Sysmon with EULA acceptance
"Installing Sysmon..." | Out-File -FilePath $LogFile -Append
Start-Process -FilePath $SysmonExe -ArgumentList "-accepteula -i $ConfigFile" -Wait -NoNewWindow

# Wait for a few seconds to allow Sysmon64 to start
Start-Sleep -Seconds 5

# Verify installation
$SysmonService = Get-Service -Name "Sysmon64" -ErrorAction SilentlyContinue
if ($SysmonService -and $SysmonService.Status -eq "RUNNING") {
    "Sysmon64 installed and running successfully." | Out-File -FilePath $LogFile -Append
} else {
    "Sysmon64 installation failed." | Out-File -FilePath $LogFile -Append
    Exit 1
}

"Sysmon64 deployment script completed successfully." | Out-File -FilePath $LogFile -Append
Click File > Save as DeploySysmon.ps1 (save this in the Sysmon directory in the Software Deployment file share)
Head to one of the client VMs
The PS script should be viewable in the share

Testing the Script (On the DC VM)
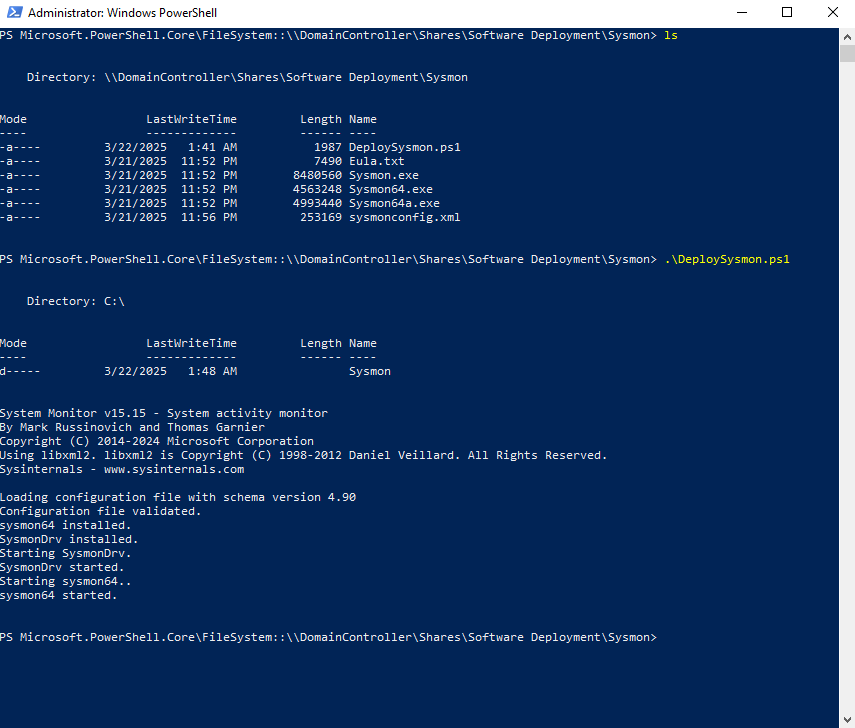
Since we already installed Sysmon on the DC, run sysmon64 -u to uninstall first
Then run the script
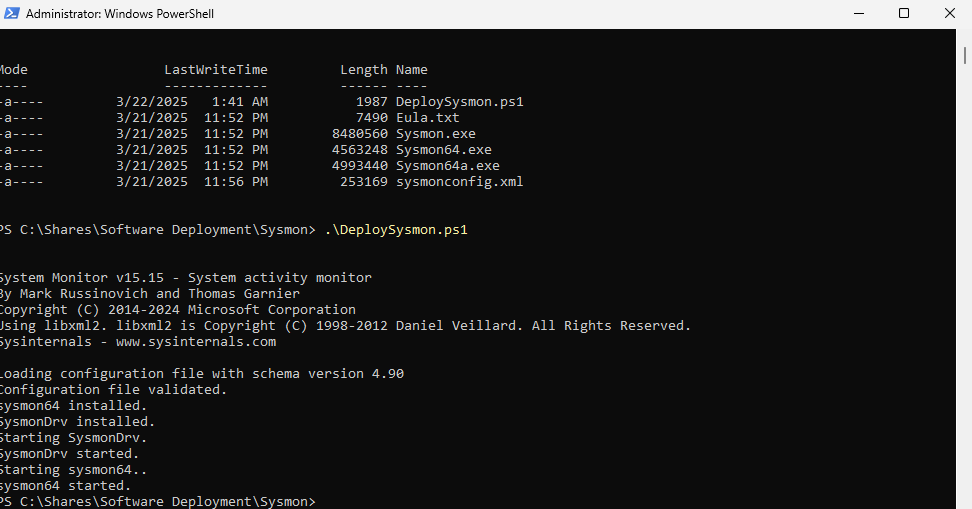
Verifying that the script was successful
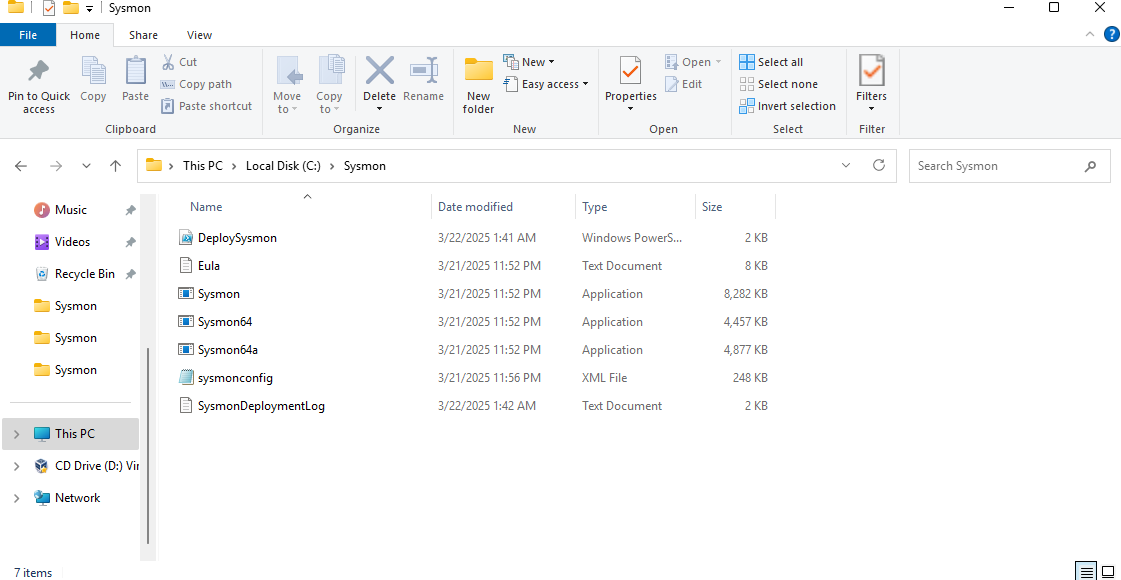
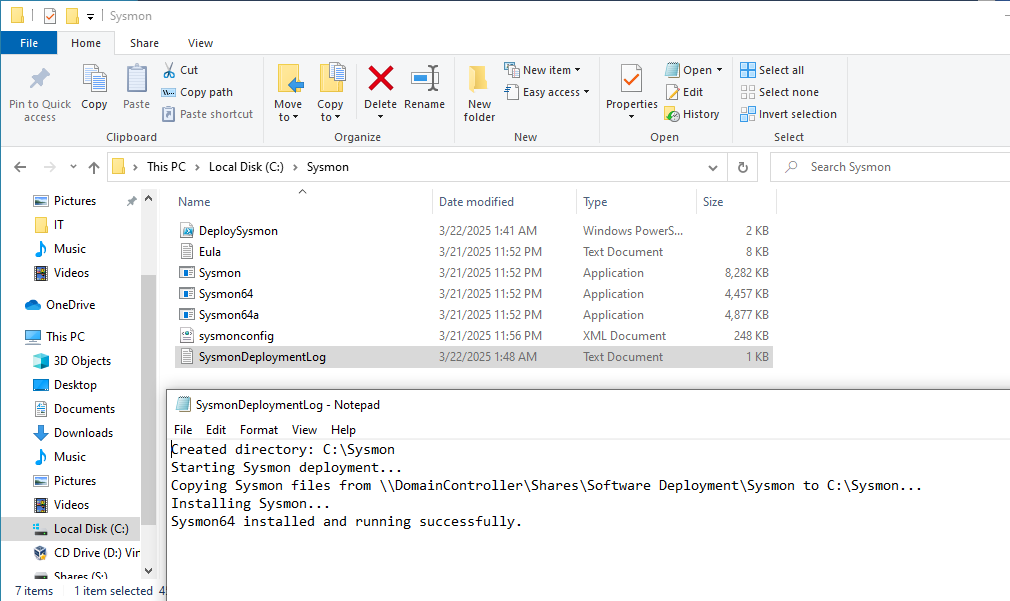
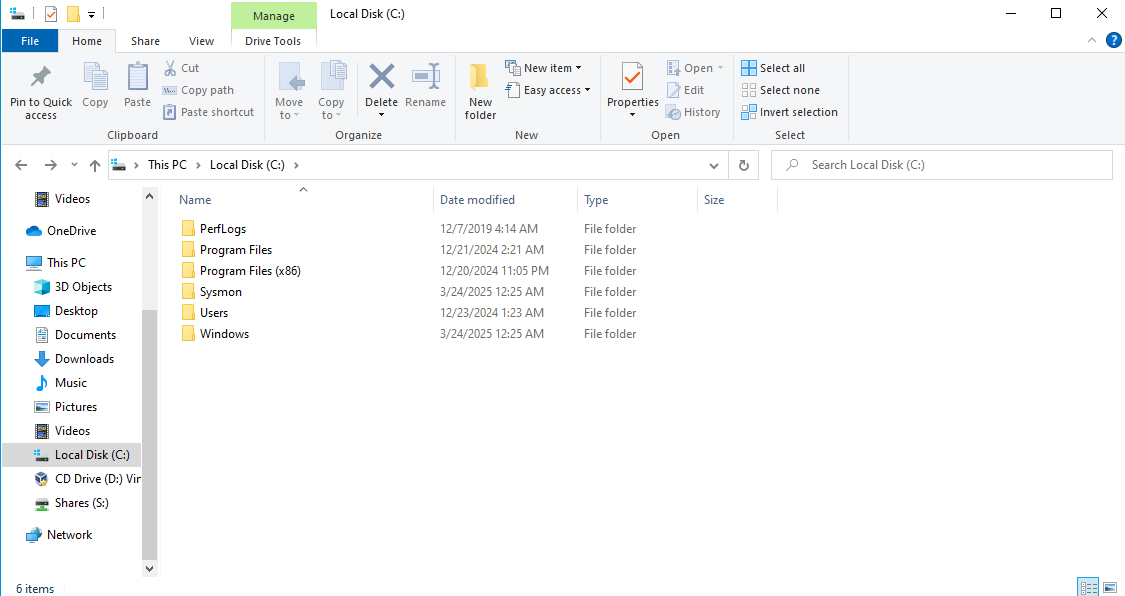
Notice that the Sysmon files are copied to the C drive
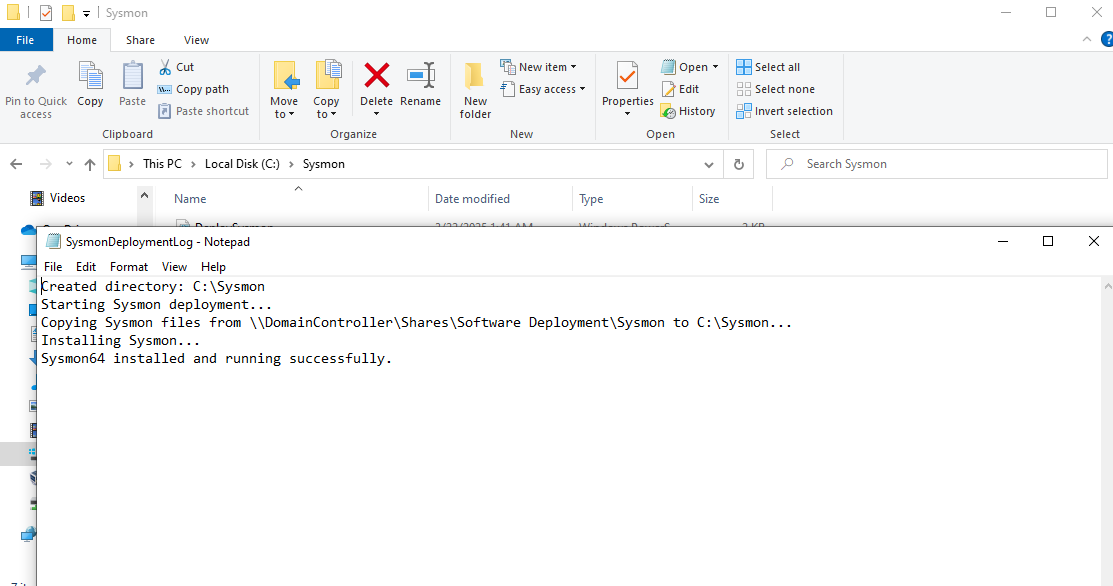
The log output should look like this:

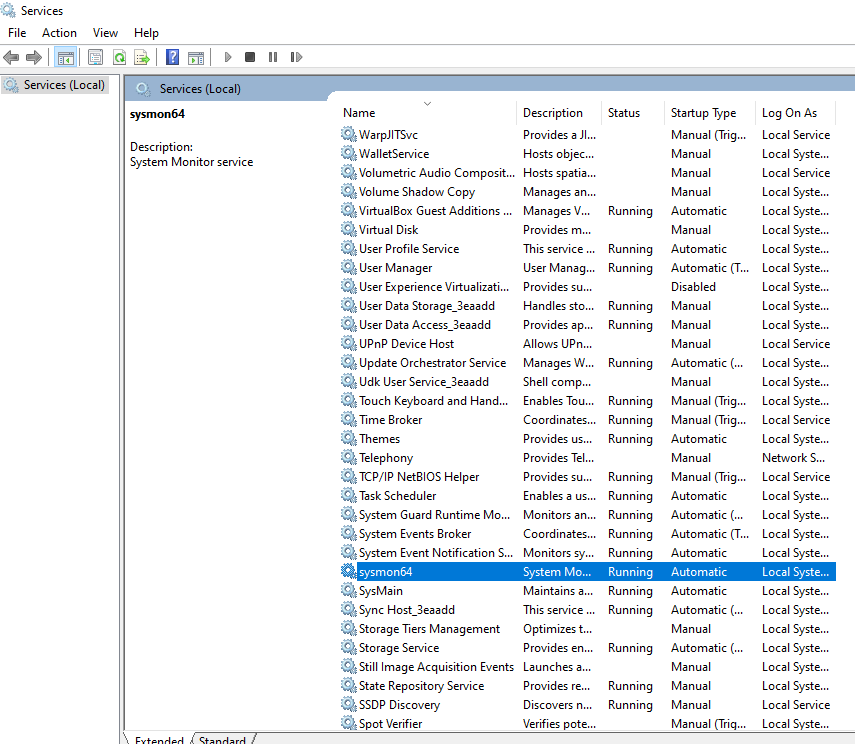
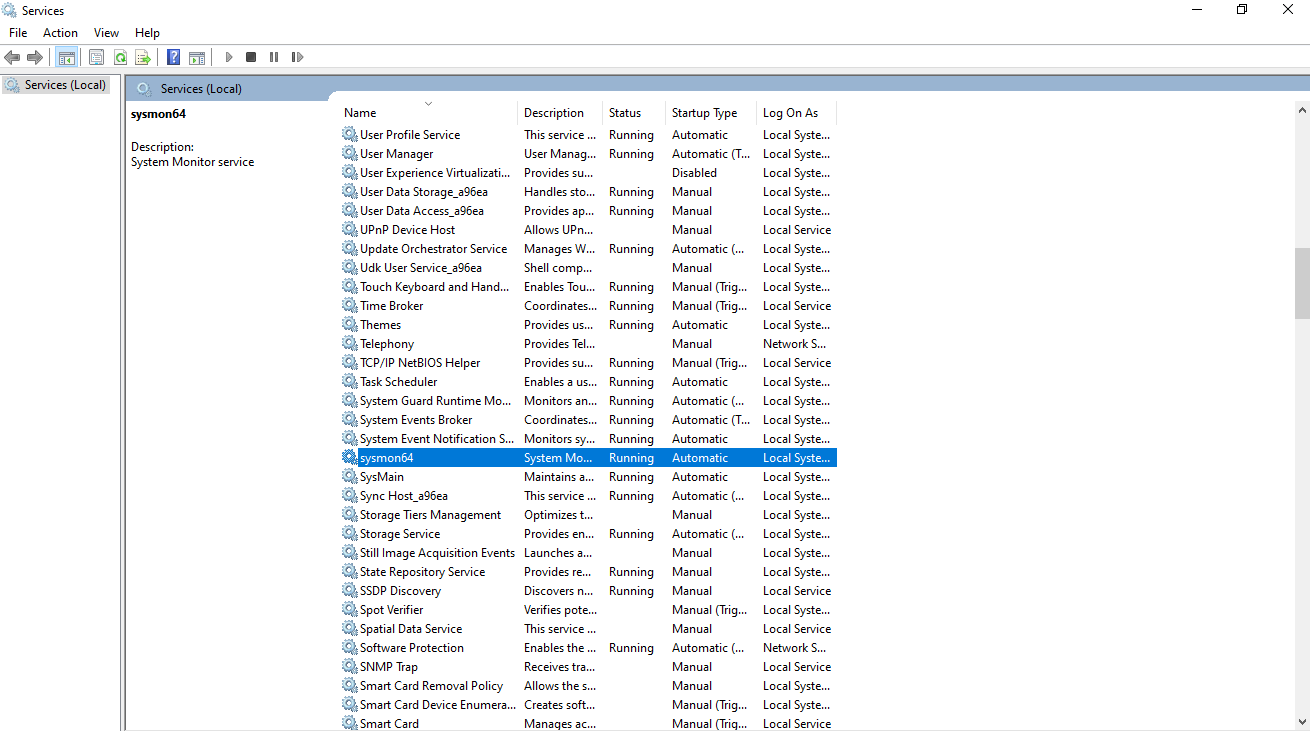
and Sysmon64 should display on the list of running services
Test on Client VM
Open PowerShell as administrator
Navigate to the Software Deployment Share and execute the script
The script ran successfully
Sysmon folder created on the C drive

Log file gives us the success message
and Sysmon64 is listed as a running service
Deploy Sysmon via GPO
Since the PowerShell script works and is shared to our AD computers, the users can just navigate to the share and execute the script to install Sysmon.
That’s boring so we are going to have the PowerShell script execute upon system startup.
This will also show how dangerous it would be if a bad actor got access to a Domain Admin account and created a malicious script to run on system startup.
First, uninstall Sysmon and delete the Sysmon folder from the C: drive of the client VM (the script works, now let’s see if the GPO will work)
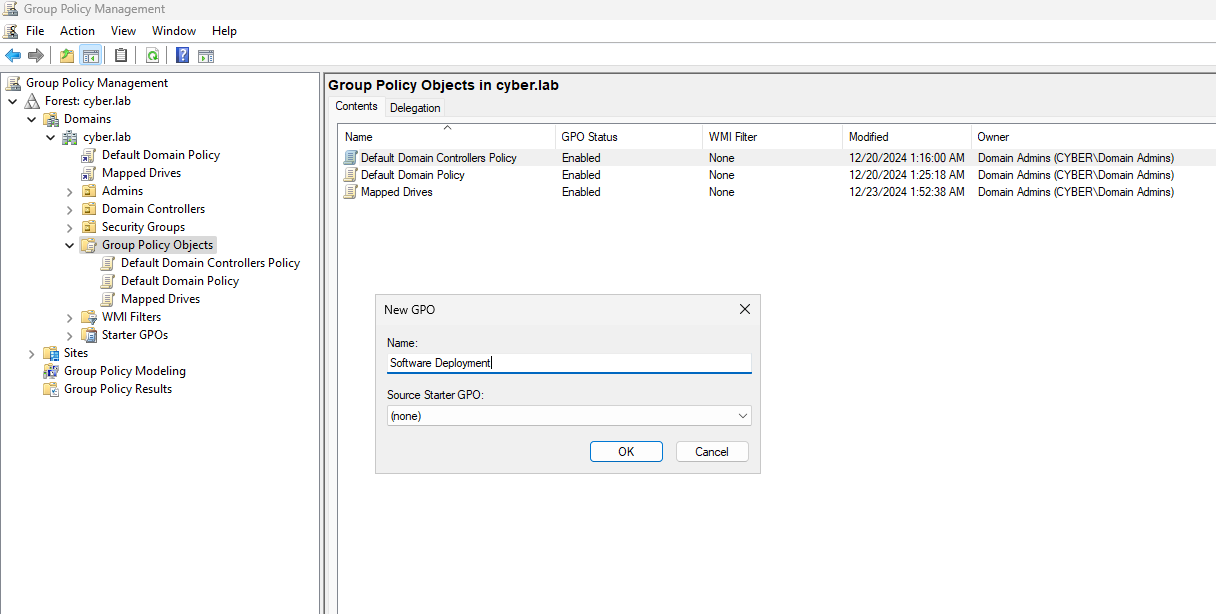
On the DC VM, Head to Group Policy Management
Right click Group Policy Objects > New > Enter a name
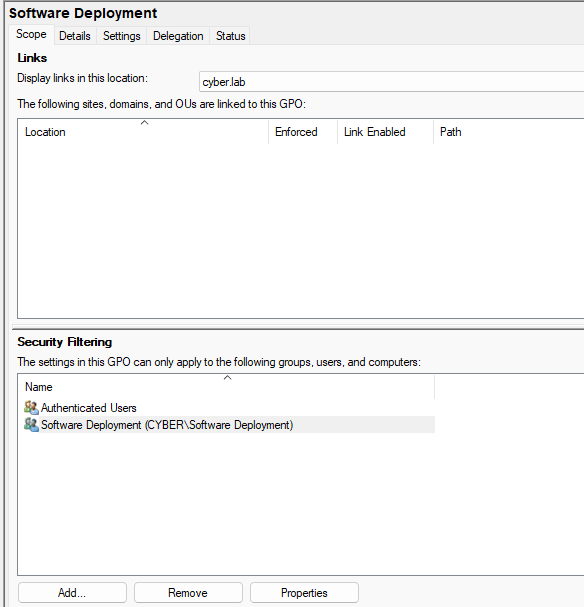
Click the GPO and under security filtering, add the Software Deployment group
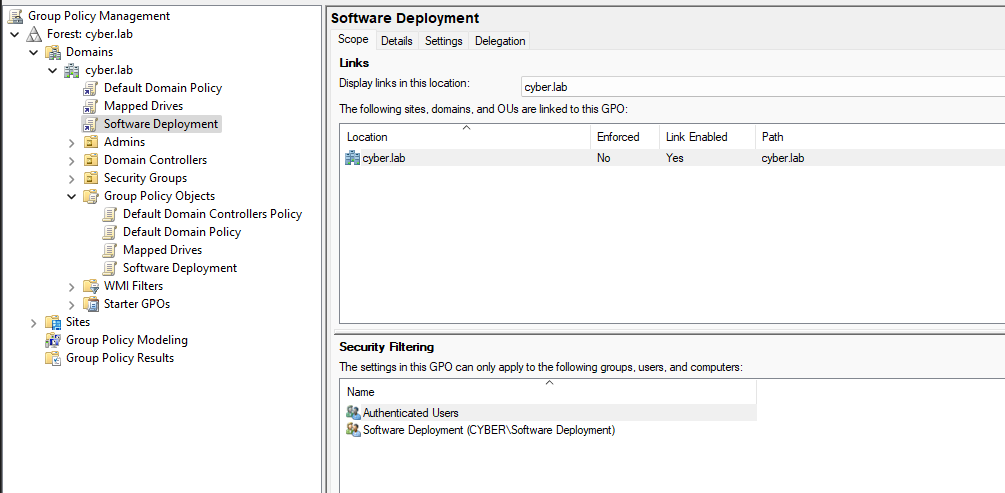
Drag the new GPO to the root domain (cyber.lab)
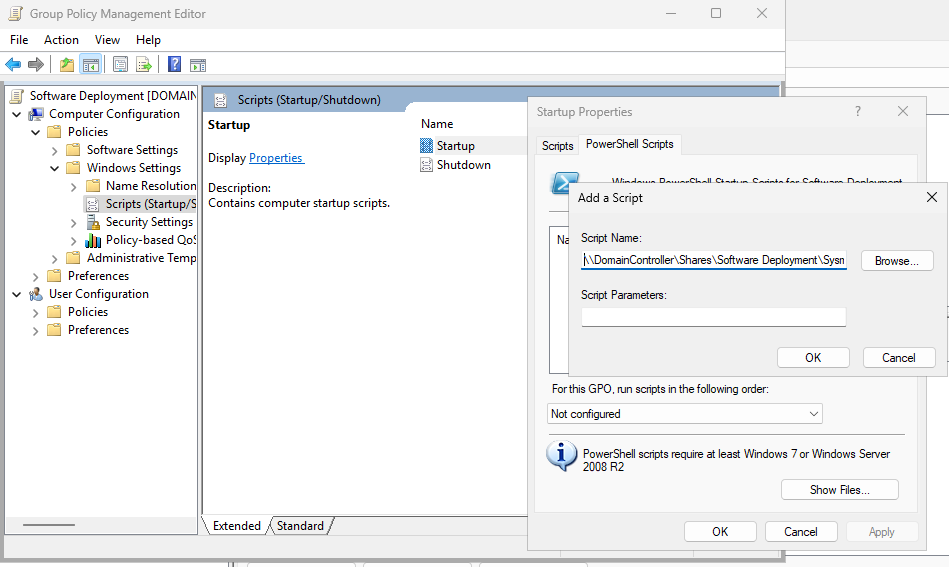
Right click the new GPO > Edit and head to Computer Configuration > Policies > Windows Settings > Scripts (Startup/Shutdown)
Click Startup and head to PowerShell Scripts
Add script, and put the full path of the PS script under Script Name (\\DomainController\Shares\Software Deployment\Sysmon\DeploySysmon.ps1)
Testing the GPO
Reboot the client VM (I am on Bob-Workstation)
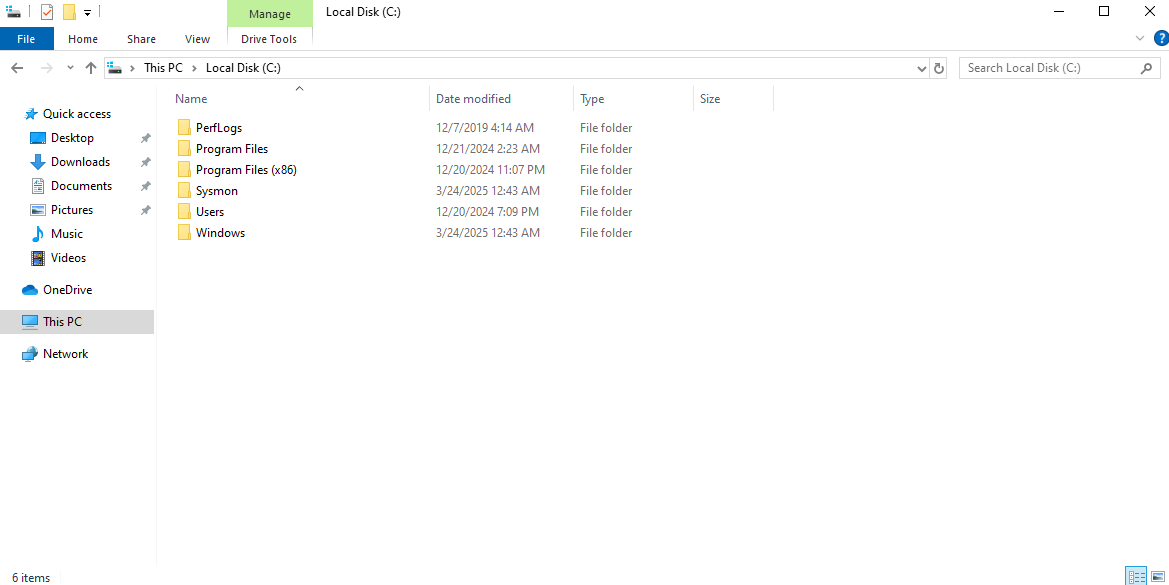
Notice that the Sysmon folder is created
Installation successful
and Sysmon64 running
I launched my 2nd client VM (Alice)
Pay attention to the date modified label of the folder (12:43)
Add these rules to ossec.conf if you have not already done so.
1
2
3
4
5
6
7
8
9
<localfile>
    <location>Microsoft-Windows-Sysmon/Operational</location>
    <log_format>eventchannel</log_format>
</localfile>

<localfile>
    <location>Microsoft-Windows-PowerShell/Operational</location>
    <log_format>eventchannel</log_format>
</localfile>
We can modify this file using GPO as well, but the main focus here is actually installing a service.
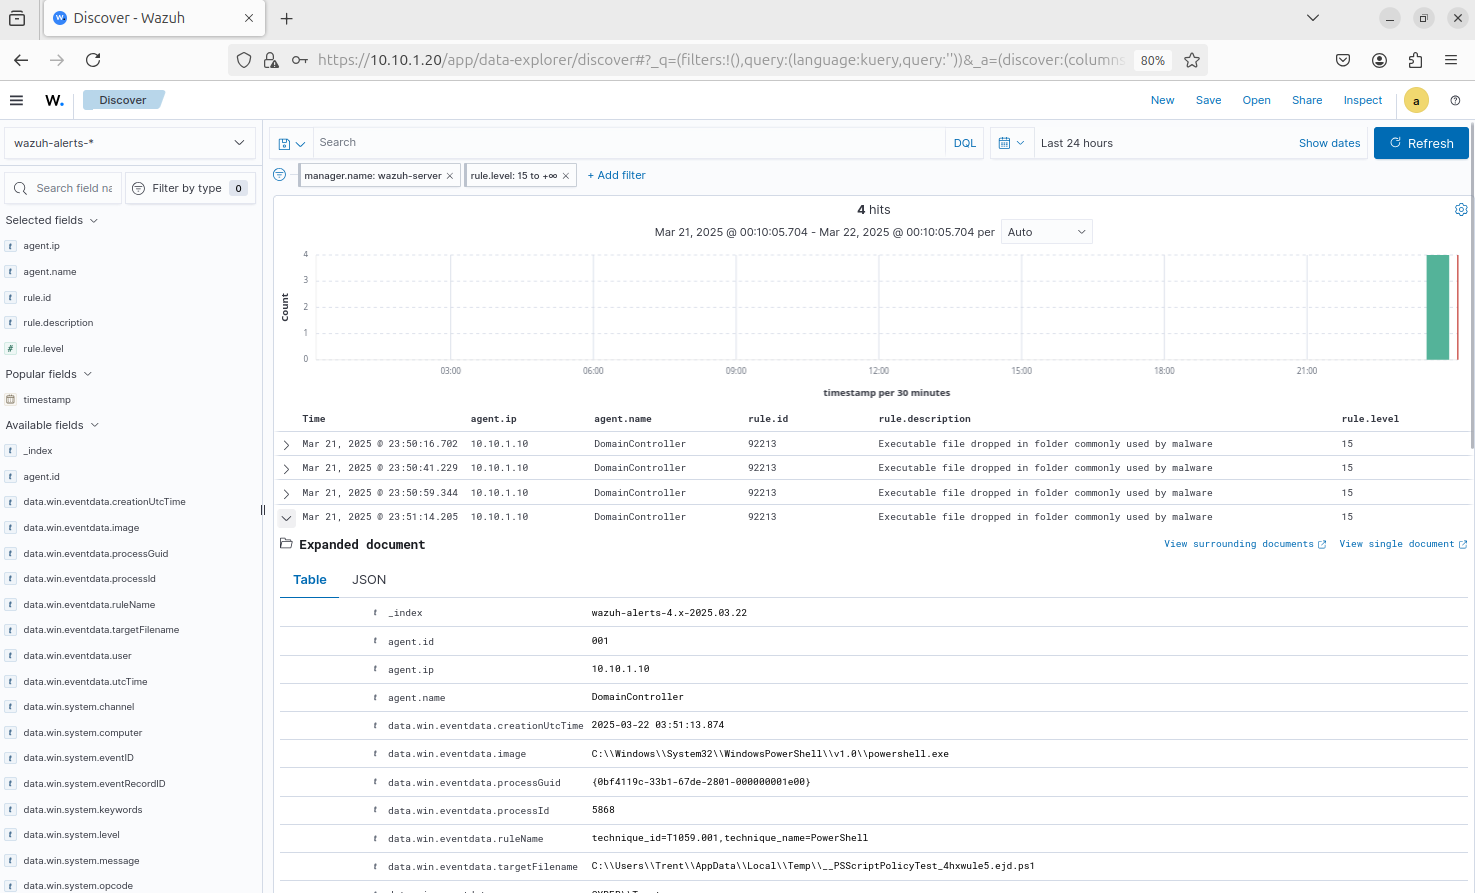
Wazuh Dashboard
Again, lots of false positives, we can tune it later
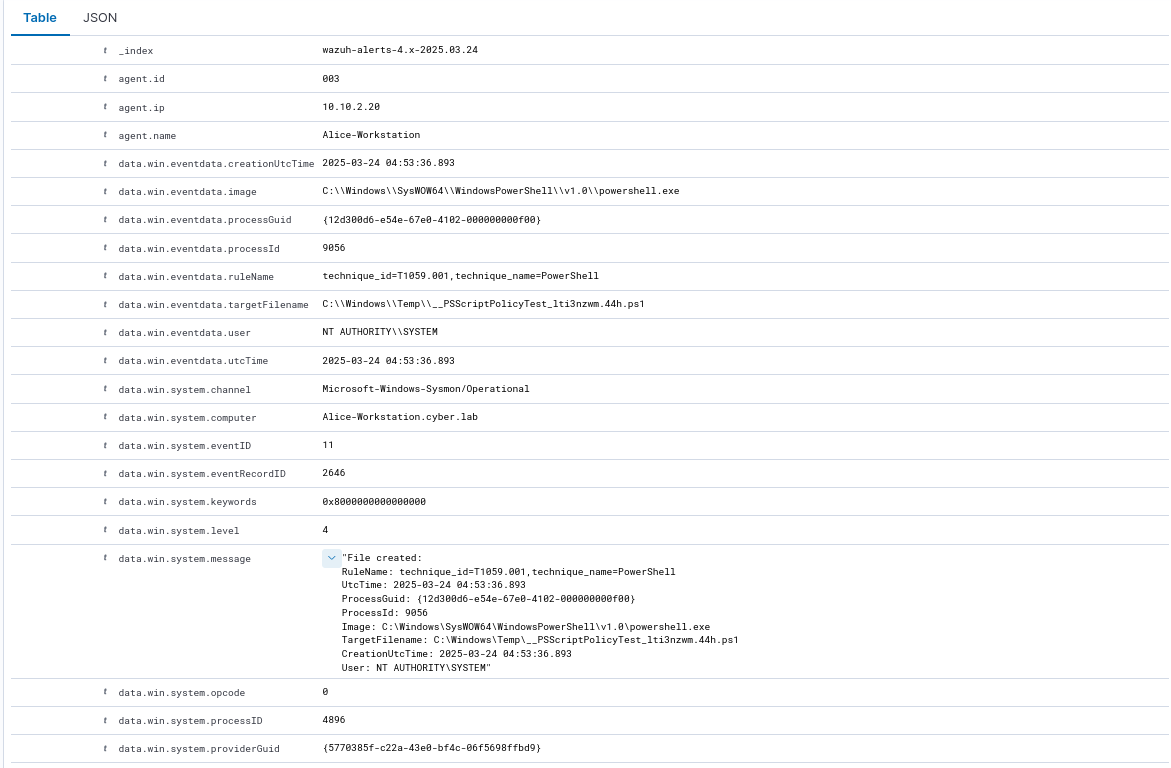
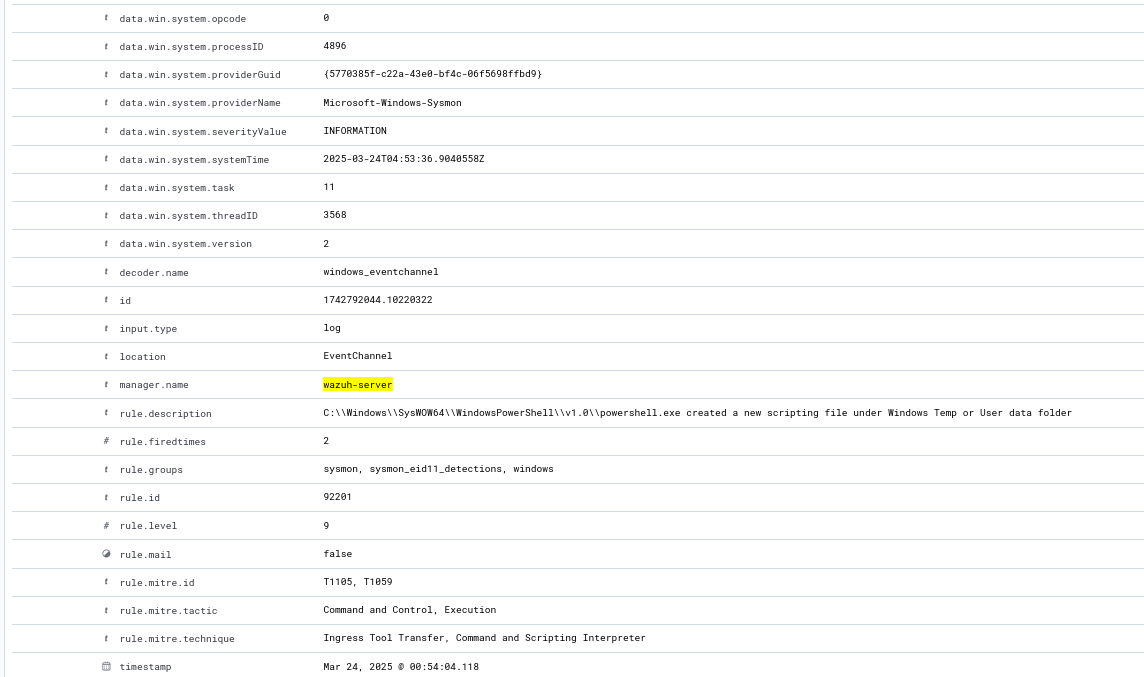
I am looking at high severity alerts (11-14)
Notice we are getting Sysmon events on Wazuh from all workstations
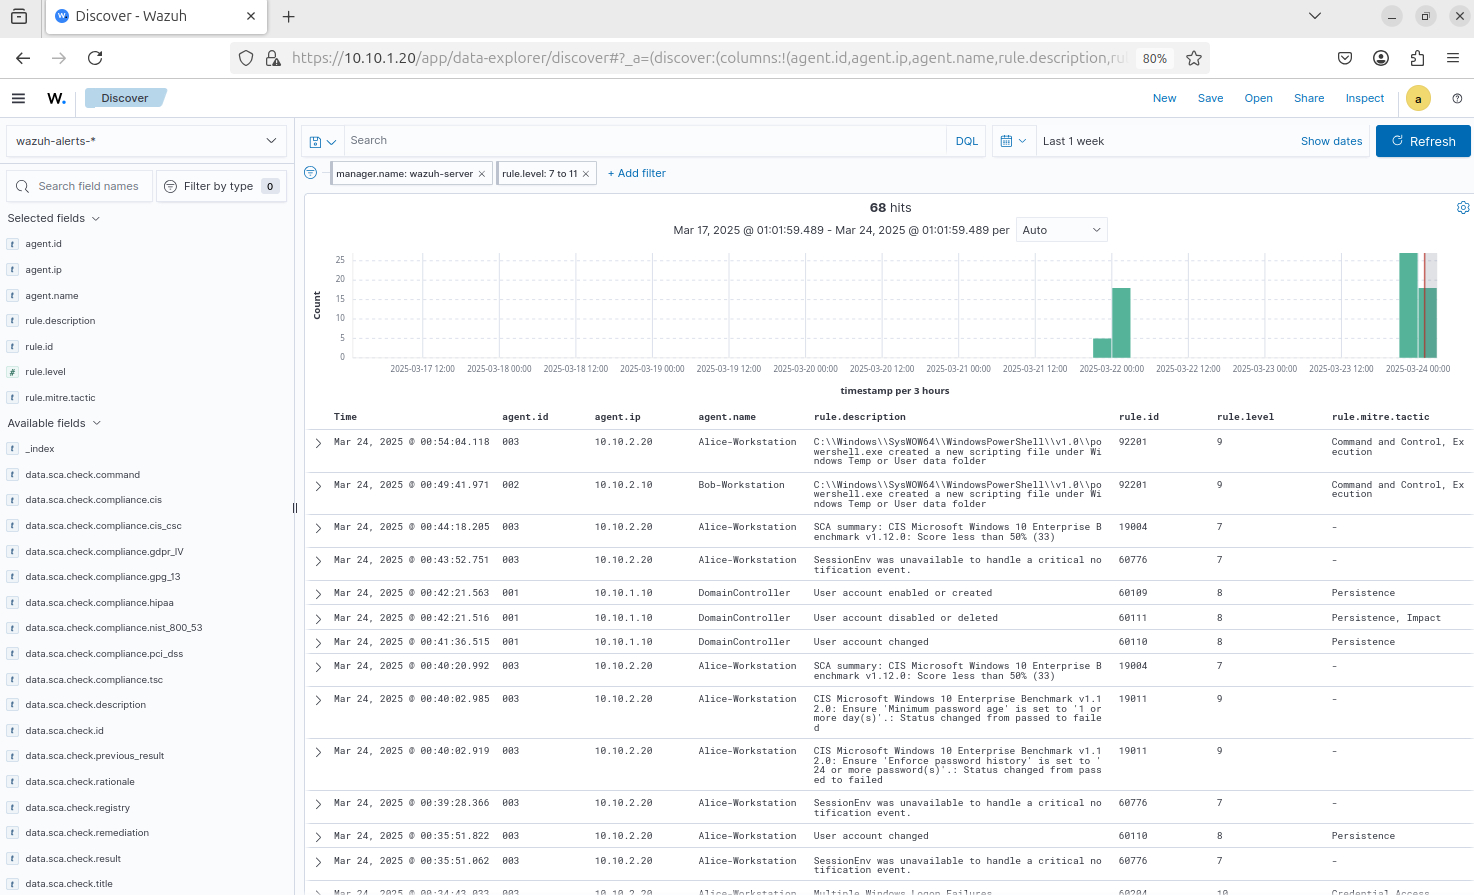
This is a log that was generated by the startup script running
Keep in mind that the PS script creates a folder in the C: drive of the system, so this will generate a log
The timestamp matches roughly when the folder was created and when ossec.conf was modified (UTC time is ahead by 4 hours)