Wazuh & Sysmon Telemetry Test
Generating telemetry for Wazuh.
In this exercise, we will generate some logs for Sysmon to see if they get forwarded properly to Wazuh. We will execute Mimikatz on one of our Windows 10 clients for this test and create a custom rule to detect Mimikatz activity.
Downloading Mimikatz
For the sake of this test, we will download Mimikatz directly from the GitHub repository.
Windows will flag the Mimikatz script as malware and prevent it from being downloaded, so we are going to temporarily disable some of our security settings.
On one of the client VMs, open Windows Security
Click on Virus and threat protection
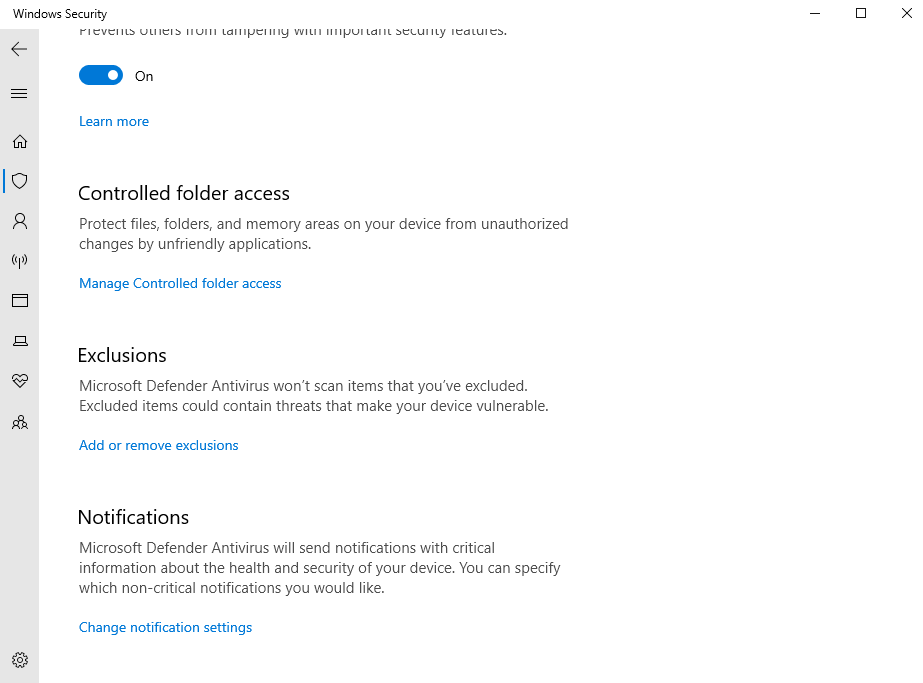
Under Virus and threat protection settings, click manage settings
Scroll down and click Add or remove exclusions
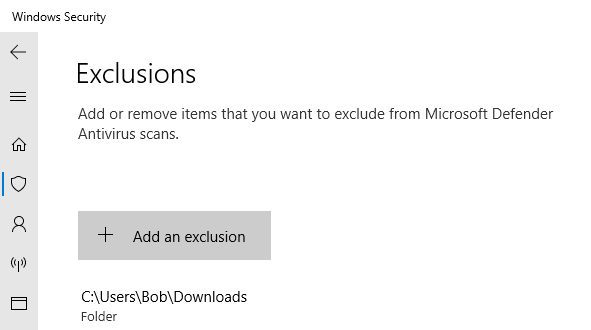
Click Add an exclusion > Folder
Select the Downloads folder
In my case, the full path of the folder is C:\Users\Bob\Downloads
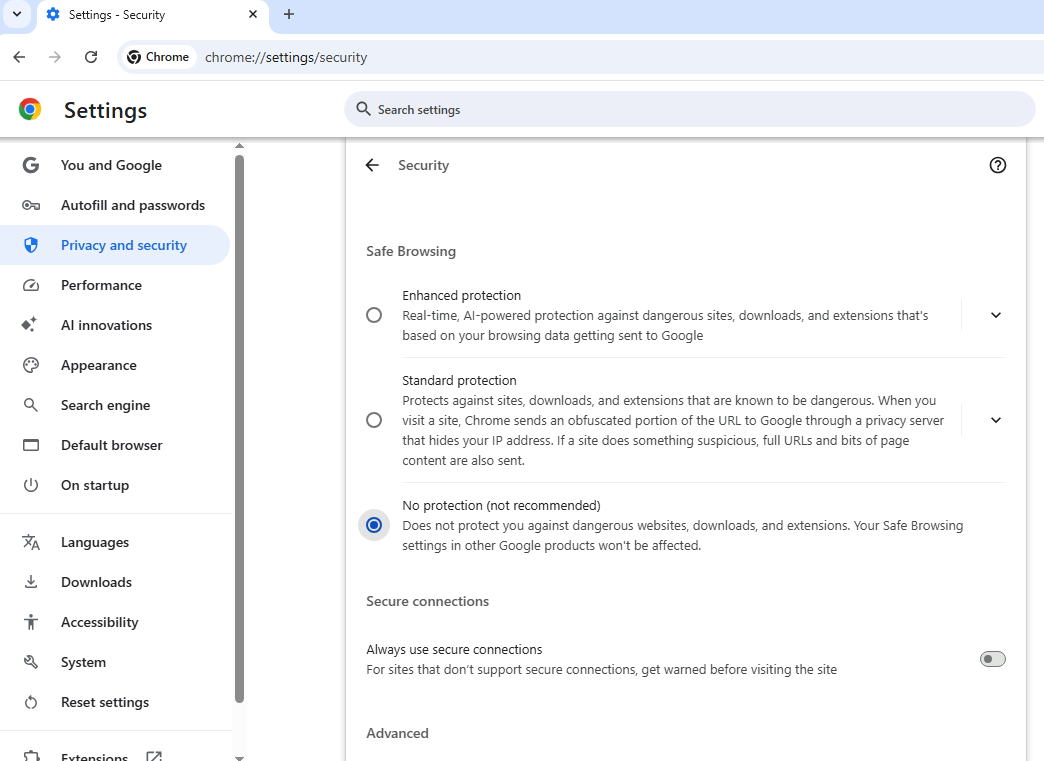
On your web browser (using Chrome in this case)
Head to Settings > Privacy and Security > Security
Select No protection
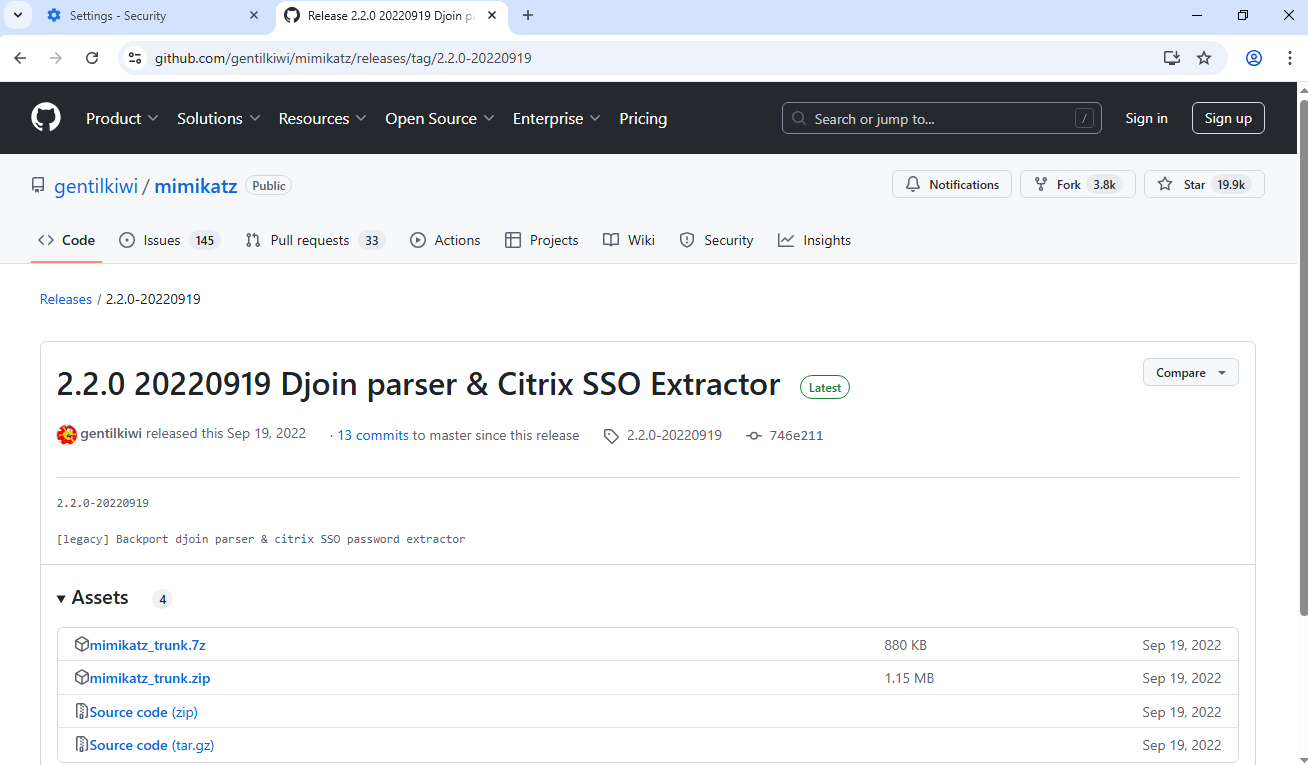
Head to the Mimikatz GitHub page: https://github.com/gentilkiwi/mimikatz
Click on releases on the right hand side and download mimikatz_trunk.zip from the latest release
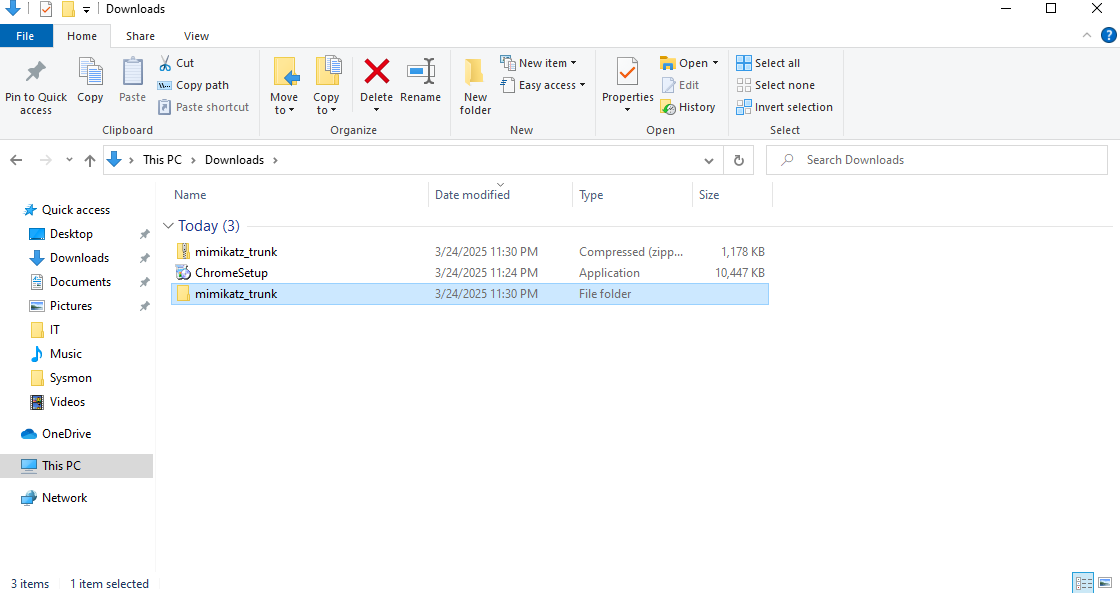
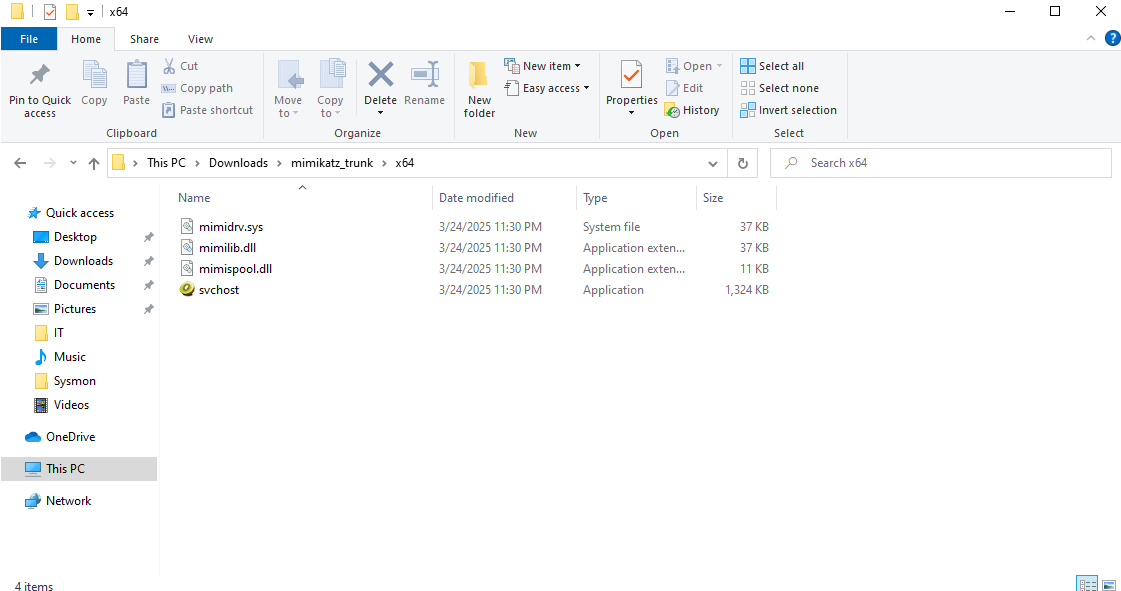
Once downloaded, extract the zip
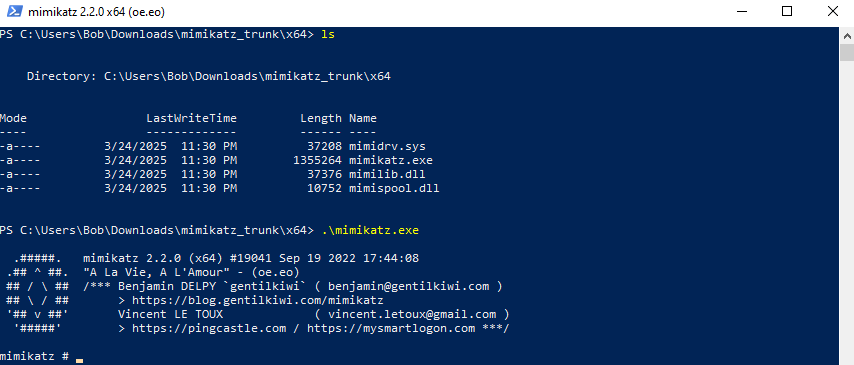
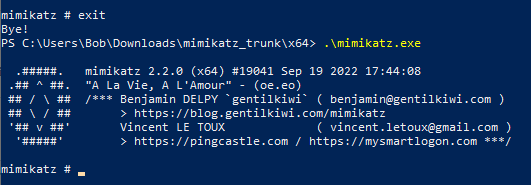
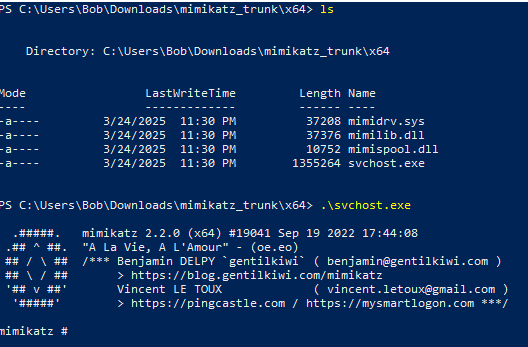
Open administrator as PowerShell
Navigate to the mimkatz_trunk\x64 directory
Execute mimikatz.exe
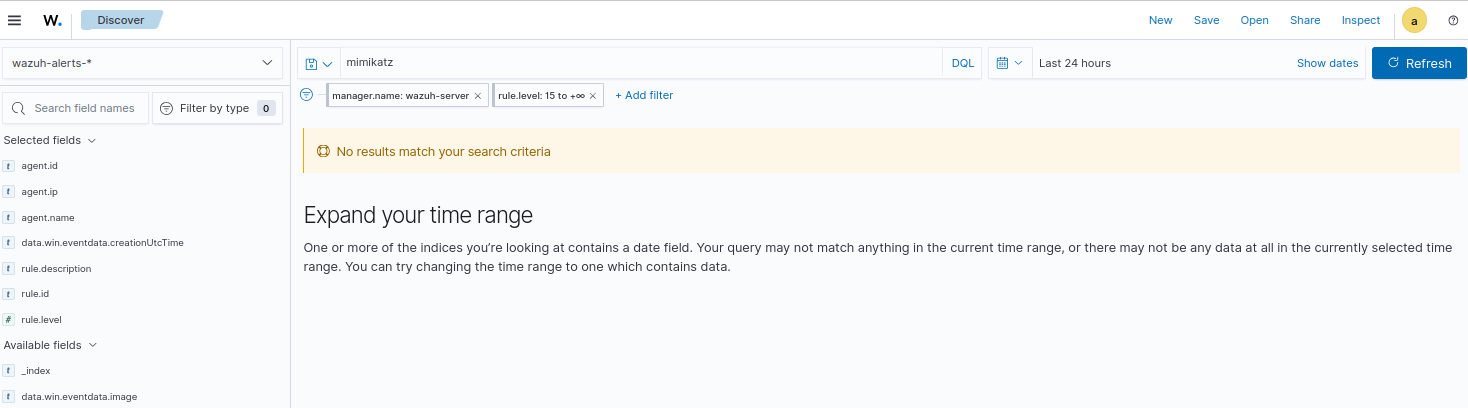
Head to Wazuh alerts
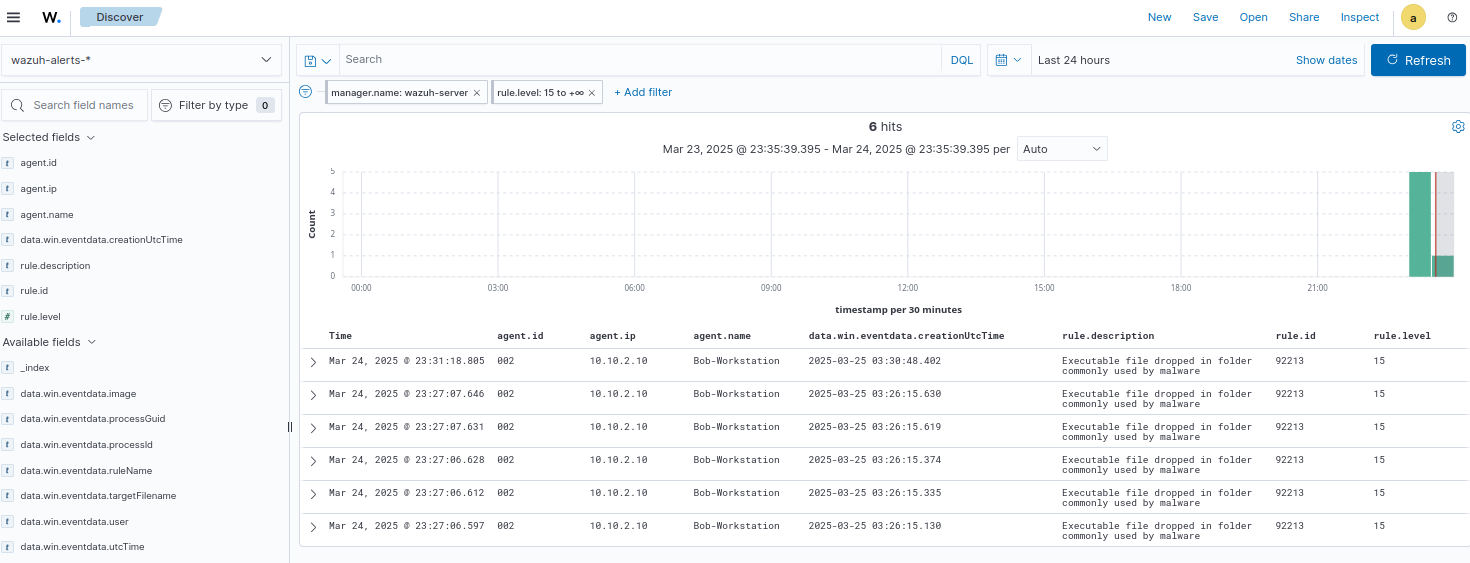
Notice that no rule or alert was triggered when Mimikatz was executed.
Setting up Wazuh Archive Logs
As per the documentation, Wazuh stores all collected logs in dedicated archive log files, specifically /var/ossec/logs/archives/archives.log and /var/ossec/logs/archives/archives.json. These archive log files comprehensively capture all logs, including those that do not trigger any alerts.
Since we do not have archive logs enabled, we did not see the log generated by the Mimikatz execution.
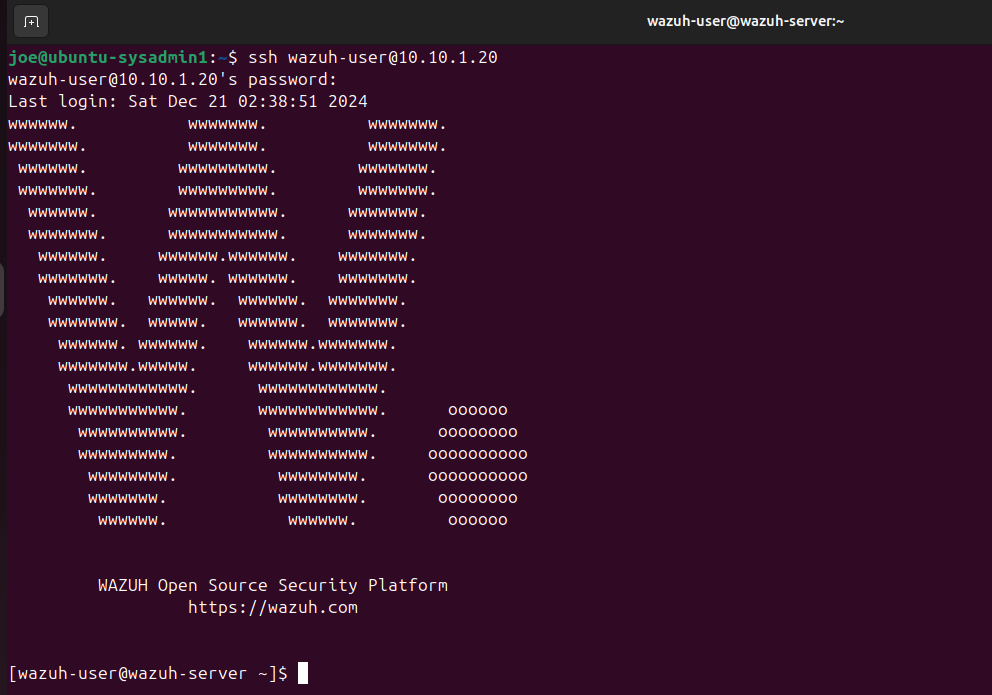
SSH into the Wazuh server form the Ubuntu VM
run su root once you are SSH’d
I am still using the default credentials for this lab
user: wazuh-user
password: wazuh
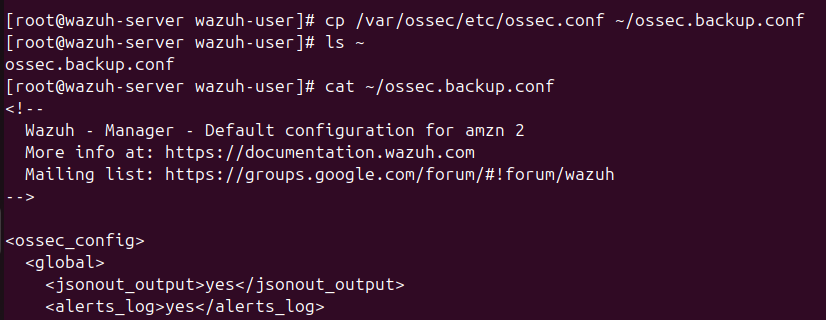
We will create a backup config file the same way we did for the Windows machines
copy /var/ossec/etc/ossec.conf and place it in the home directory
Command: cp /var/ossec/etc/ossec.conf ~/ossec.backup.conf
cd into /var/ossec/etc/
Run vim ossec.conf
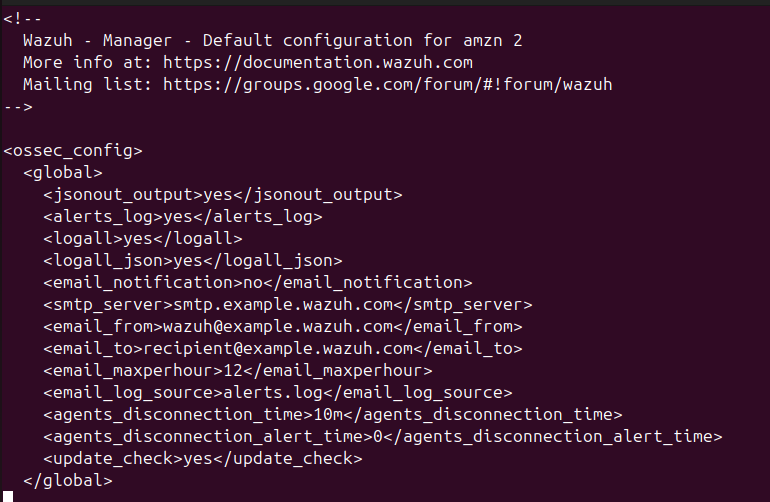
Under ossec_config, change the values of alerts_log, logall, and logall_json to yes
The config should look like this:
1
2
3
4
5
6
7
<ossec_config>
  <global>
    <jsonout_output>yes</jsonout_output>
    <alerts_log>yes</alerts_log>
    <logall>yes</logall>
    <logall_json>yes</logall_json>
    ...
Then run systemctl restart wazuh-manager to make the changes go into effect
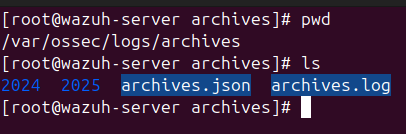
cd into the archives directory
We should see archives.json and archives.log
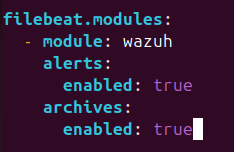
Edit /etc/filebeat/filebeat.yaml

Scroll down until you see filebeat.modules
Under filebeat.modules, set the value for enabled under alerts and archives to true
Run systemctl restart filebeat

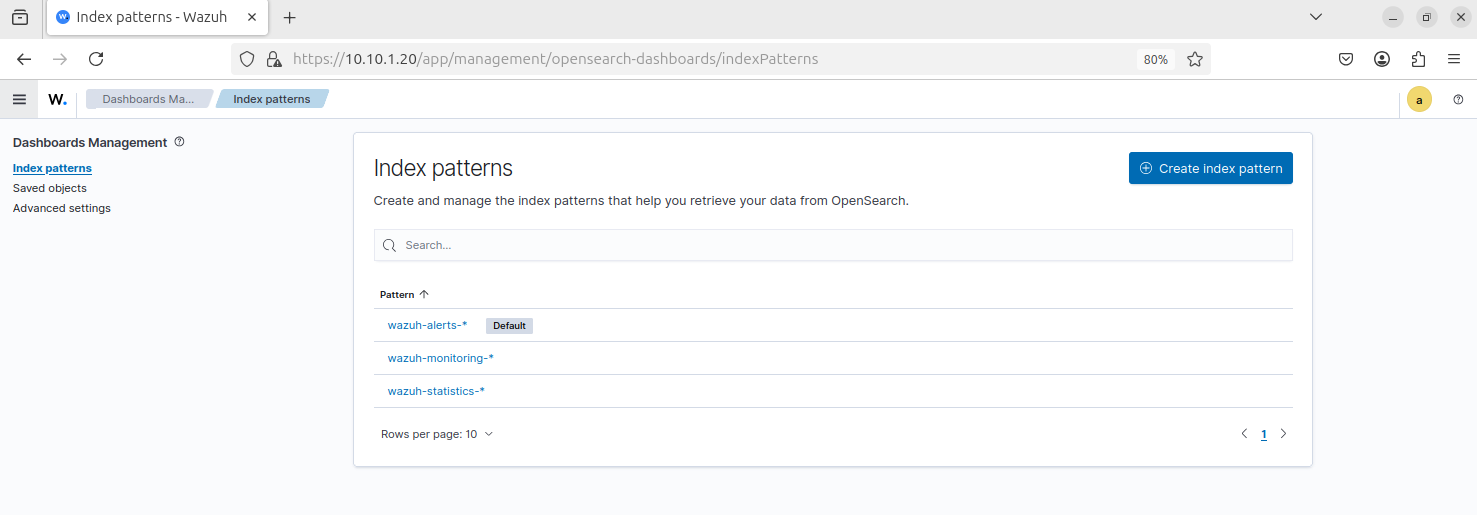
Head back to the Wazuh dashboard
Head to Dashboard management > Dashboard Management > Index patterns
Click Create index pattern
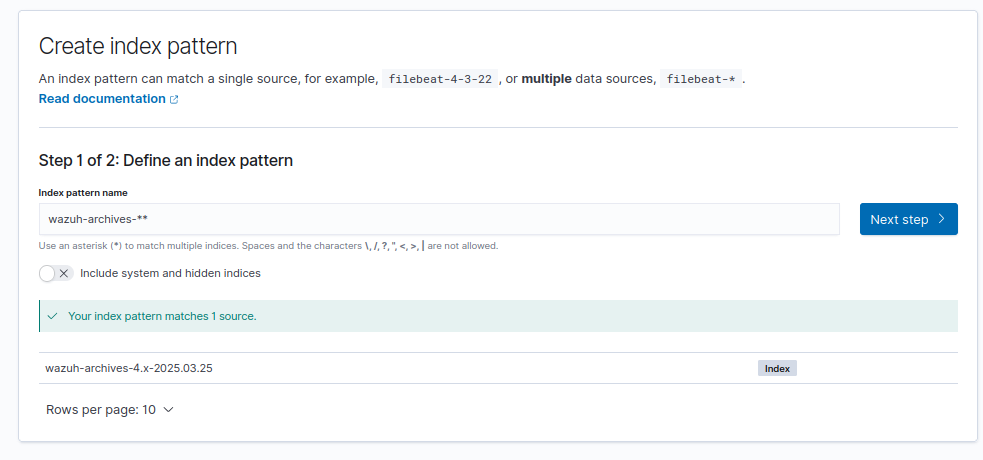
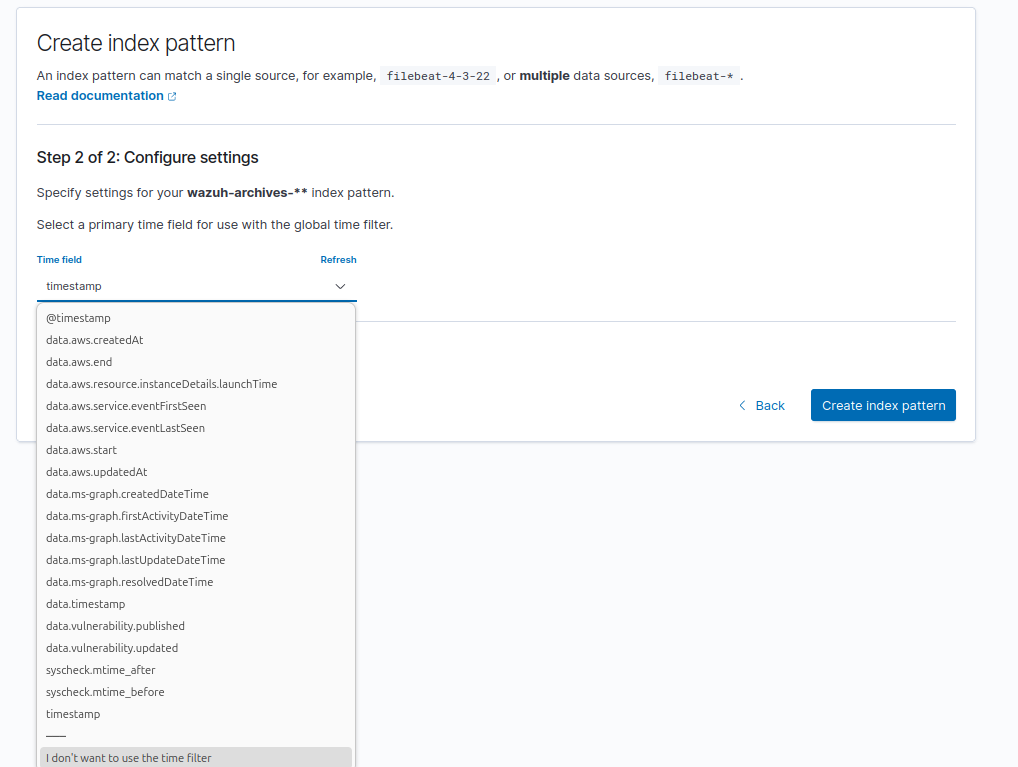
Name the index pattern: wazuh-archives-**
The index pattern should match a source by the name of wazuh-archives-4.x-yyyy.mm.dd
Click next step
For time field, select timestamp
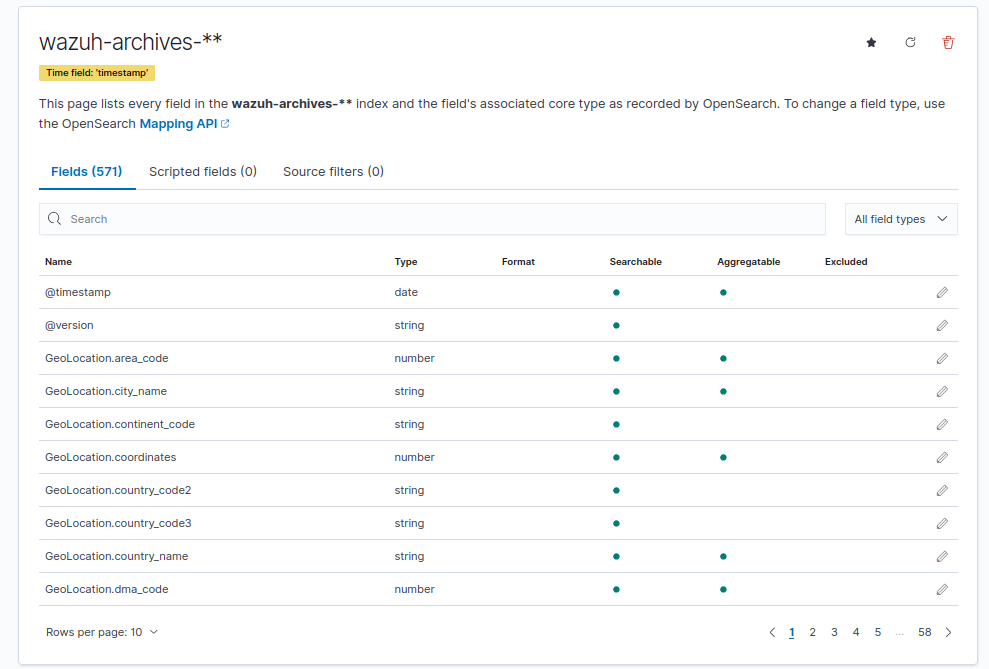
Then click Create index pattern
We should have various fields for this index, allowing for more extensive data filtering and searching capabilities
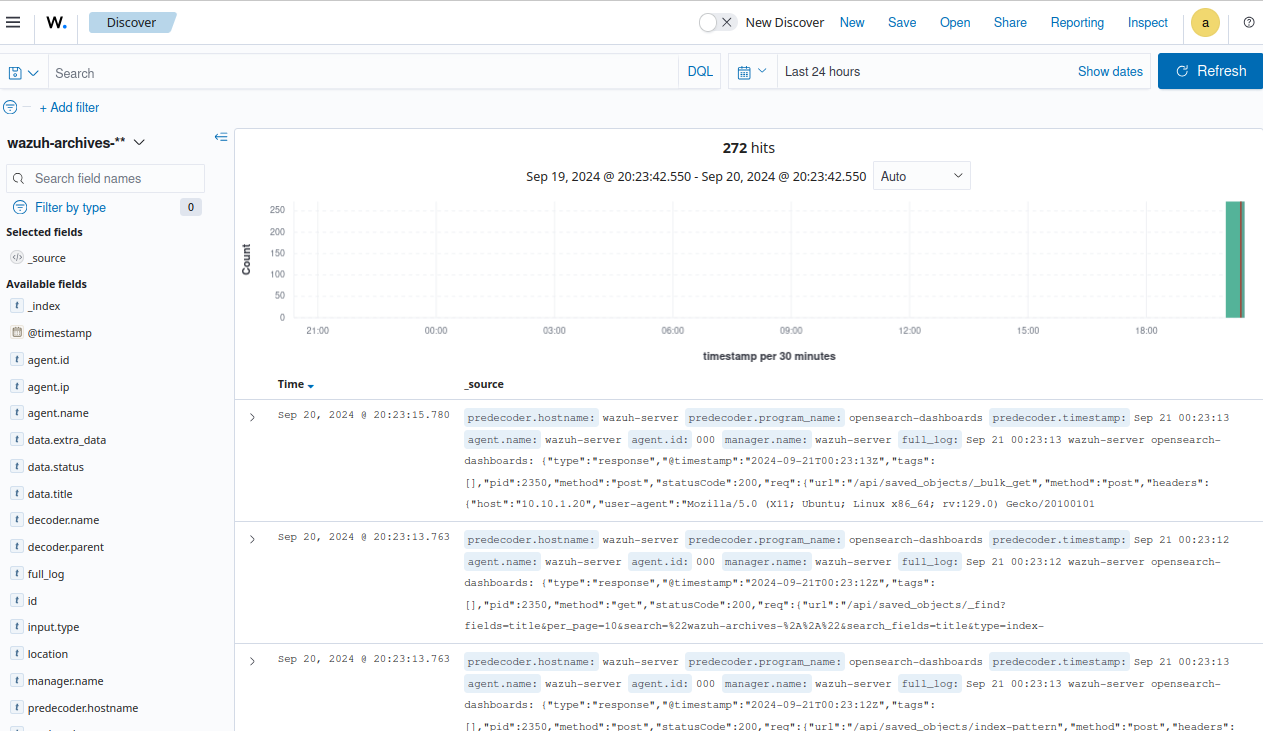
Head to Explore > Discover
On the left hand side, select wazuh-archive-** as the index
It will take a moment for some logs to load
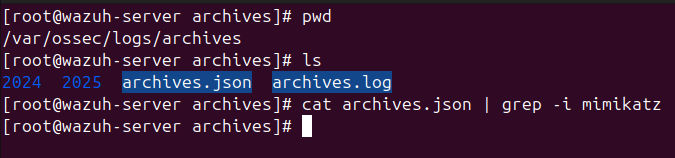
Head back to the SSH terminal
Run cat archives.json | grep - i mimikatz (ignore case sensitivity)
Notice that there are no results for Mimikatz logs since none of the logs are stored
On the Windows client VM, execute Mimikatz again
Head to Event Viewer
Head to Application and Services Logs > Microsoft > Windows > Sysmon > Operational
Look for Event ID 1 (process creation)
Notice that Sysmon is generating a log for Mimikatz

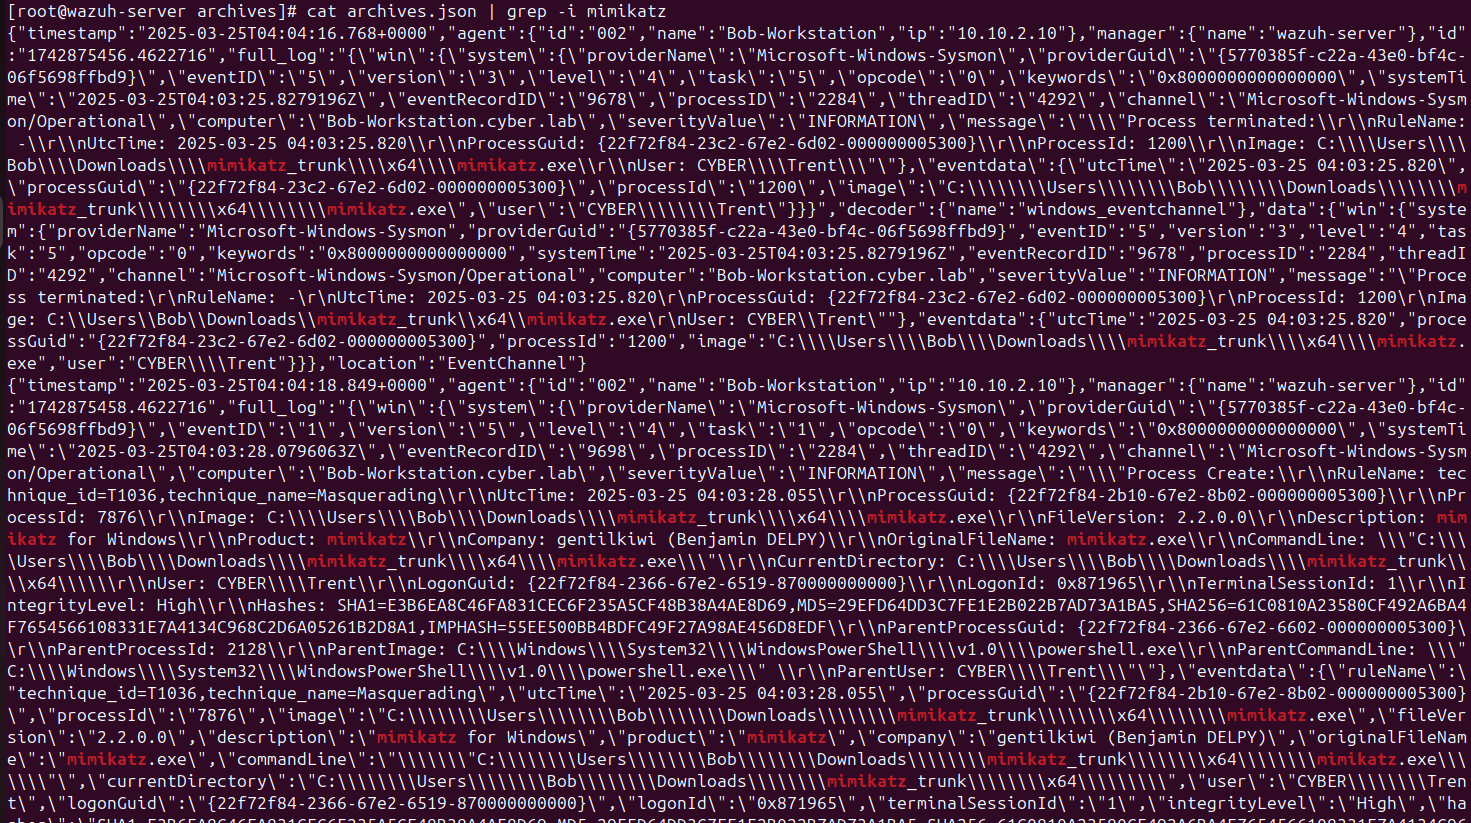
Run cat archives.json | grep - i mimikatz again
Now we have some Mimikatz logs
Search for Mimikatz on the Wazuh dashboard
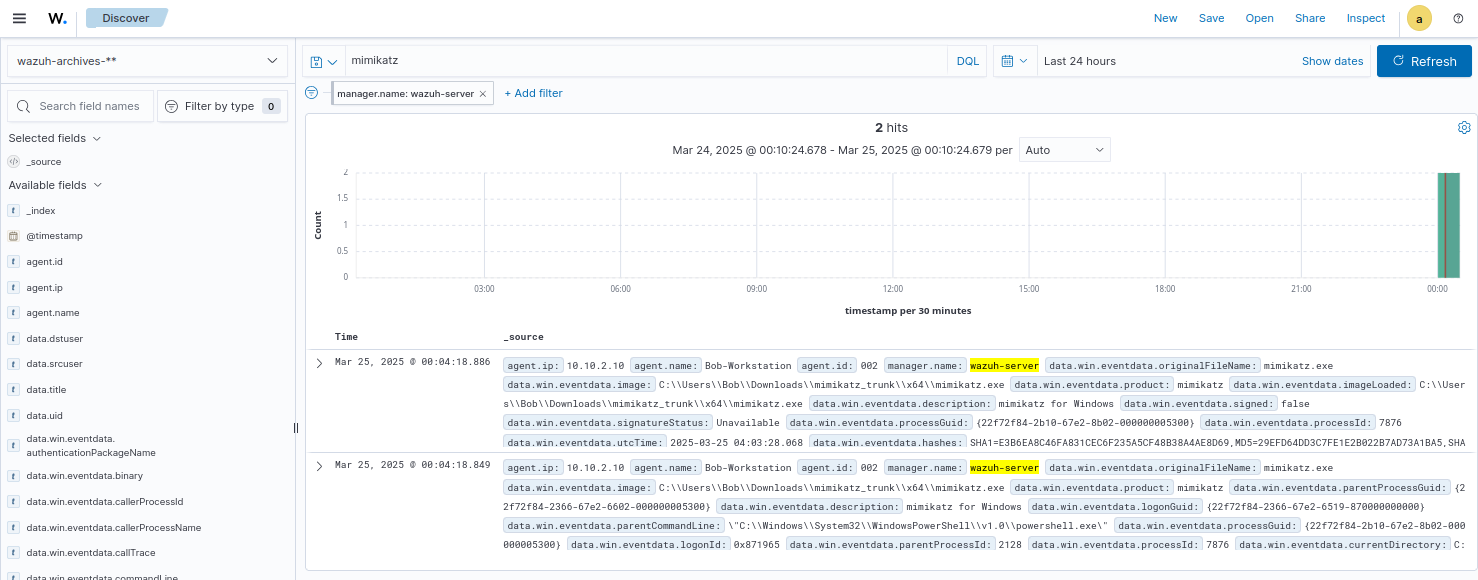
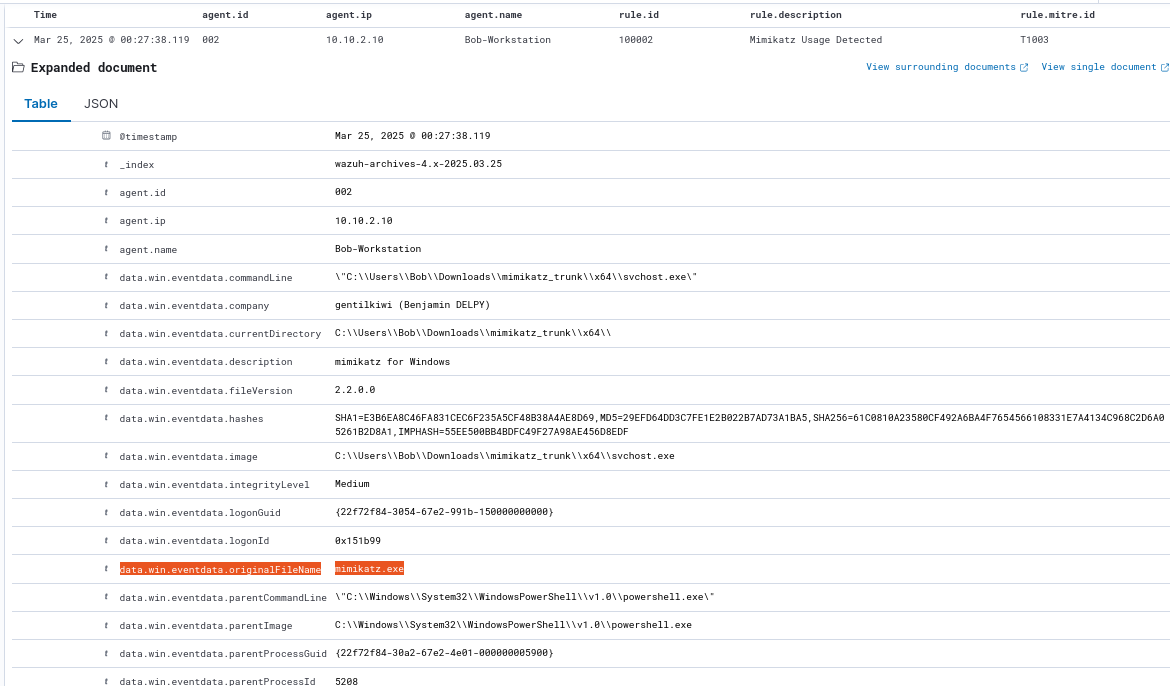
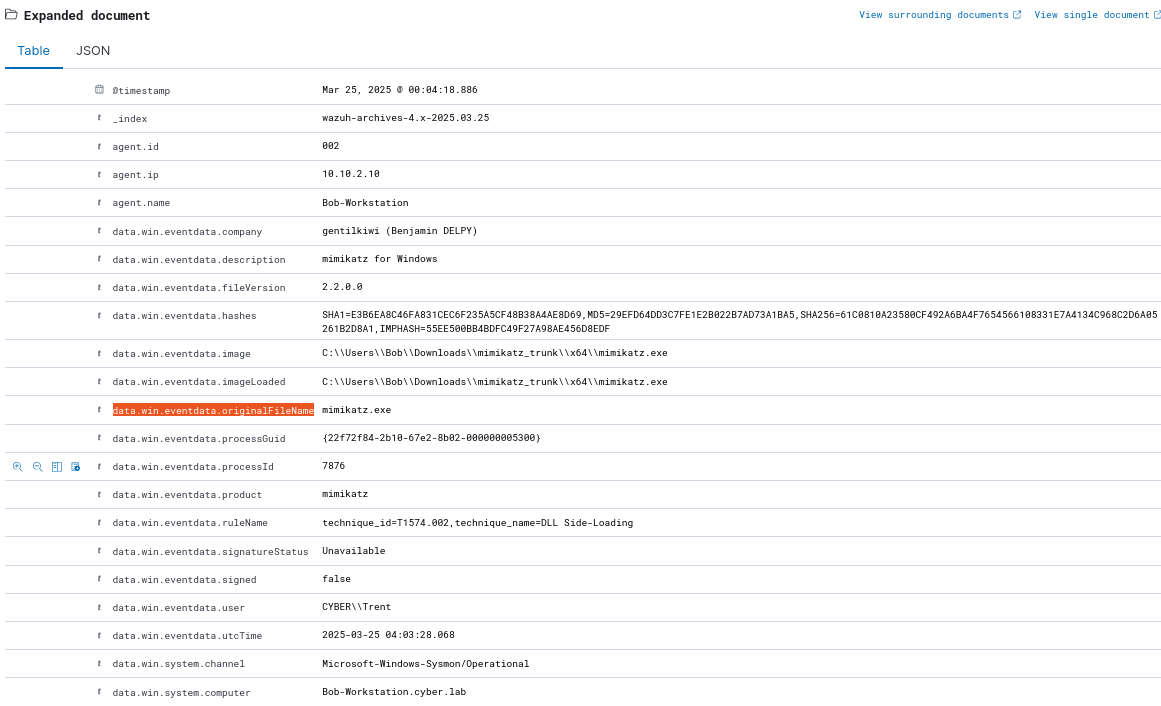
Expand one of the logs
Look for data.win.eventdata.originalFileName
A common technique for attackers is to mask the name of malicious scripts by renaming them to common processes run by Windows (ex. svchost.exe, lsass.exe, etc.)
We will create a rule to detect Mimikatz activity regardless of the original file name
Creating a Custom Rule
Click the menu icon from the top left of the screen and head to Server Management > Rules
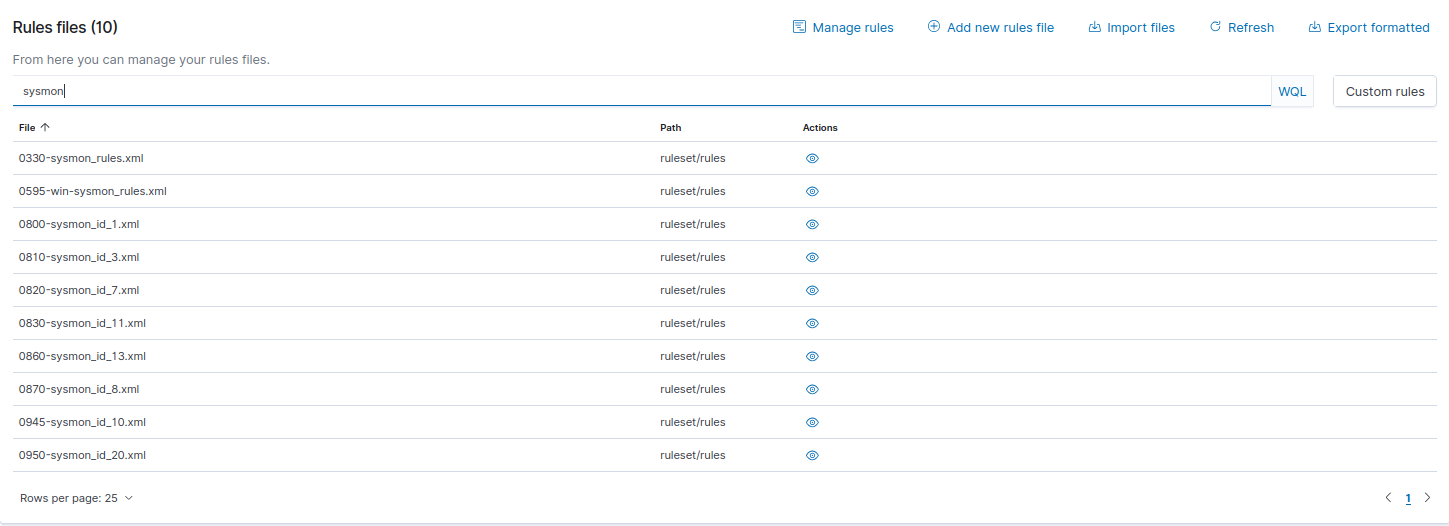
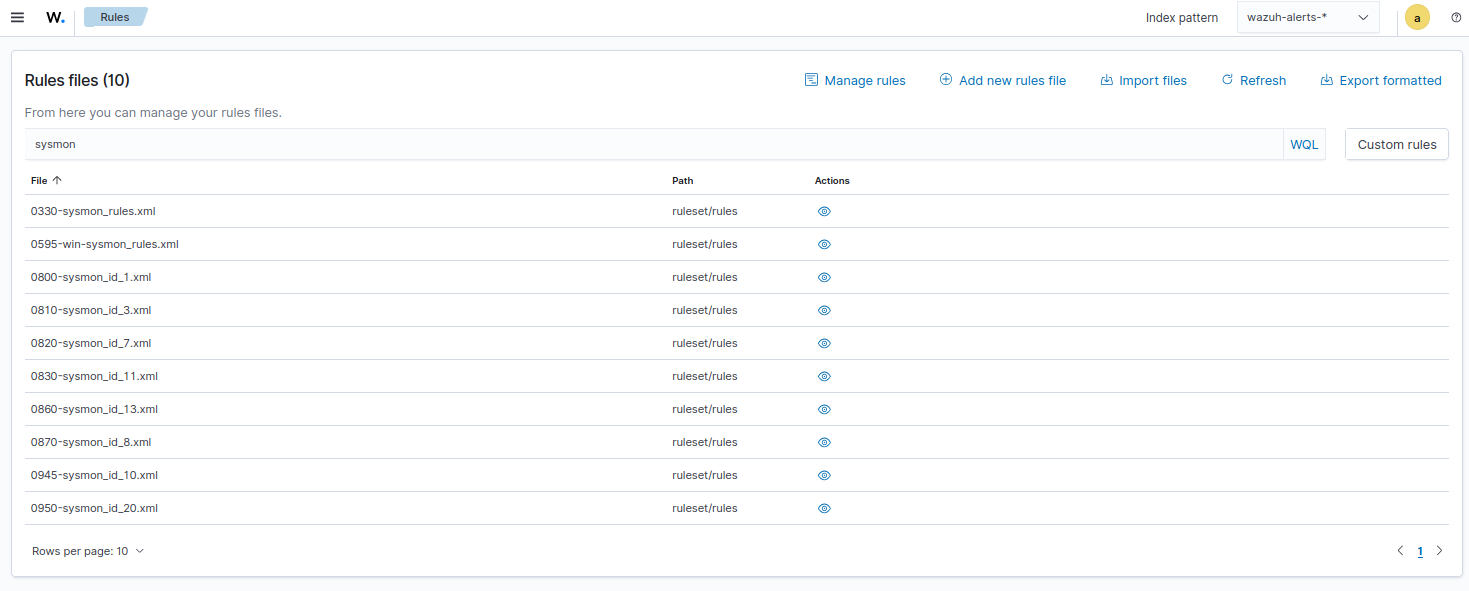
Click Manage rules files
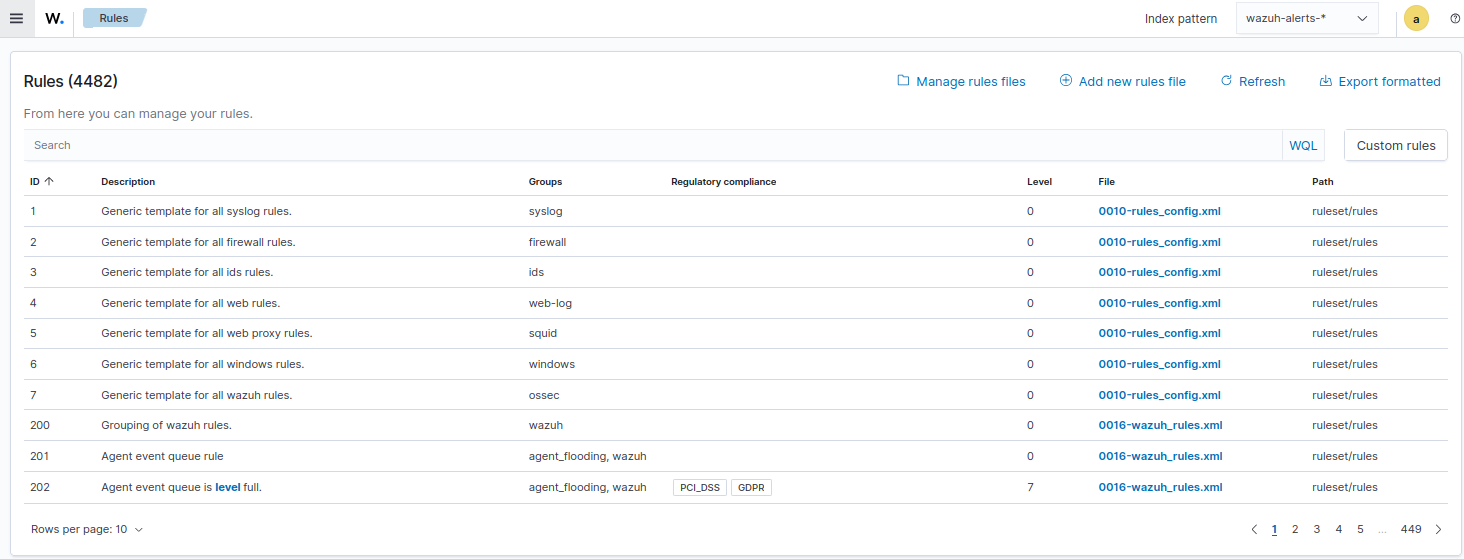
Enter sysmon in the search bar
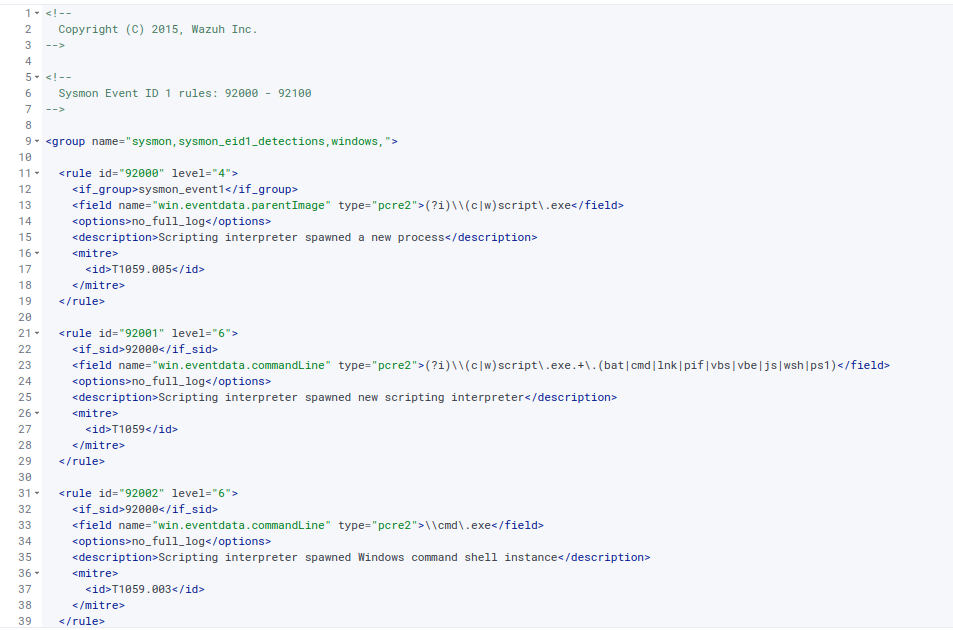
click the eye icon under actions for 0800-sysmon_id_1 (this targets Event ID 1: Process Creation)
Copy the rule template and save it to your clipboard
For example:
1
2
3
4
5
6
7
8
9
  <rule id="92000" level="4">
    <if_group>sysmon_event1</if_group>
    <field name="win.eventdata.parentImage" type="pcre2">(?i)\\(c|w)script\.exe</field>
    <options>no_full_log</options>
    <description>Scripting interpreter spawned a new process</description>
    <mitre>
      <id>T1059.005</id>
    </mitre>
  </rule>
Go back and click on Custom rules (on the right hand side)
Edit local_rules.xml
Click the pencil icon under actions

Paste the rule template from your clipboard
Custom rules must start from 100000
100001 is already used, so we’ll use 100002
For severity level, we will set it to 15 (highest)
Change field name to win.eventdata.originalFileName (CAPS MATTER, the field name must match exactly)
For type, set the value to “pcre2”>(?i)mimikatz.exe</field> (this is a regex query that searches for mimikatz, ignoring case sensitivity)
Remove
Change the description to something fitting
Change the MITRE ID to T1003 (Credential dumping)
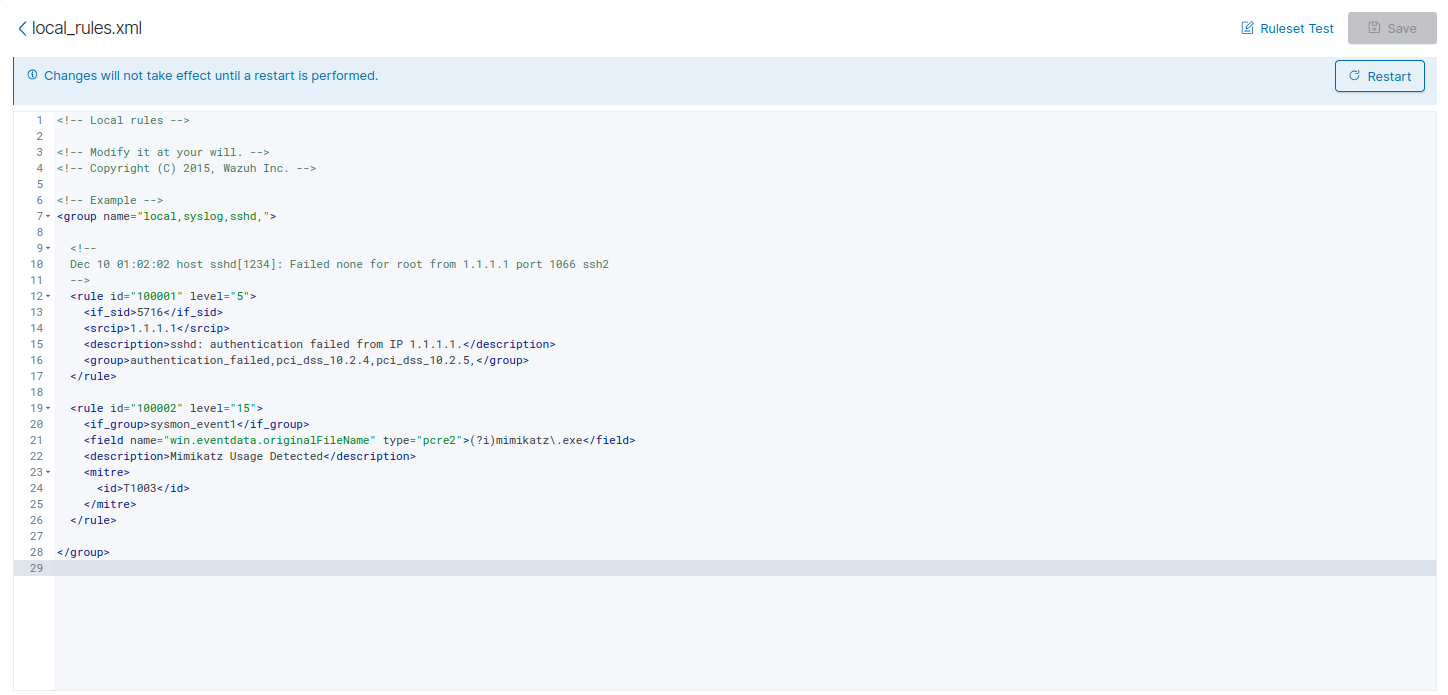
Our new rule would look like this:
1
2
3
4
5
6
7
8
  <rule id="100002" level="15">
    <if_group>sysmon_event1</if_group>
    <field name="win.eventdata.originalFileName" type="pcre2">(?i)mimikatz\.exe</field>
    <description>Mimikatz Usage Detected</description>
    <mitre>
      <id>T1003</id>
    </mitre>
  </rule>
Once you created the rule, save and restart the manager
Proof of Concept
Head back to the Windows VM and rename mimikatz.exe
I renamed it to svchost.exe
Open PowerShell if it is not already open, and run Mimikatz using the new name
Head back to the Wazuh dashoard
We are looking for critical alerts (Severity level 13-15)
I set the fields to time, agent.id, agent.ip, rule.id, rule.description, and rule.mitre.id
Notice the log for our new rule
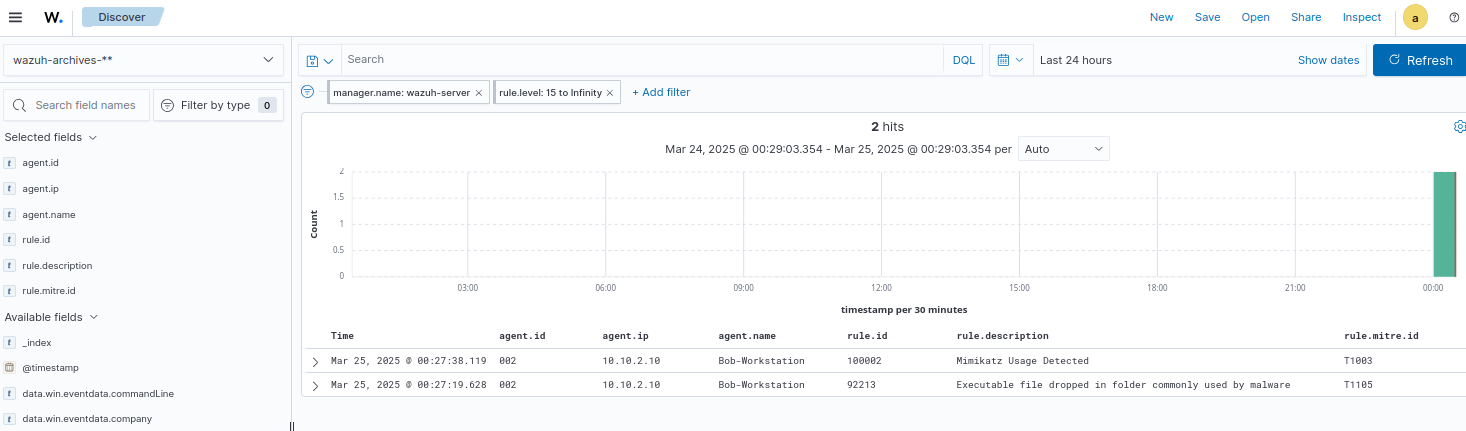
Notice the original file name (mimikatz.exe) and new one (svchost.exe) are logged
The rule works!