Active Directory: Windows Client Setup
Setting up a Windows 10 Active Directory client.
ISO Download & VM Setup
The Windows 10 Enterprise ISO can be found at: https://www.microsoft.com/en-us/evalcenter/download-windows-10-enterprise
I was having issues trying to set up the Windows 11 Enterprise ISO. Morevoer, Windows 11 requires more RAM and CPU and I am going to be running multiple client VMs, so I just went with Windows 10 to preserve system usage.
Only Pro, Education, and Enterprise editions of Windows 10/11 can be joined to a domain. Active Directory is not supported in Home Editions. https://learn.microsoft.com/en-us/answers/questions/1805776/how-to-join-the-active-directory-on-a-regular-comp
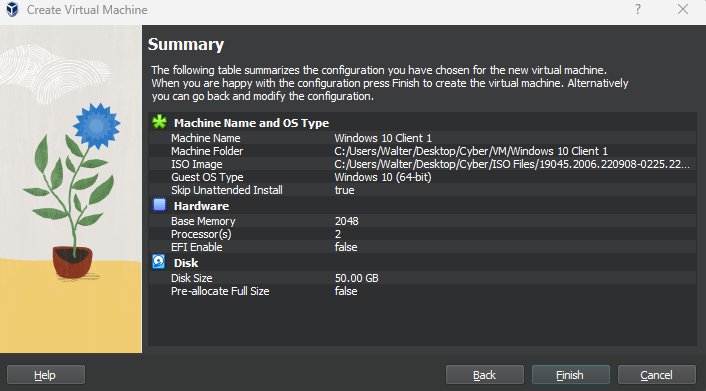
I gave this VM:
2 GB RAM
2 CPUs
50GB Storage
Skip unattended install: checked
If your VM keeps freezing or getting black screens, you may want to increase the RAM.
Attach adapter 1 to the cyberlab-ad network

Launch the VM
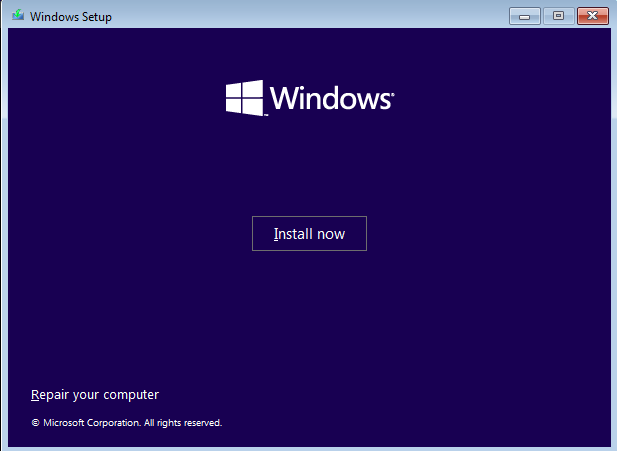
Click install now
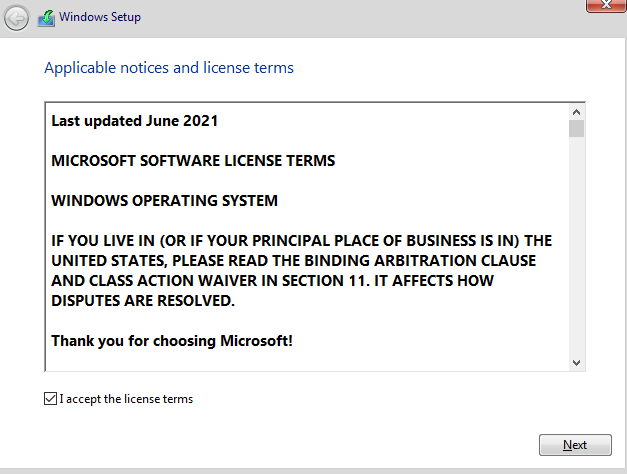
Accept the license
Select Custom Install
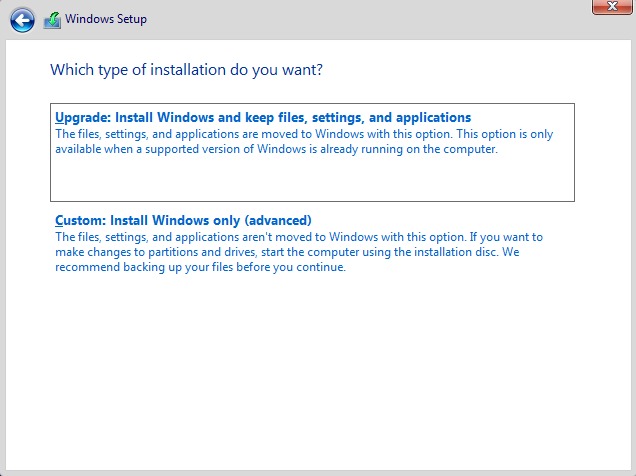
Select Drive 0
Next

Wait for the installation to finish (~10 minutes)
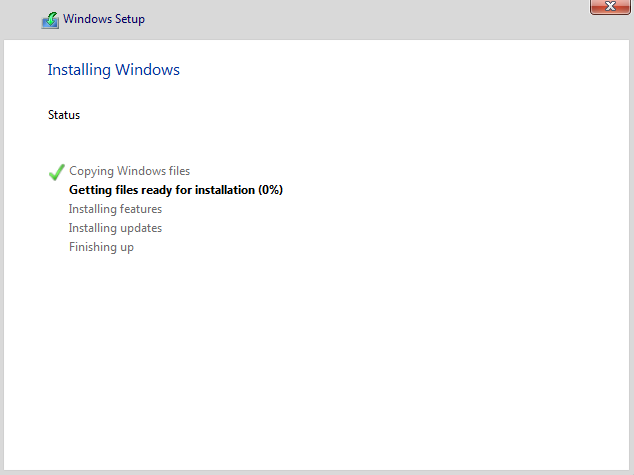
You may see this screen when the installation finishes
Stop the VM
Remember to change the boot order (Right click the VM from VirtualBox > Settings > System > Motherboard)
The VM should boot from the hard disk

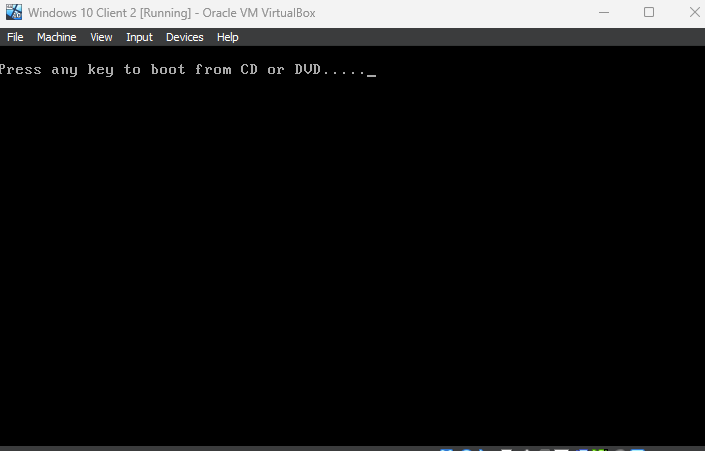
Reboot the VM

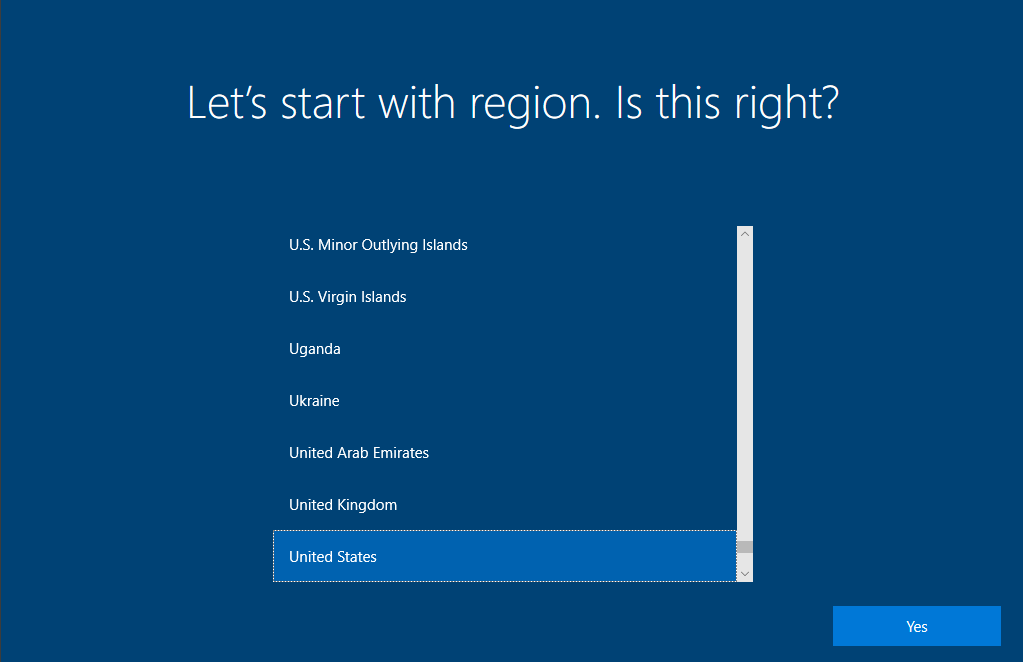
Select your region
Select your keyboard layout

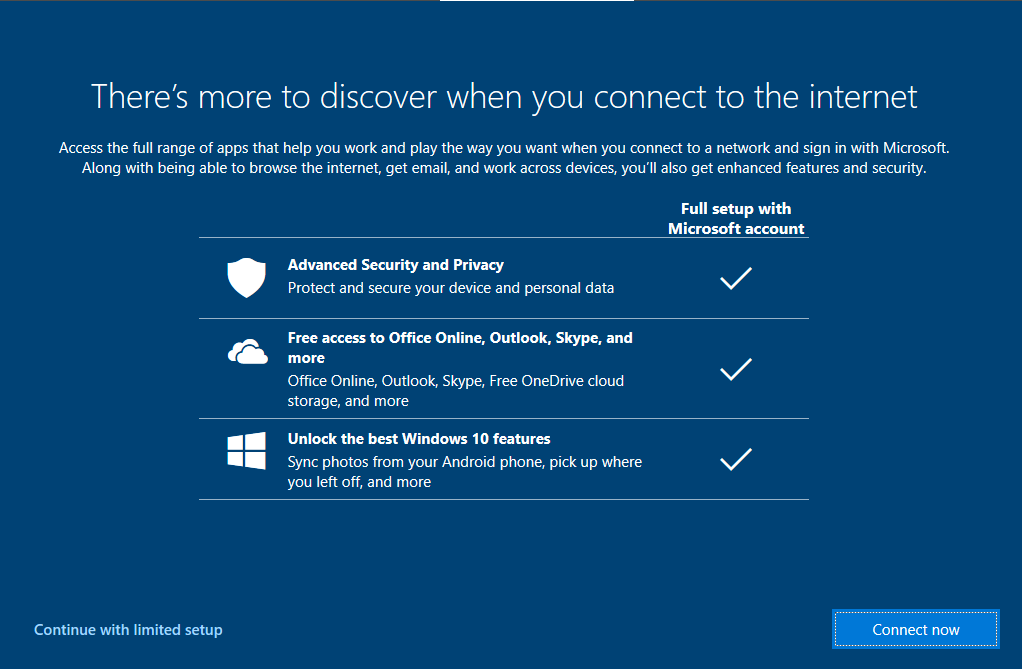
Click Continue with limited setup
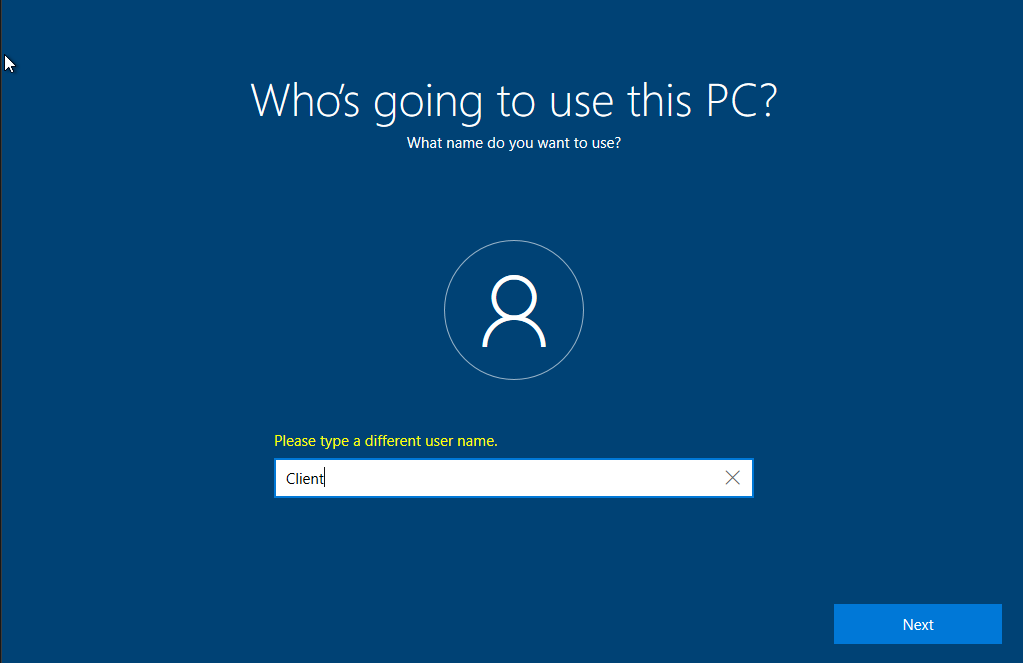
You can put any name; we are not going to use this account, we are going to use the AD users we created from the previous section
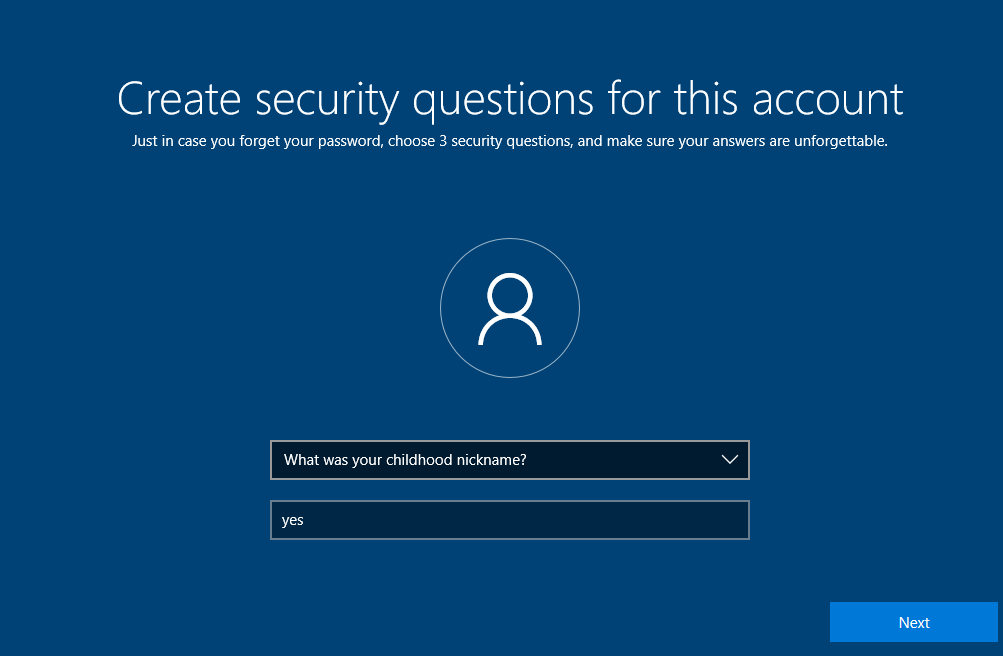
Just skim through these
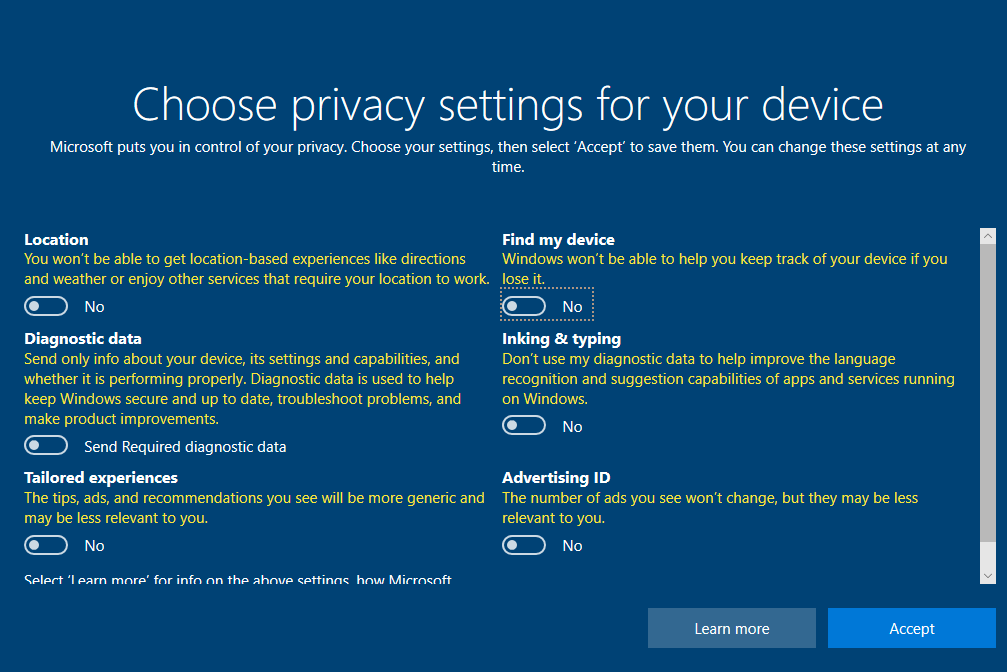
Uncheck everything and accept
Click not now
K

IP Configuration
Once Windows boots up, log in as the temporary user
Right click on the internet icon on the bottom right of the screen
Open Network and Internet Settings > Change Adapter Options
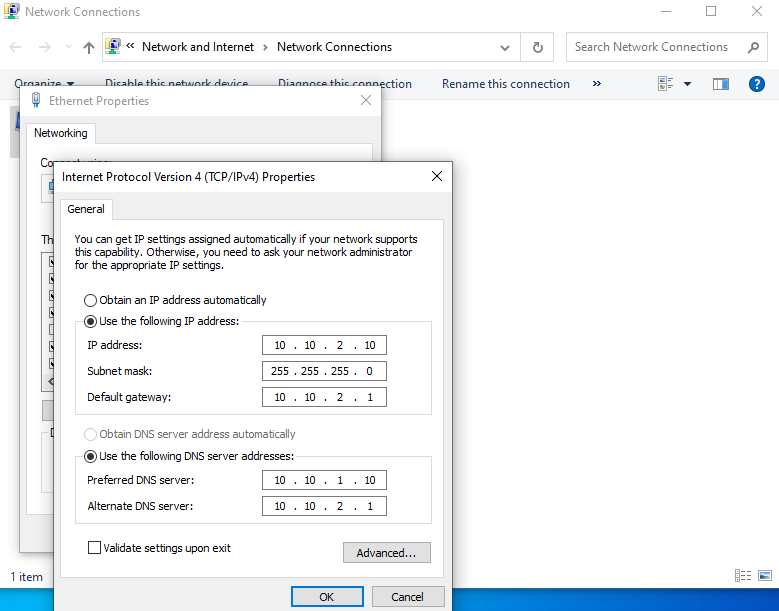
Right click Ethernet > Properties > Double Click IPv4 Properties
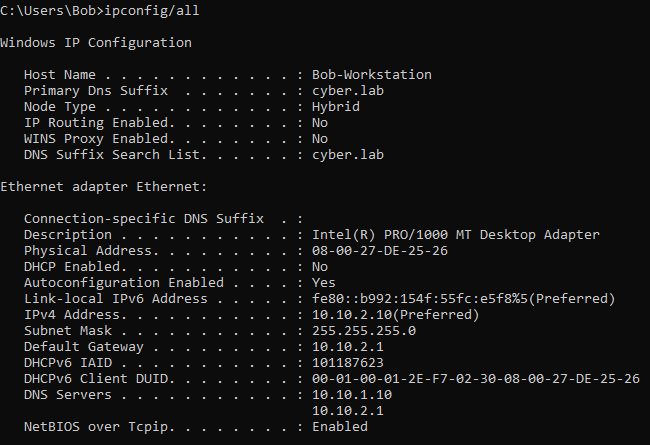
I gave this VM the IP 10.10.2.10/24
Set the preferred DNS to 10.10.1.10 (Domain Controller)
and the alternate DNS to 10.10.2.1 (default gateway/ OPNsense)
Click OK
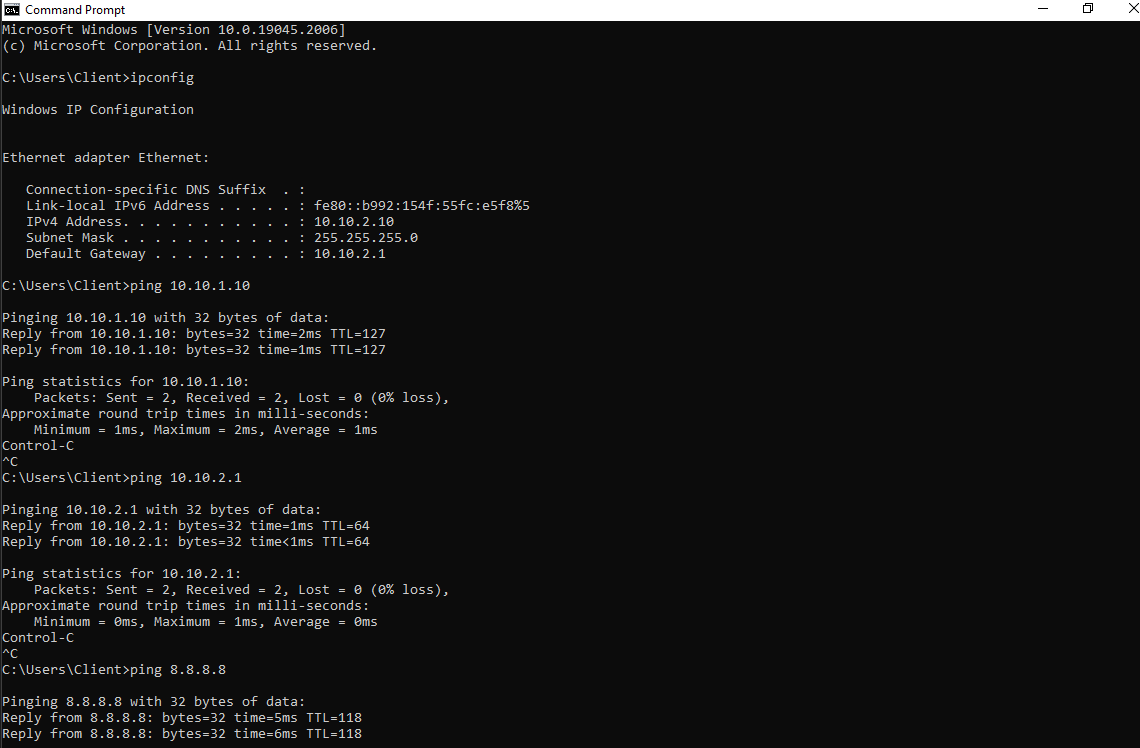
Open command prompt and try pinging the DC, the gateway, and a DNS server
All the pings should work
This VM needs to be able to communicate with the DC in order to join the domain
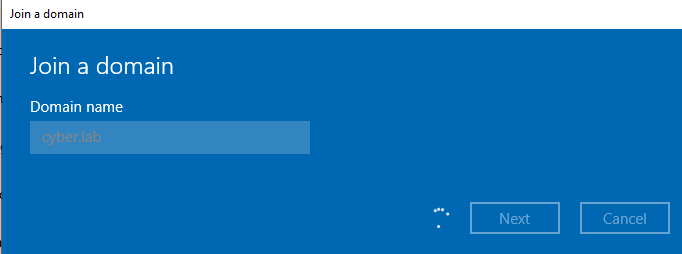
Joining the Domain
Go to Settings > Accounts > Access work or school
Click on connect
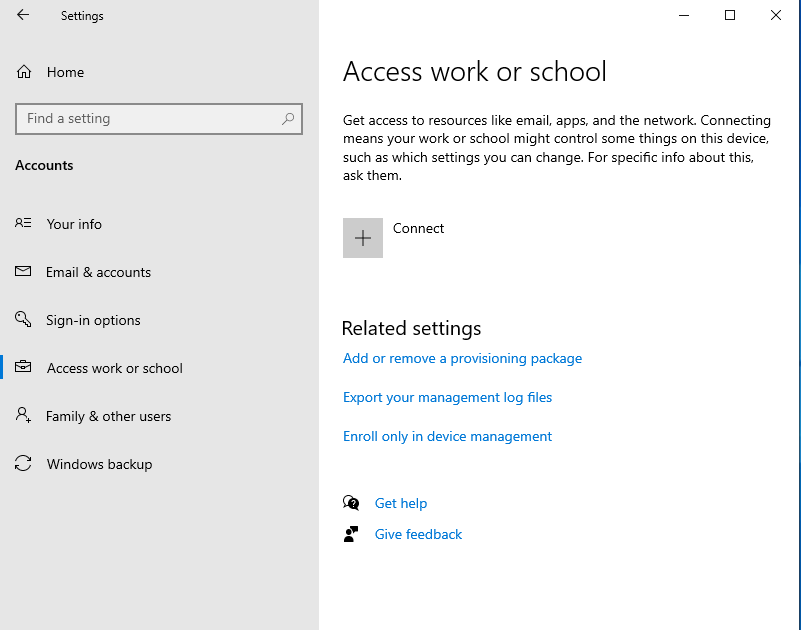
Click on Join this device to a local Active Directory domain

Enter the domain name (cyber.lab)
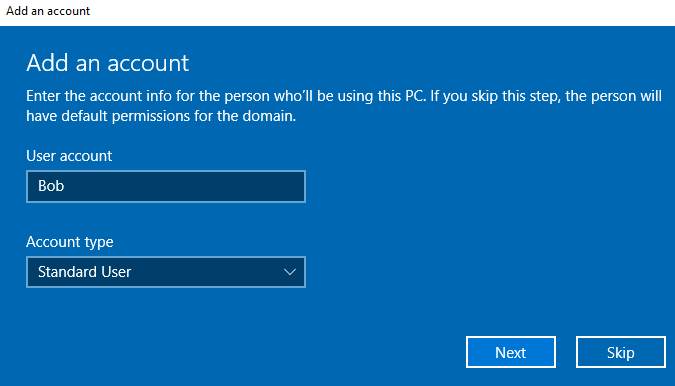
Enter the credentials of a regular user (not the admin)
I am using Bob’s credentials

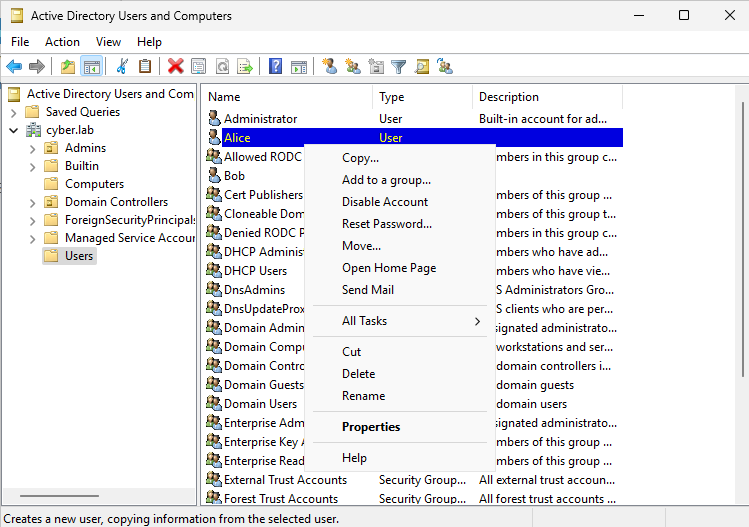
If you cannot join the domain but can ping the DC, make sure the account is enabled. On the DC VM, head to AD Users and Computers and right click on the user. If you see “Disable Account” as an option, that means the account is enabled.
Set the account type to Standard User
Next
Restart now

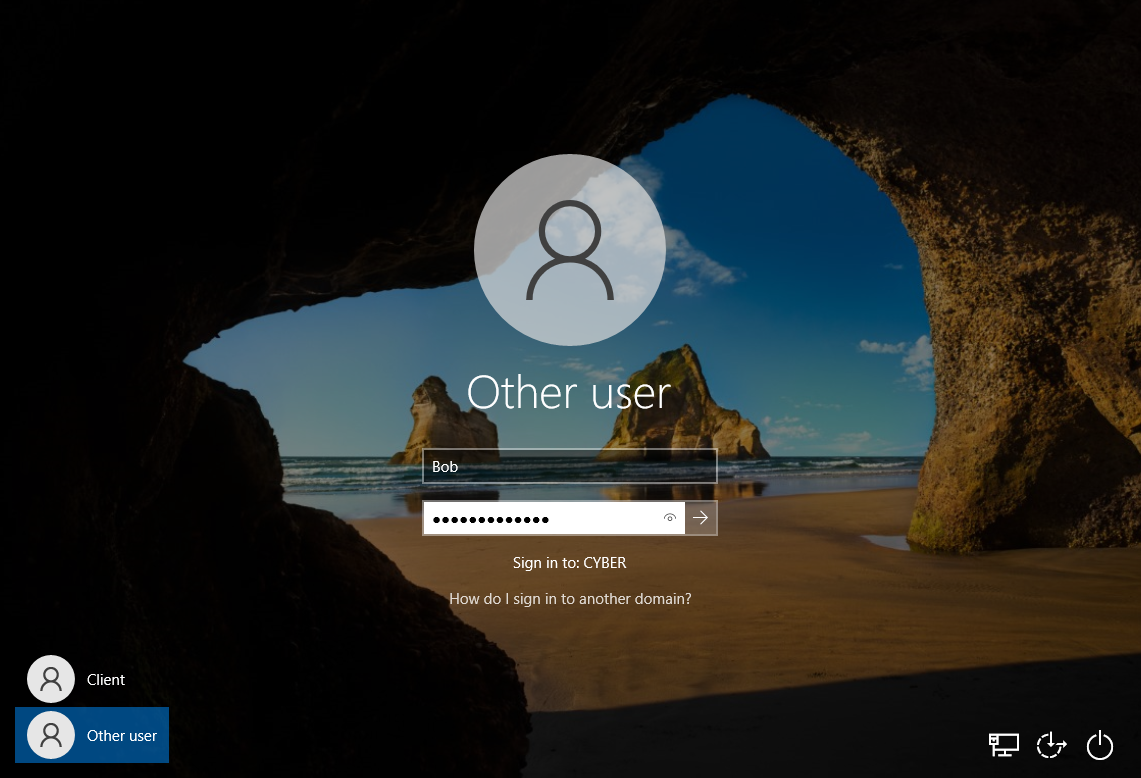
Log in as the user
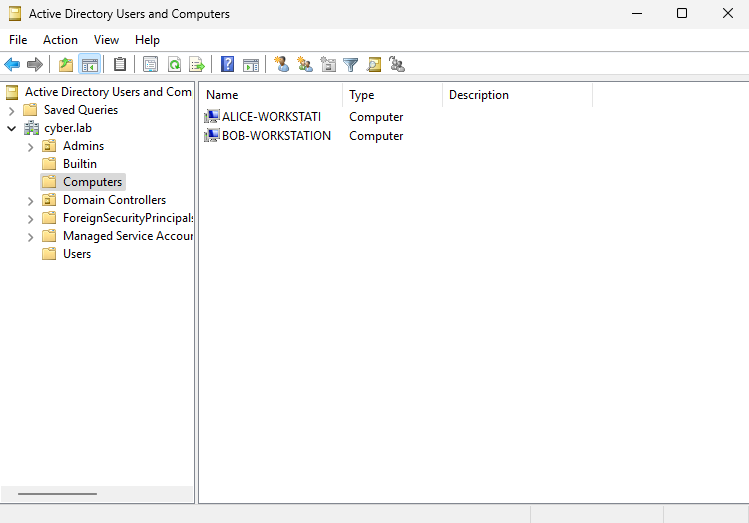
On the DC VM, head to Tools > AD Users and Computers > Computers
Notice this new desktop
You can edit the description and add the full name of the user’s desktop, but I am going to change the name of the client computer

On the Windows 10 VM, head to Settings > System > About
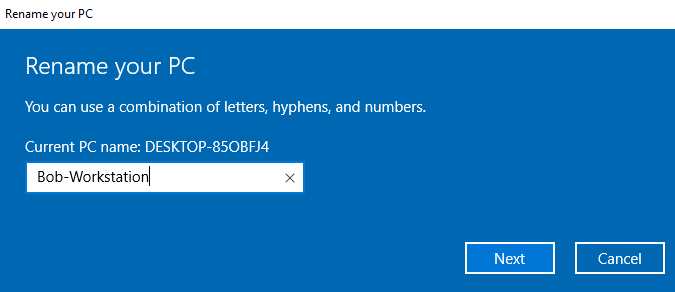
Click on Rename this PC
I renamed Bob’s computer to Bob-Workstation
I have repeated the same previous steps and created another Windows 10 VM for Alice, with the IP of 10.10.2.11 and the computer name Alice-Workstation
Connectivity Test
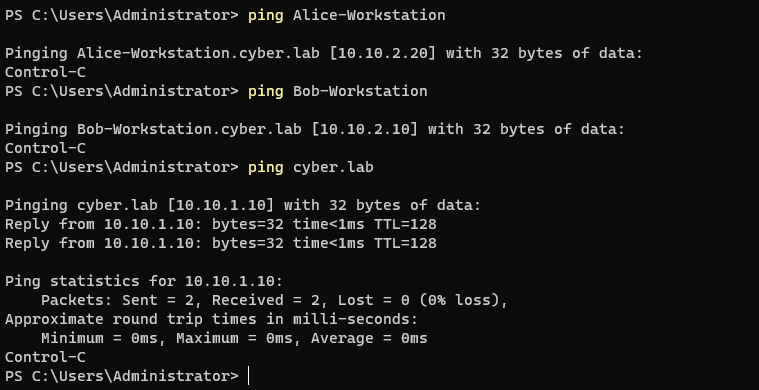
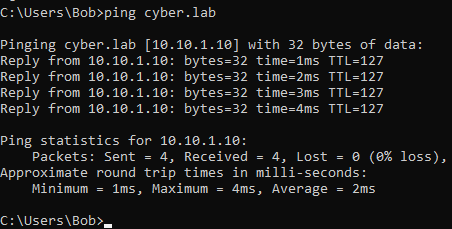
Our DC acts a DNS server and can resolve the computer name to an IP address.
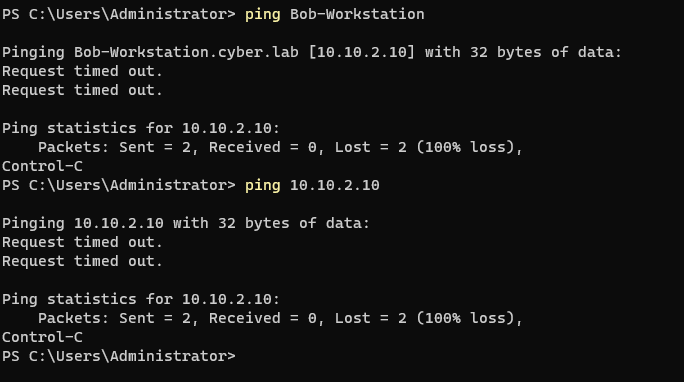
Windows 10/11 hosts block pings by default, but notice that when I ping Bob-Workstation, it says it is pinging 10.10.2.10.
From the client VM, we can ping cyber.lab and it tells us that the IP is 10.10.1.10 (the DC).
Running ipconfig from Bob’s workstation
Running ipconfig from Alice’s workstation

On the DC VM, head to AD users and computers
Notice the 2 clients appear (and Alice-Workstation is changed to ALICE-WORKSTATI because of NetBIOS)
We can also ping the clients using their computer/NetBIOS name.