Wazuh Open Virtual Appliance (OVA) Setup
Setting up the Wazuh OVA and deploying Wazuh agents to the VMs.
OVA Download & VM Setup
We will be using the Wazuh open virtual appliance (OVA) for a quick and easy setup.
Get the Wazuh OVA from: https://documentation.wazuh.com/current/deployment-options/virtual-machine/virtual-machine.html
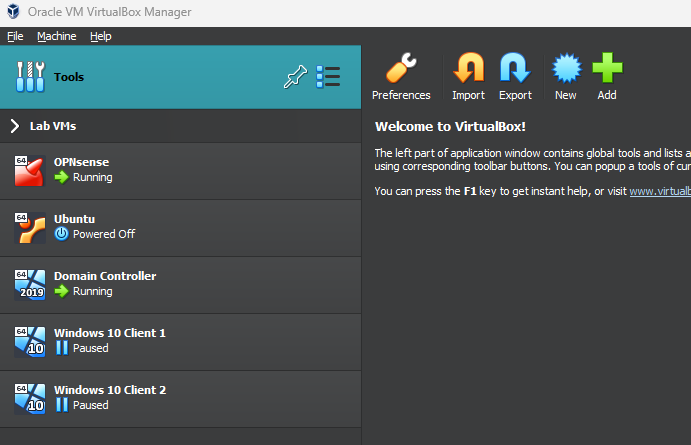
On VirtualBox, click on Tools > Import
or File > Import Appliance from the top bar
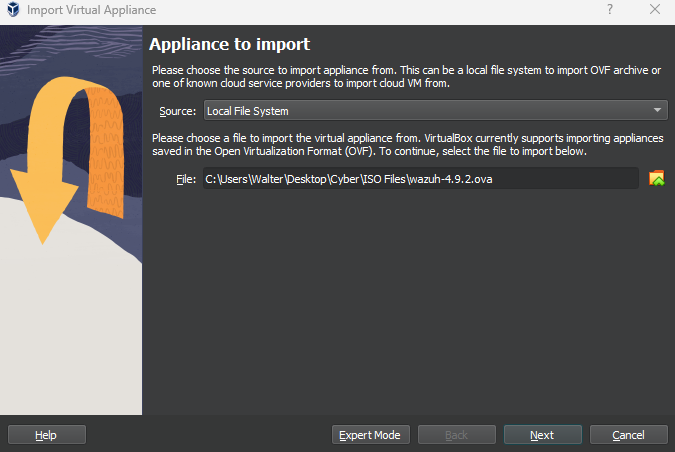
Select the Wazuh OVA file
For the MAC Address Policy, select Generate new MAC addresses for all network adapters
Make sure Import hard drives as VDI is checked
Finish
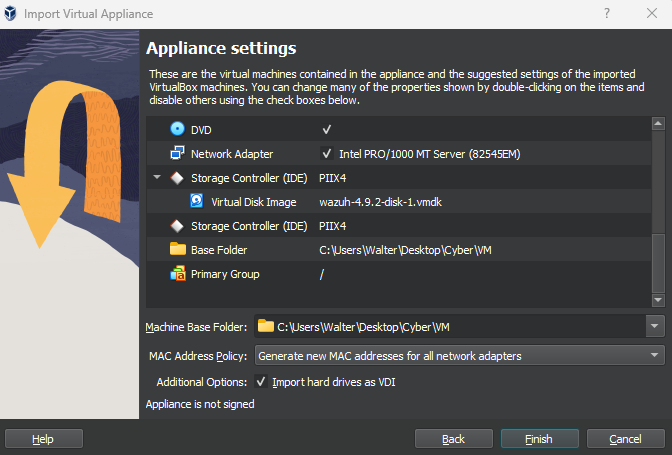
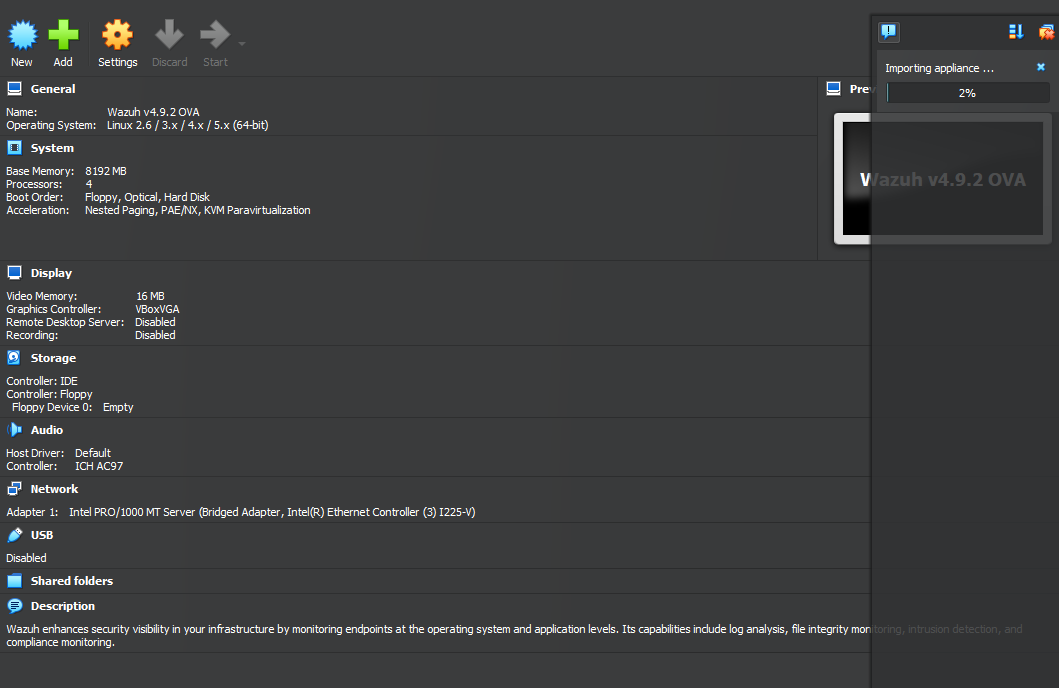
The VM will automatically be assigned 8GB of RAM, 4 CPUs, and 50GB of storage. Do not lower these specs.
Leave Adapter 1 to the default setting for now (should be Bridged)
Wait until the OVA is fully imported
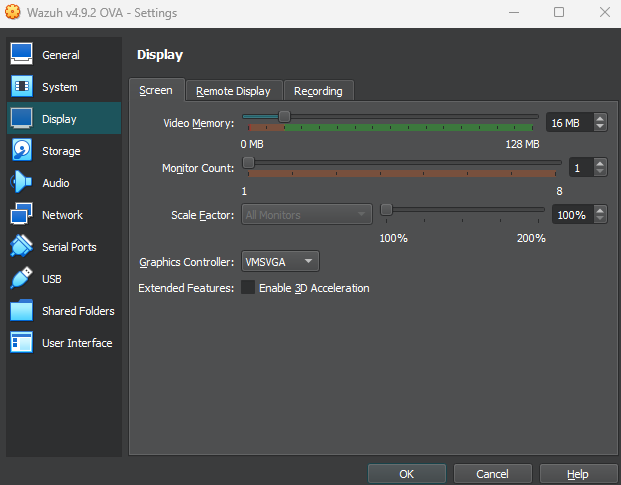
Once it is finished importing, set the graphics controller to VMSVGA in Settings > Display
As per the documentation, if you’re using VirtualBox, set the
VMSVGAgraphic controller. Setting another graphic controller freezes the VM window.
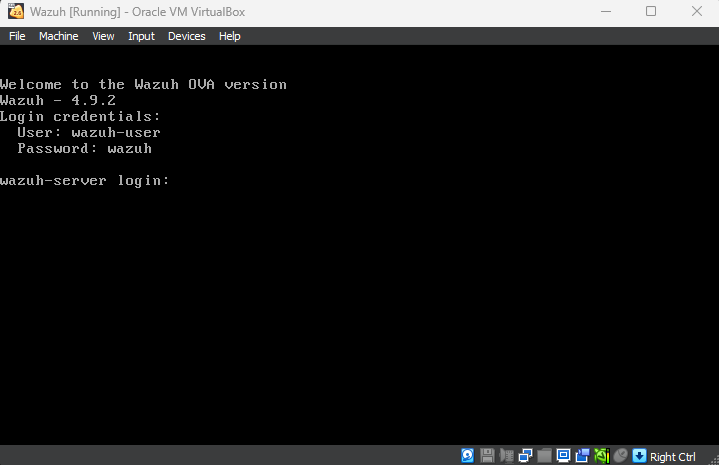
Launch the VM and log in when prompted
The default credentials are:
user: wazuh-user
password: wazuh
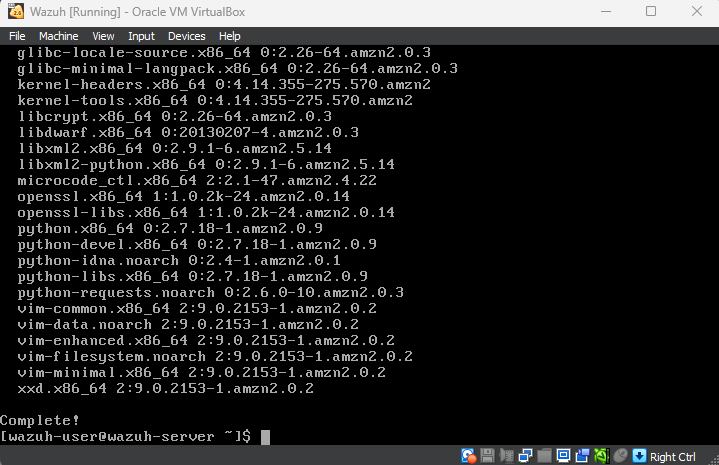
Run sudo yum update
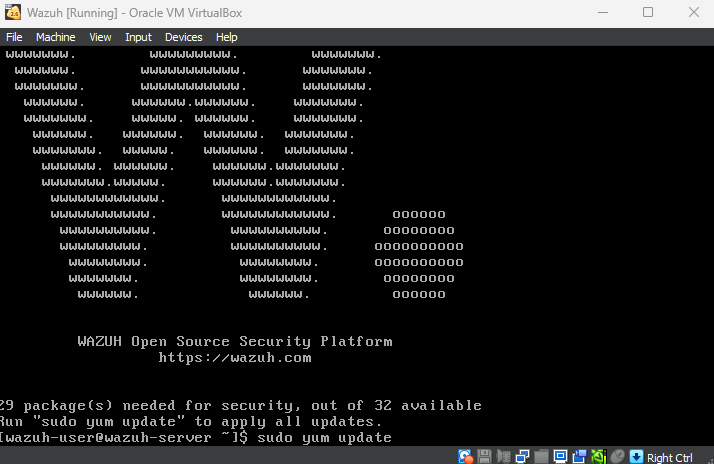
Complete
When all the updates have been applied, power off the VM and set Adapter 1 to cyberlab-servers

IP Configuration
Launch the VM again
run ip a
Notice this VM does not have an IP address. We are not using DHCP since we want to give Wazuh a static IP address. The Wazuh configurations and agents rely on a static IP address. We want to make sure our clients are properly sending security logs and alerts to Wazuh.
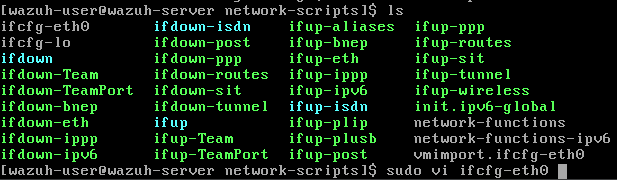
Run sudo vi /etc/sysconfig/network-scripts/ifcfg-eth0
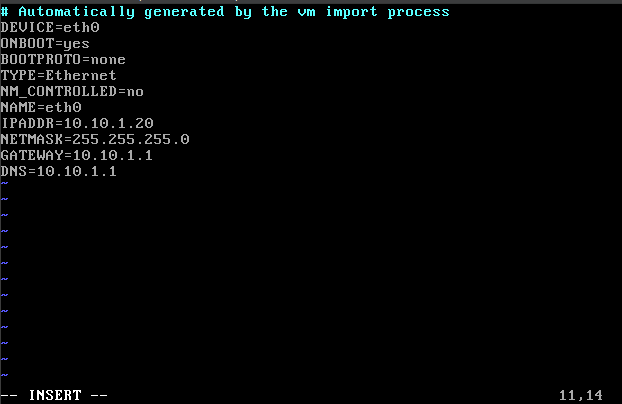
In the vi text editor, press i to enter insert mode
The config file should look like this.
I gave Wazuh the IP address 10.10.1.20
I set the gateway and DNS to 10.10.1.1 (OPNsense)
When you are done editing the file, press Esc to exit insert mode
Then, type :wq to write the changes and exit
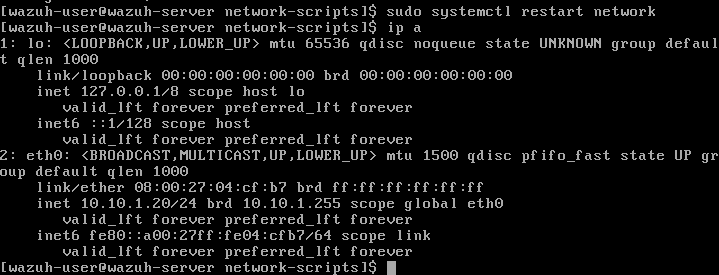
Run sudo systemctl restart network to apply the changes
The new IP address for Wazuh should be applied
Accessing the Wazuh Web GUI
I am using the Ubuntu VM to access the web GUI.
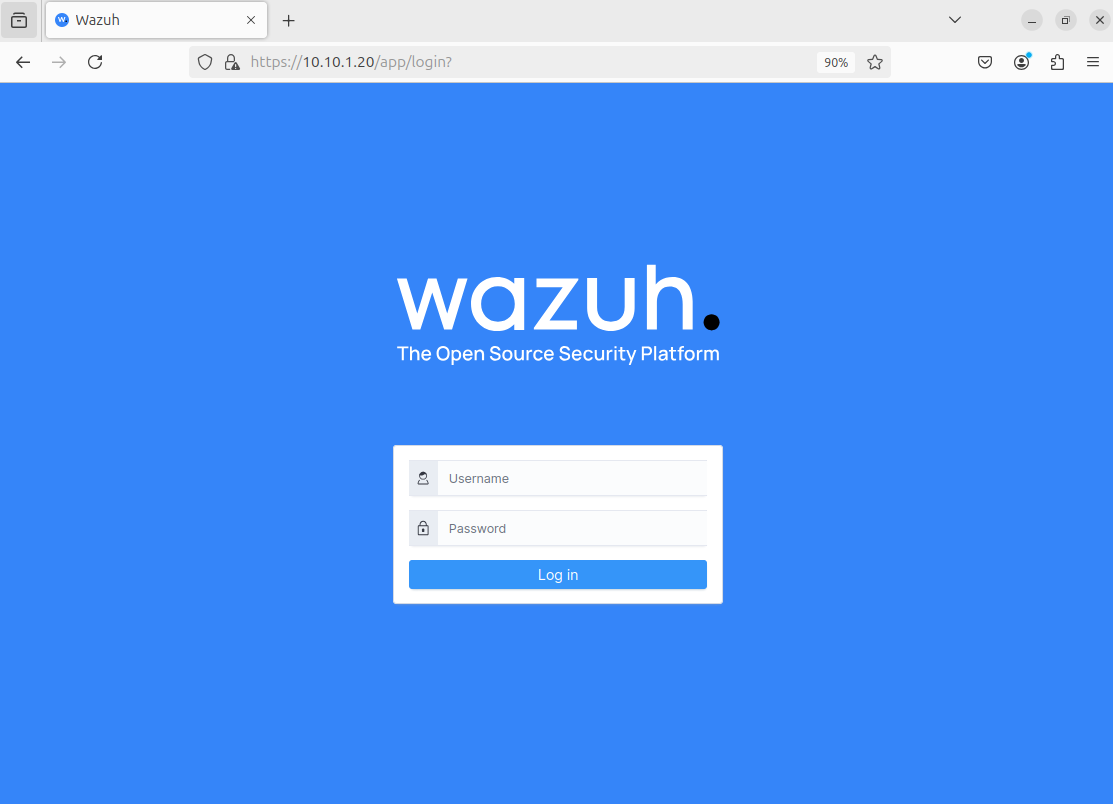
Enter the Wazuh IP address (10.10.1.20) on a web browser.
Ignore the certificate warning if you get one, and proceed
Enter the default credentials:
username: admin
password: admin
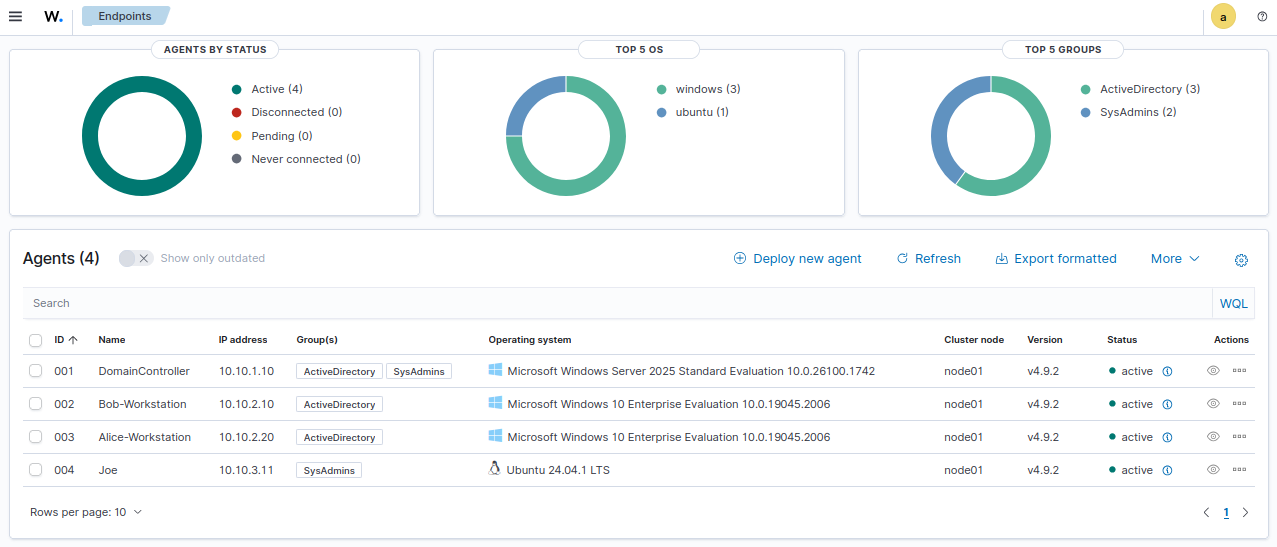
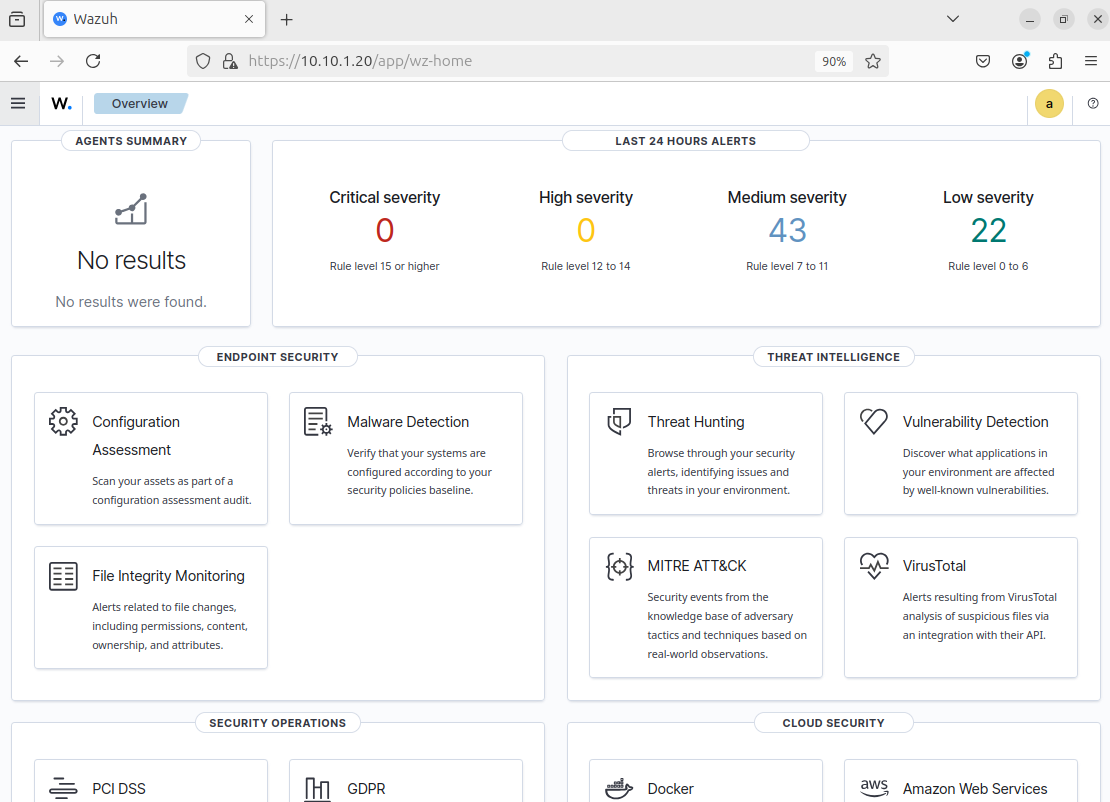
Our home page will look something like this.
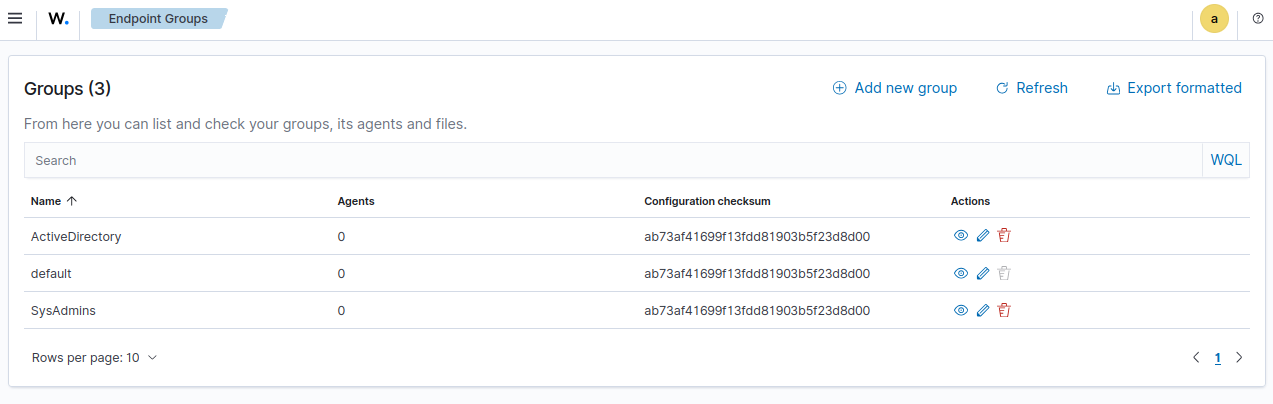
We are going to create endpoint groups to organize our agents.
Click on the menu button on the top left and head to Server Management > Endpoint Groups
Click add new group
I made one for the AD clients

I made another group for SysAdmins
Wazuh Agent Deployment for Windows
Click on the Top left menu button and head to Server Management > Summary
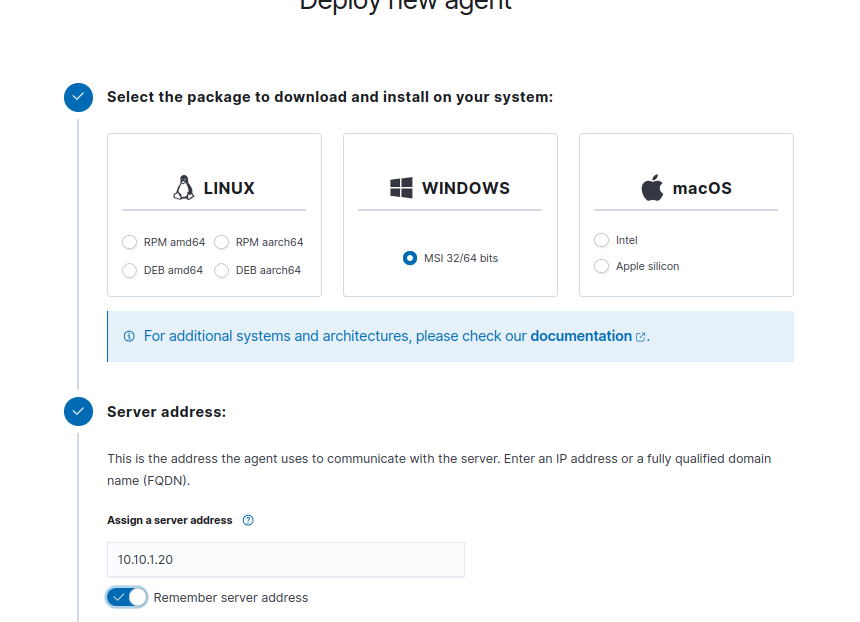
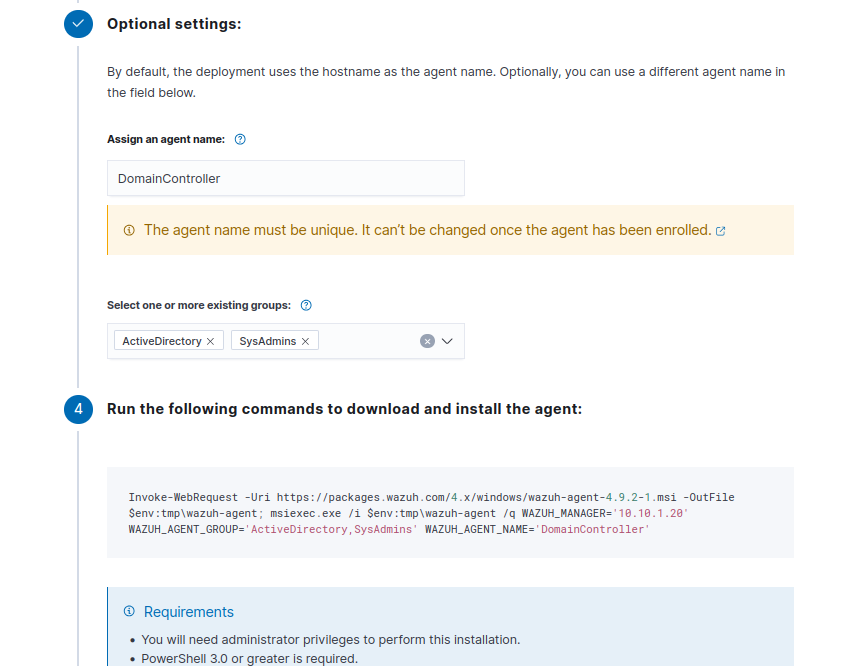
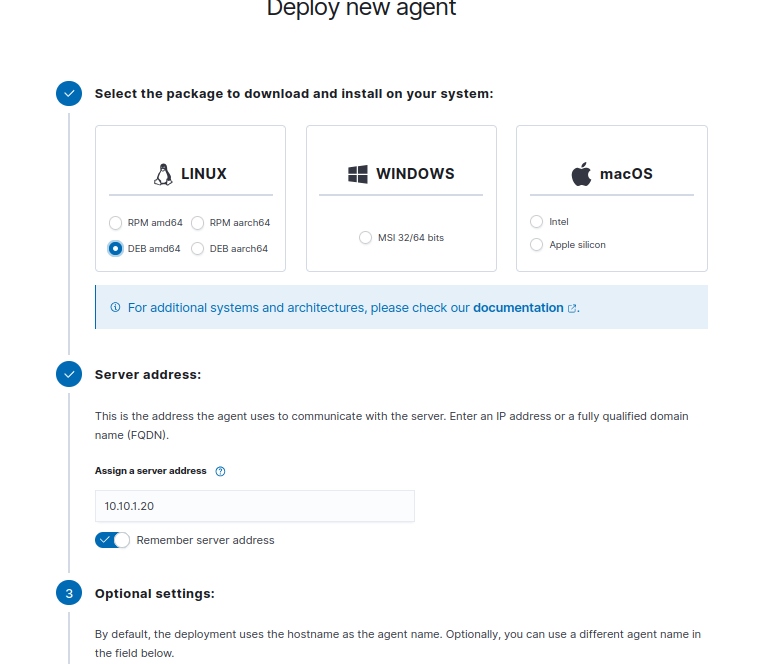
Click Deploy New agent

This agent will be for the Domain Controller, but it is generally the same exact process for any Windows machine.
Select Windows (MSI 32/64 bits)
Enter the IP of the Wazuh VM (10.10.1.20)
You can leave Remember server address checked
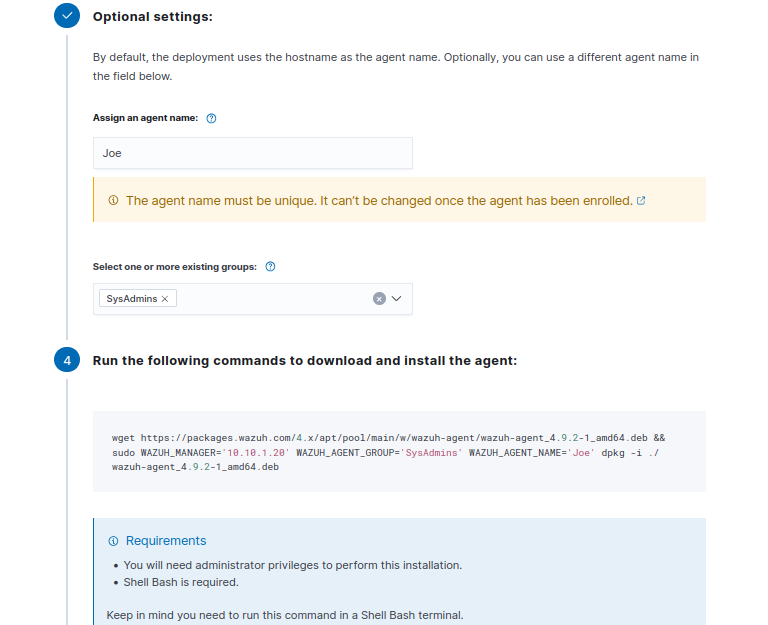
Assign an agent name so we know which machine is being monitored
Copy the command from Step 4
To make our lives easier, allow bidirectional copy and paste on every VM. From VirtualBox, right click the VM and head to Settings > General > Advanced and set Shared Clipboard and Drag’n’Drop to Bidirectional.
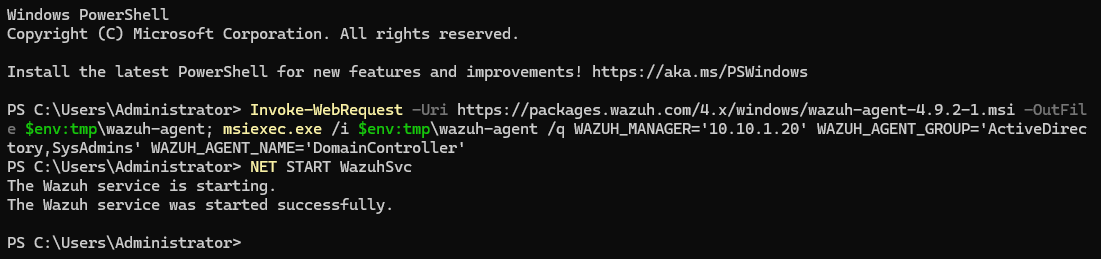
On the DC VM, run PowerShell as an administrator and paste the command to download and install the agent.
When the command is finished running, run NET START WazuhSvc
Paste your clipboard on PowerShell by simply right clicking on the terminal screen.
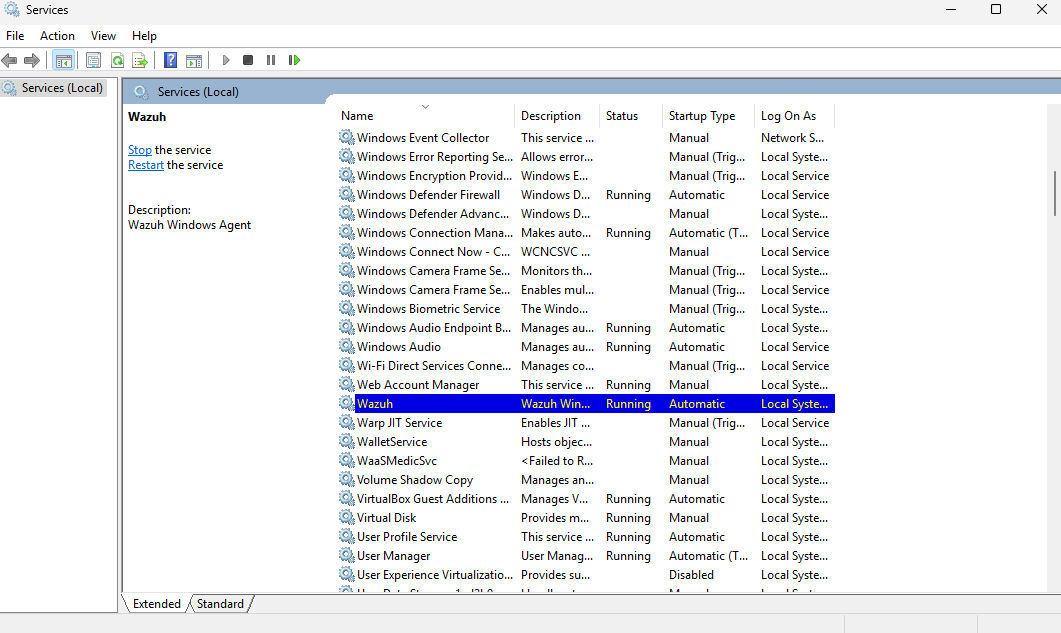
Head to Services and look for Wazuh to make sure it is running
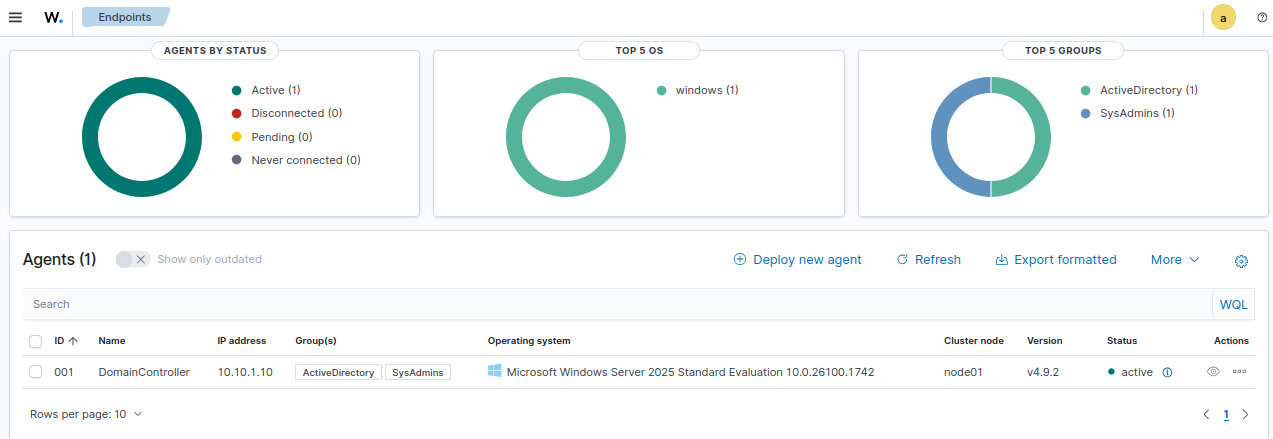
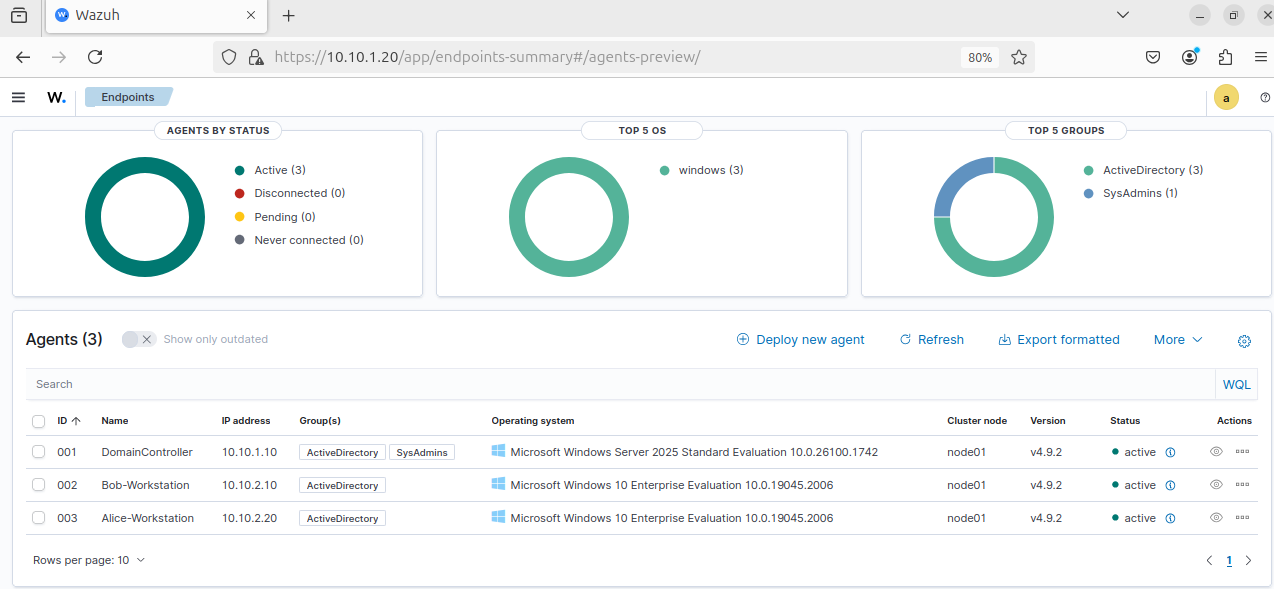
Head back to the Wazuh dashboard on the Ubuntu VM.
Notice our DC is listed as an agent
Follow the same process to deploy the Wazuh agents on the rest of the Windows 10 clients.
Make sure to set the appropriate agent names and set the group to ActiveDirectory.
Our Dashboard should now look like this
Wazuh Agent Deployment for Linux
Select DEB-amd64 since we are using Ubuntu
Enter the Wazuh server address (10.10.1.20)
Assign an agent name (Joe-SysAdmin would probably be a better name)
I assigned this agent to the SysAdmins group.
Copy the command from Step 4
Open a terminal and paste the command (Ctrl+Shift+V)
Make sure to run the command with elevated privileges
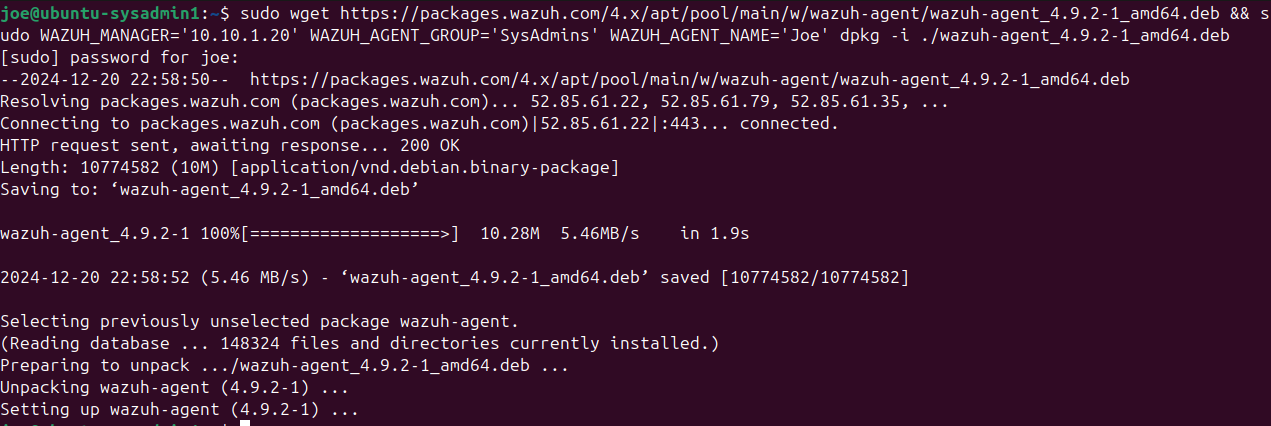
Run the commands from Step 5
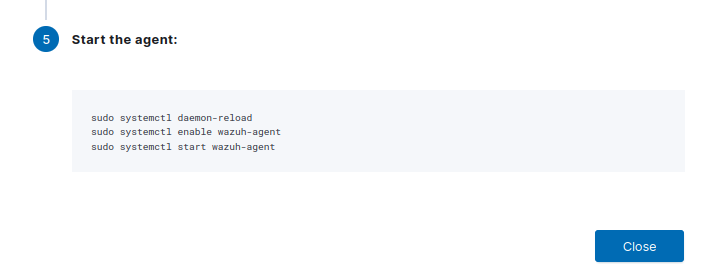
I did them one by one

Now all of our VMs have Wazuh agents set up.
We will tune the SIEM and customize our Wazuh in future exercises.