Active Directory: Domain Controller Setup
Configuring a Domain Controller VM for our Active Directory environment.
ISO Download & VM Setup
The Windows Server 2025 ISO can be downloaded here: https://www.microsoft.com/en-us/evalcenter/download-windows-server-2025
I chose the English 64-bit ISO Download
Windows Server 2022 may be a better option since Windows 11 requires better hardware specs (more RAM, CPU, storage, etc.)
On VirtualBox, head to Machine > New
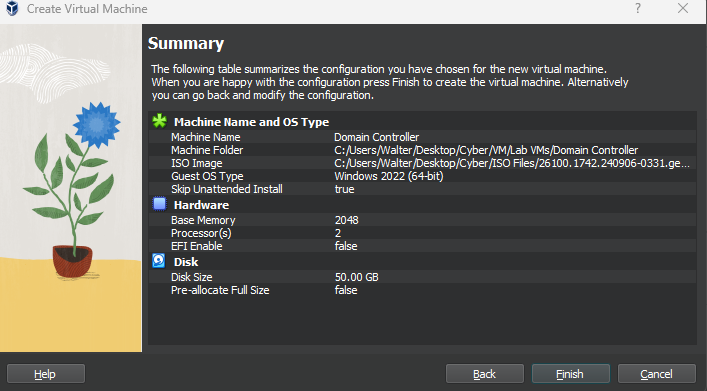
Name the VM
Give it 4 GB of RAM
2 CPUs
50GB Virtual Disk
Skip unattended installation
I originally used 2 GB of RAM for this VM, but I kept getting crashes and black screens. 4 GB is more stable.
Attach Adapter 1 to Internal Network (cyberlab-servers)

Launch the VM
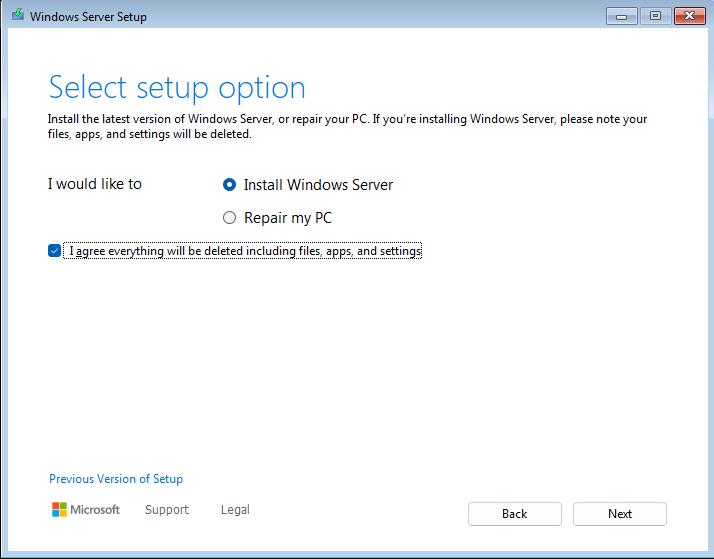
Select Install Windows Server
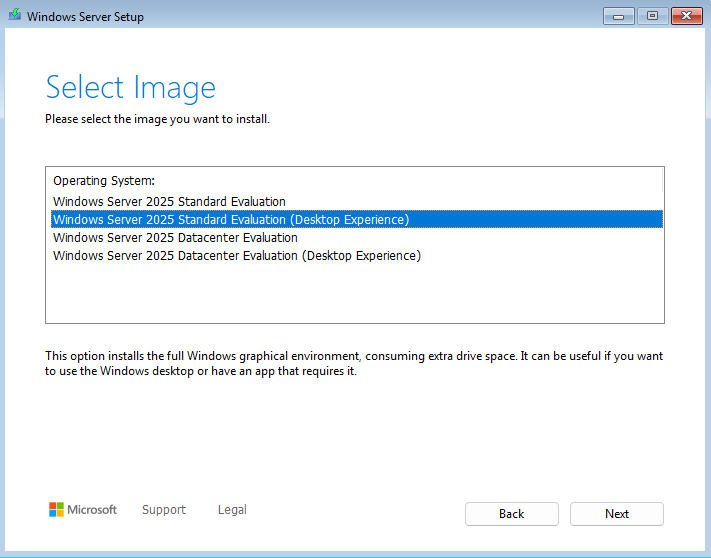
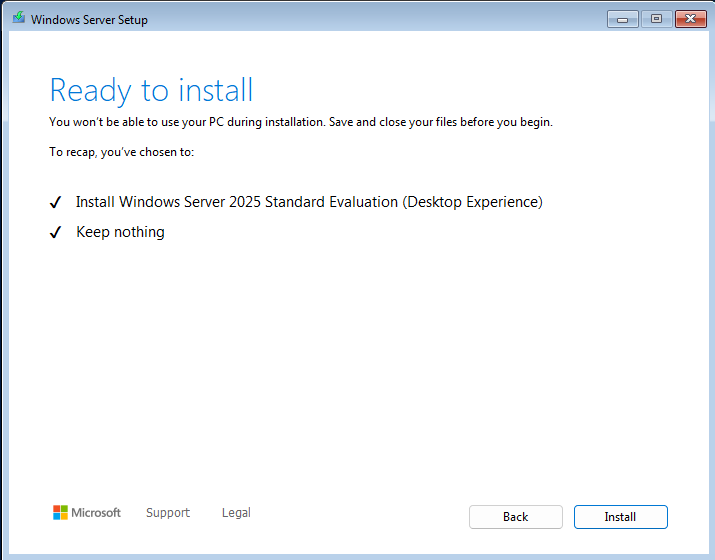
Select Windows 2025 Standard Evaluation (Desktop Experience). This includes the GUI and makes the setup a lot easier and user friendly.
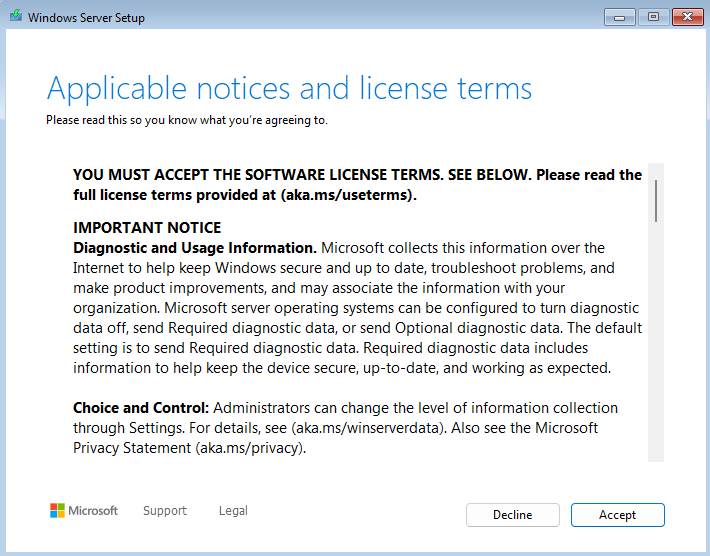
Accept the license
This license will expire after 90 days.
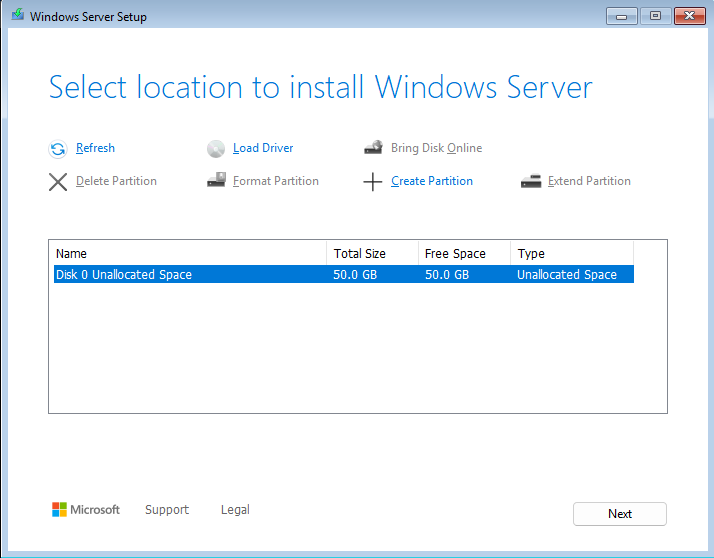
Select Disk 0
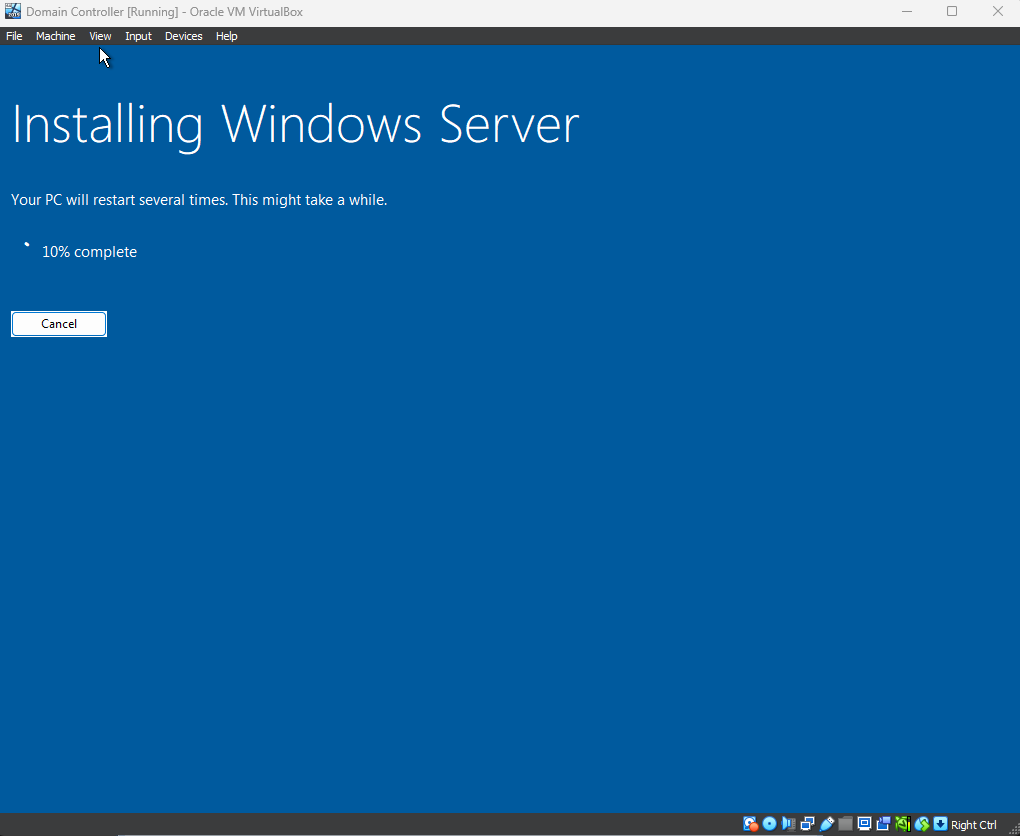
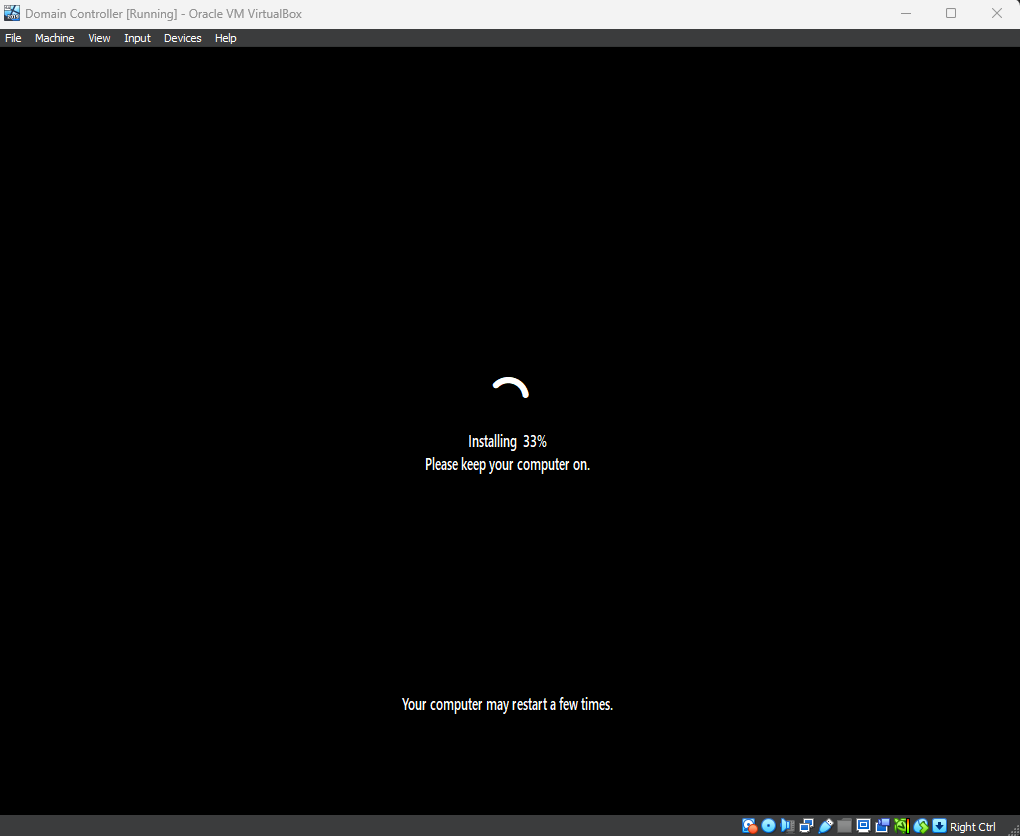
Install
This should take around 15 minutes
When the installation finishes and it prompts you to reboot, shut off the VM
Make sure the Hard Disk is first in the boot order
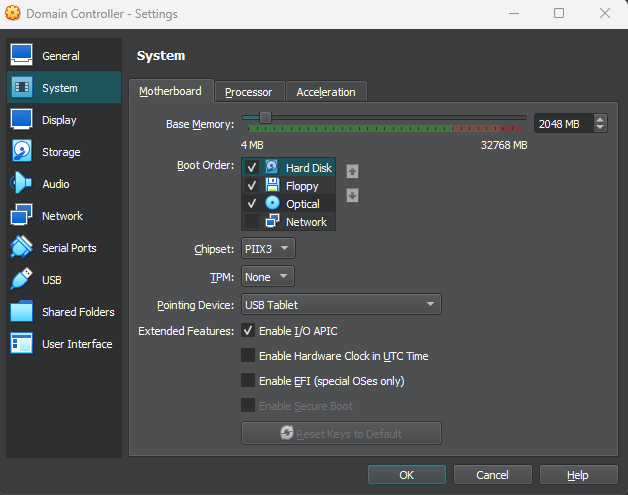
Reboot the VM
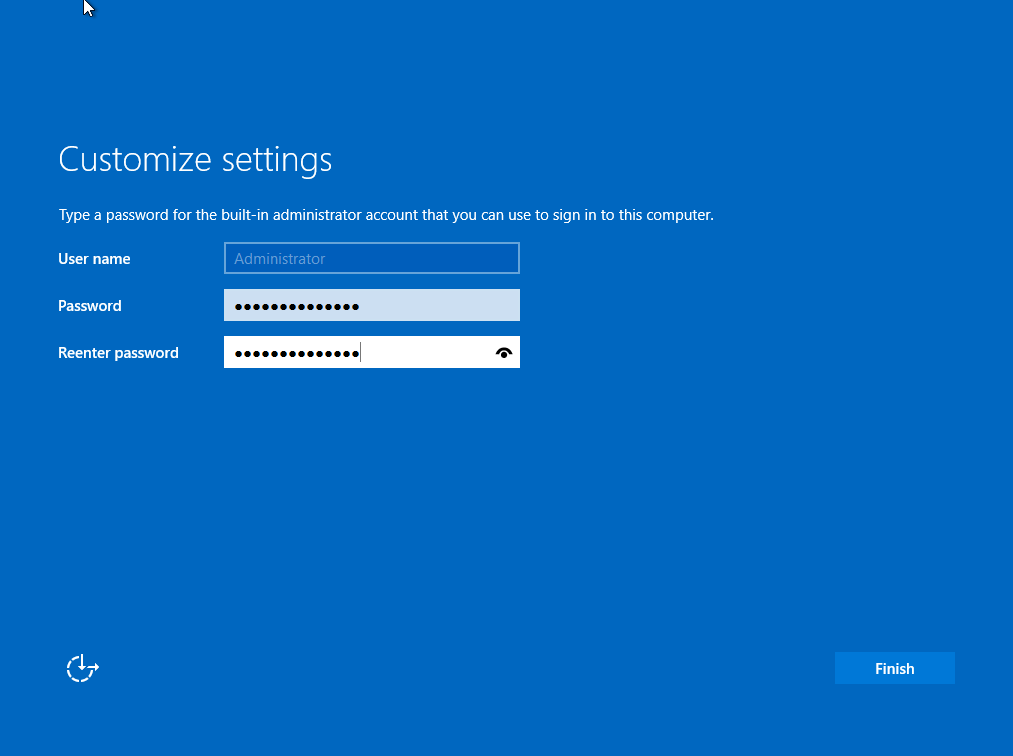
Enter a password and take note of it
Click on Finish
This is for the built in Administrator account. We can create another Domain Controller admin account later.
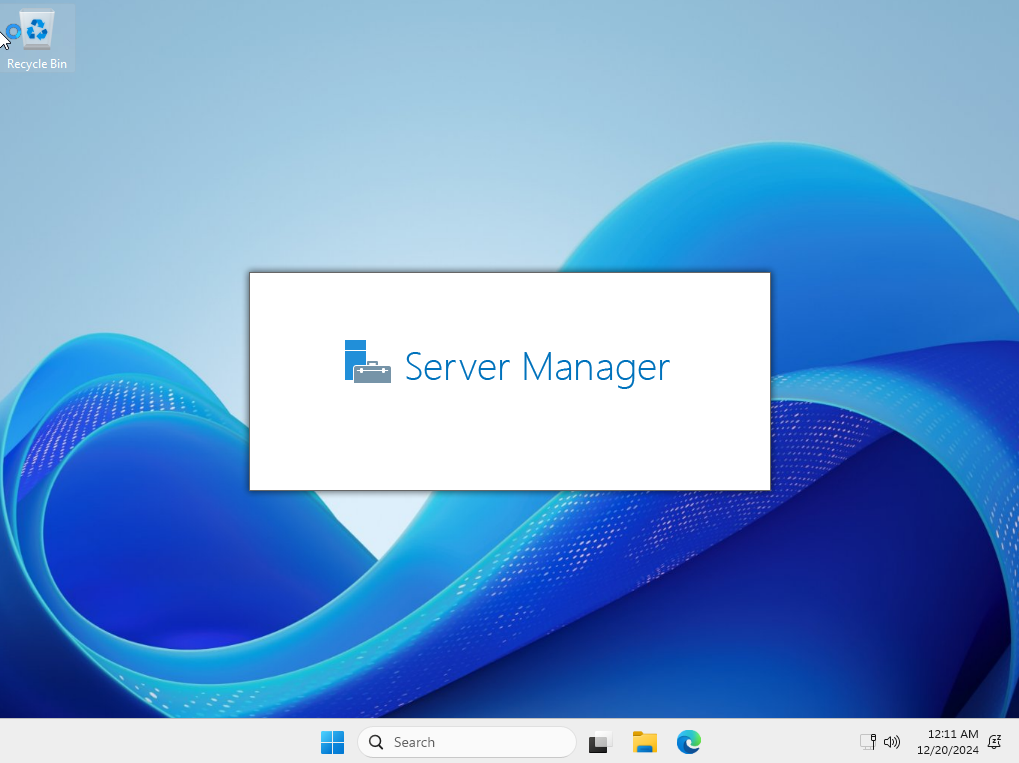
We should now see the login screen
Go to Input > Keyboard > Send Ctrl+Alt+Dlt and log in
Guest Additions
Installing the Guest Additions will give us a smoother experience and allow us to adjust the resolution of the VM seamlessly.
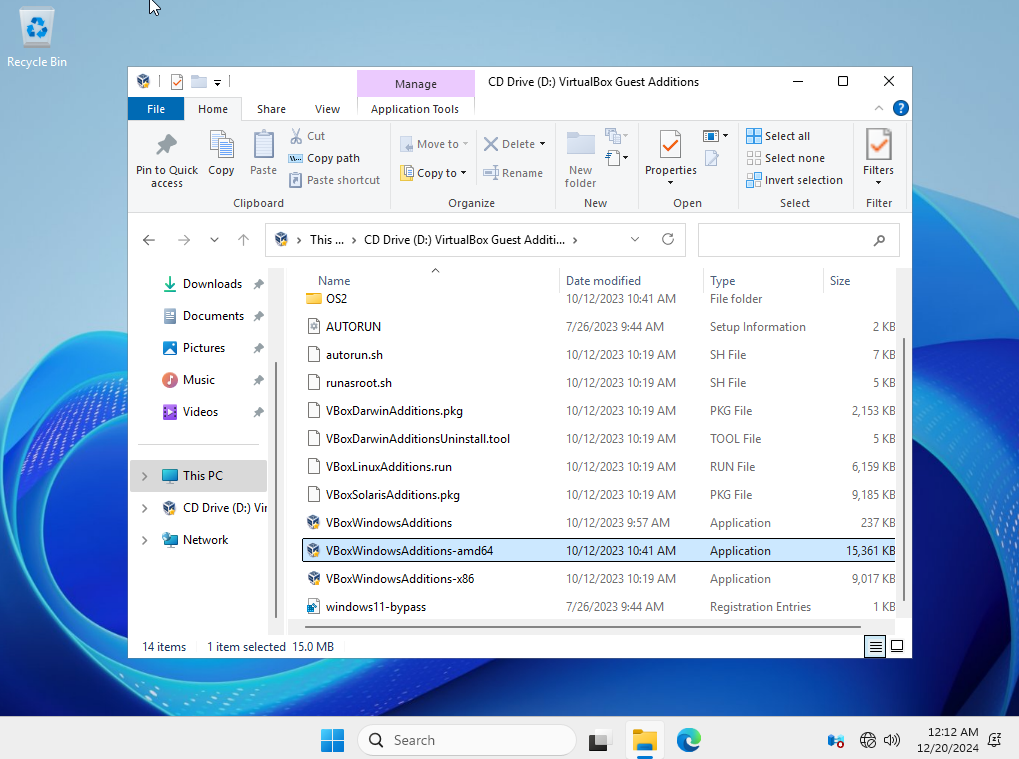
On top of the VM, click on Devices > Insert Guest Additions CD image
Open File Explorer and head to D:\VirtualBox Guest Additions
Run the VBoxWindowsAdditions.amd64 program
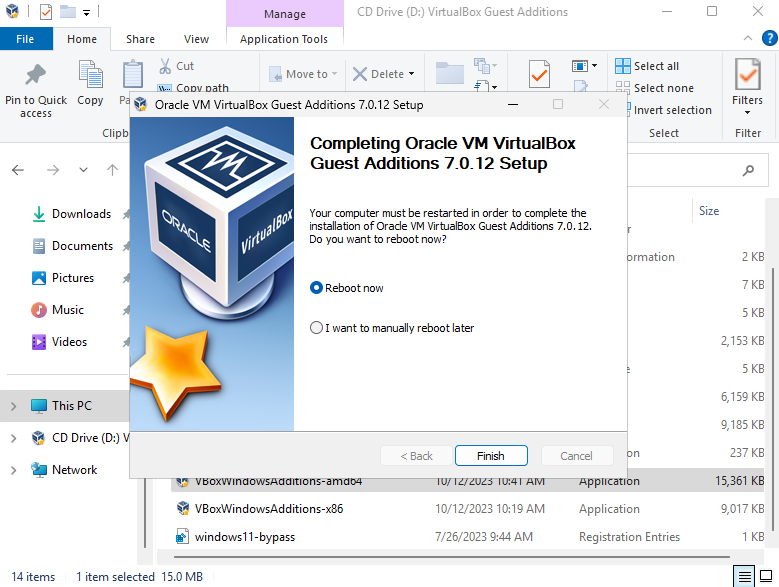
Install and reboot
Install and reboot now
Computer Name & IP Configuration
Once we’re in, click on Settings > System > Rename
Rename the system (I recommend naming this computer DC01)
The VM will have to restart for the changes to take place
The max length for a Windows NetBIOS name is 15 characters. Additionally, NetBIOS will capitalize the entire computer name. The name DomainController will be converted into DOMAINCONTROLLE for NetBIOS. This may pose problems with the Active Directory set up so I recommend using a name like DC01.

Go to Settings > Network & internet > Ethernet
Edit IP assignment
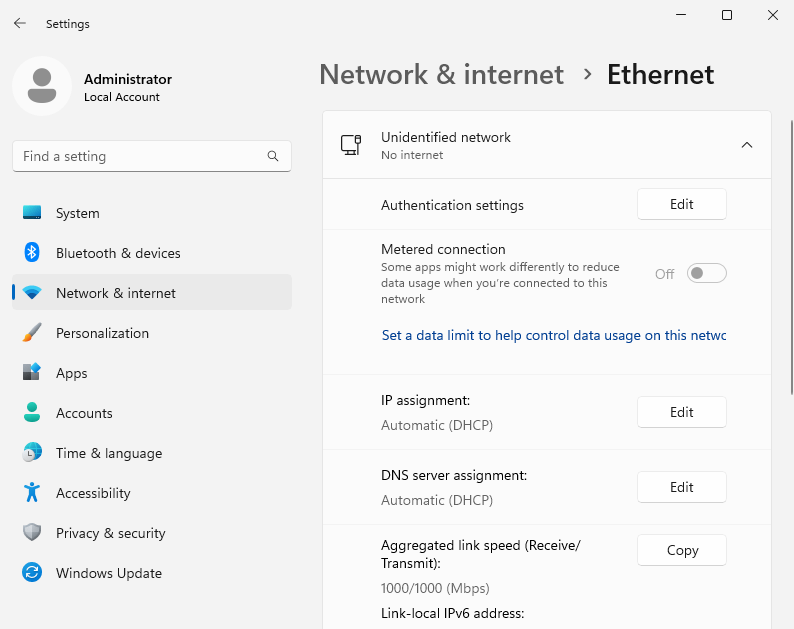
Set the IP settings to Manual
IPv4 should be on
I gave this VM the IP address 10.10.1.10/24
The gateway and preferred DNS should be 10.10.1.1
Save and confirm settings

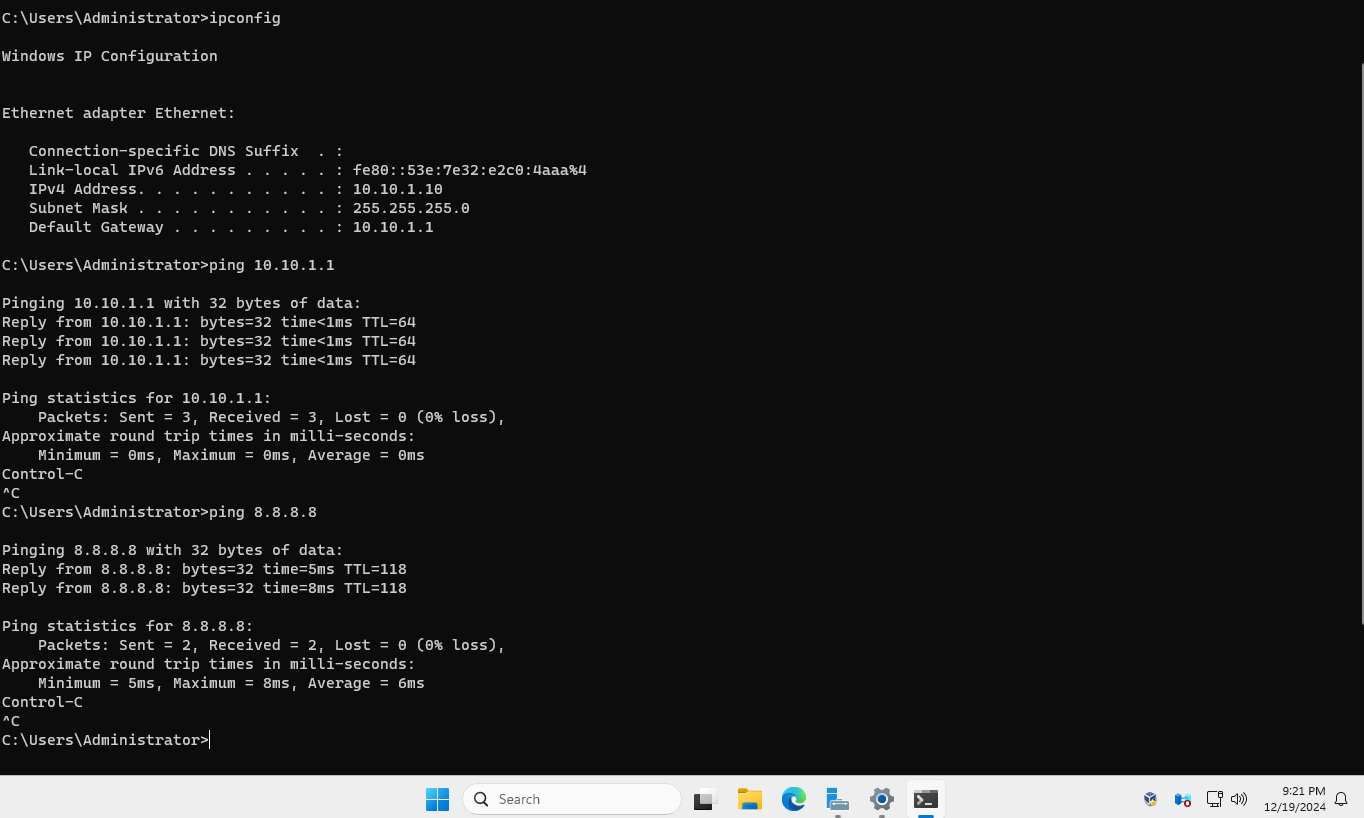
Open command prompt and run ipconfig
We should be able to ping the gateway and DNS server
Configuring Active Directory Services
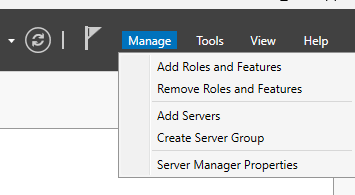
Open Server Manager
Click on Manage > Add Roles and Features
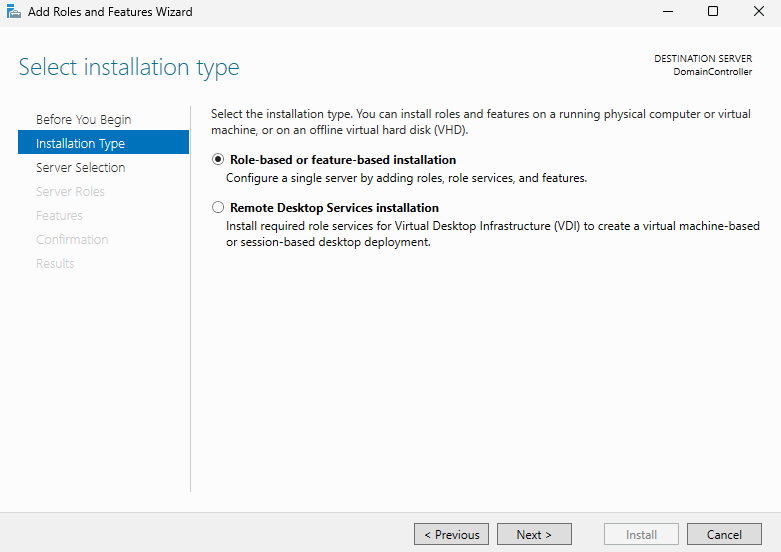
Select Role-based or feature based installation
Next
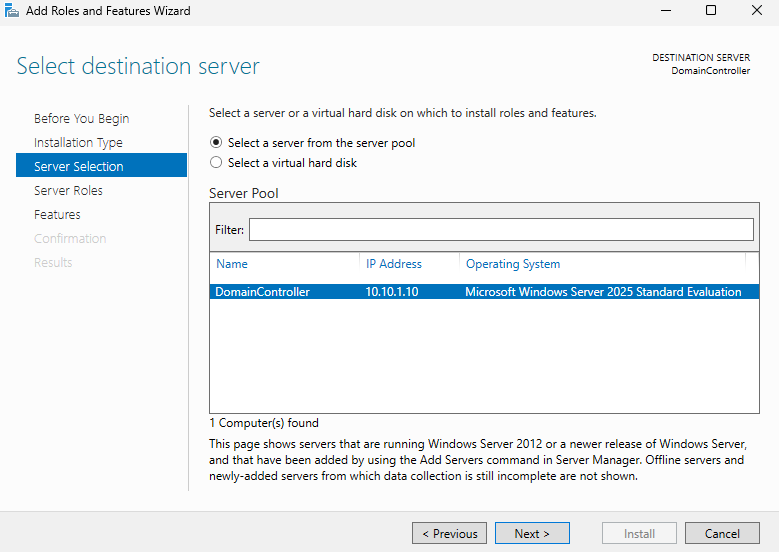
Make sure the correct computer name and IP address appear in the server pool.
Next
Click Add Features
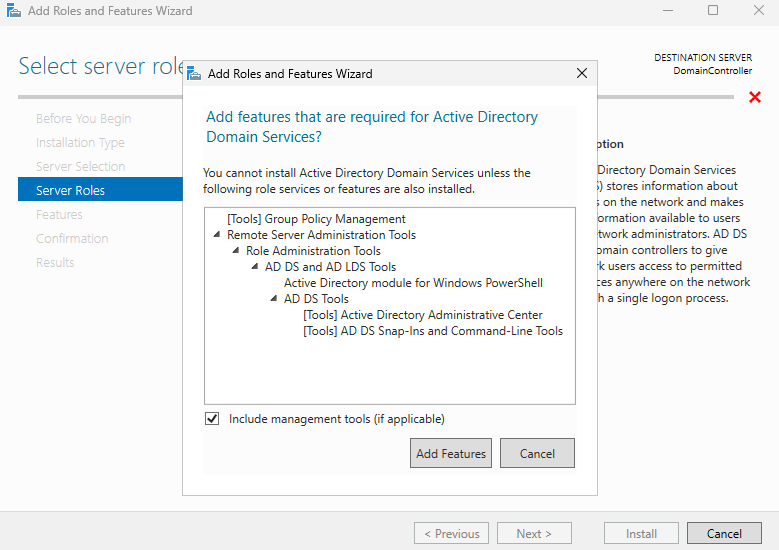
Select Active Directory Domain Services
Next
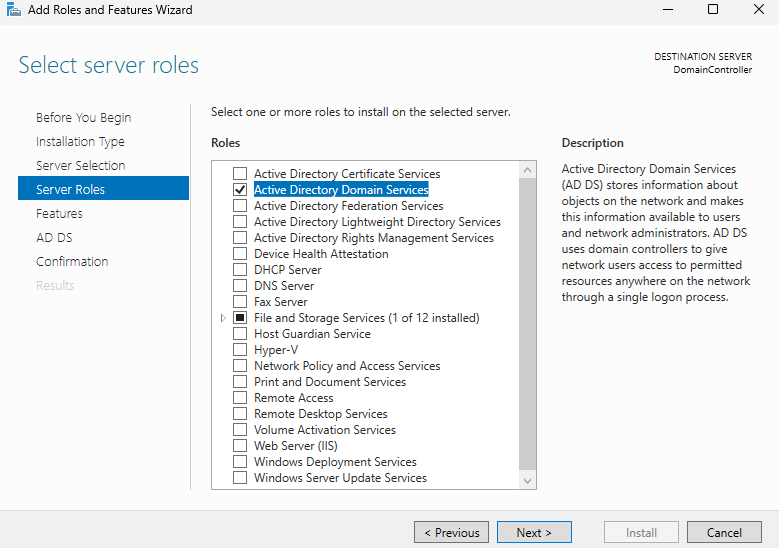
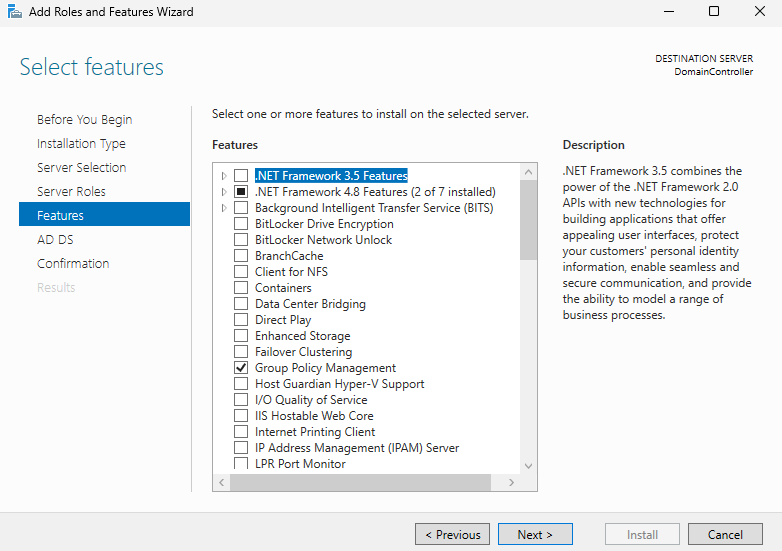
.NET Framework 4.8 Features and Group Policy Management should be checked by default
Next
Next
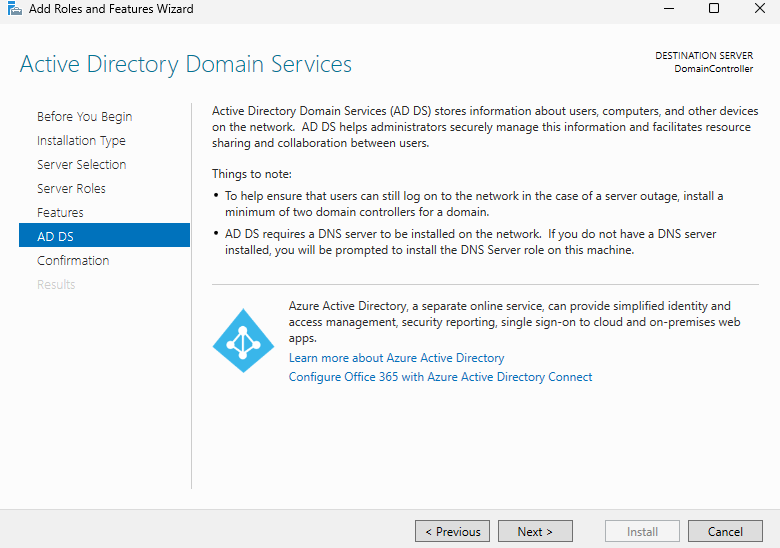
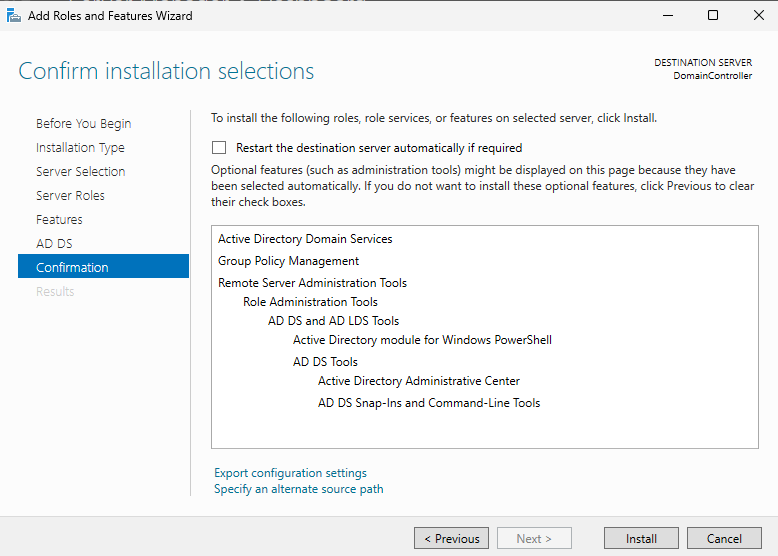
Click Install
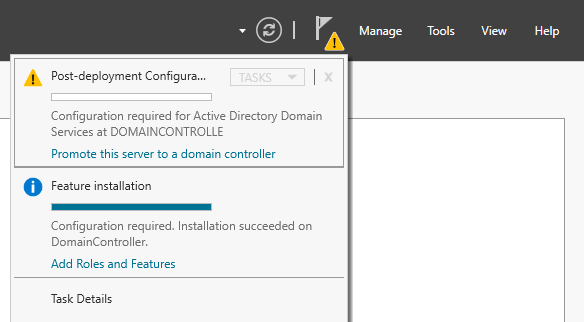
When the installation is finished, click on the warning sign on the top right
Click on Promote this server to a domain controller
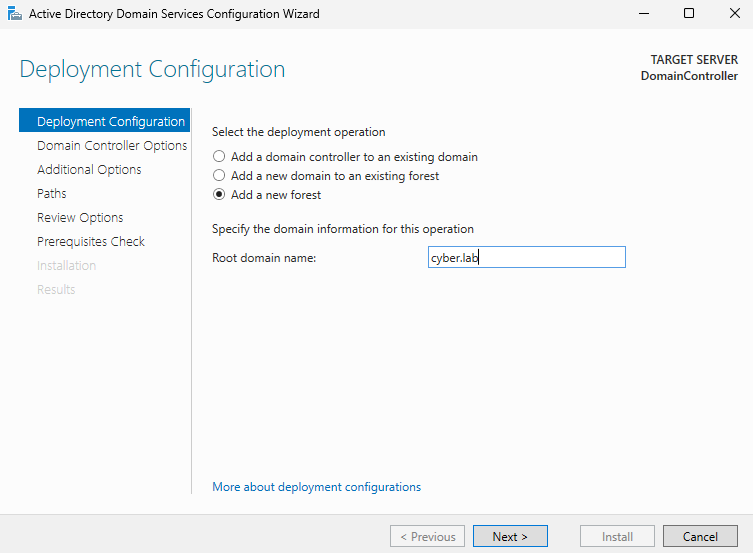
Select Add a new forest
Add a domain name (cyber.lab in my case)
Next
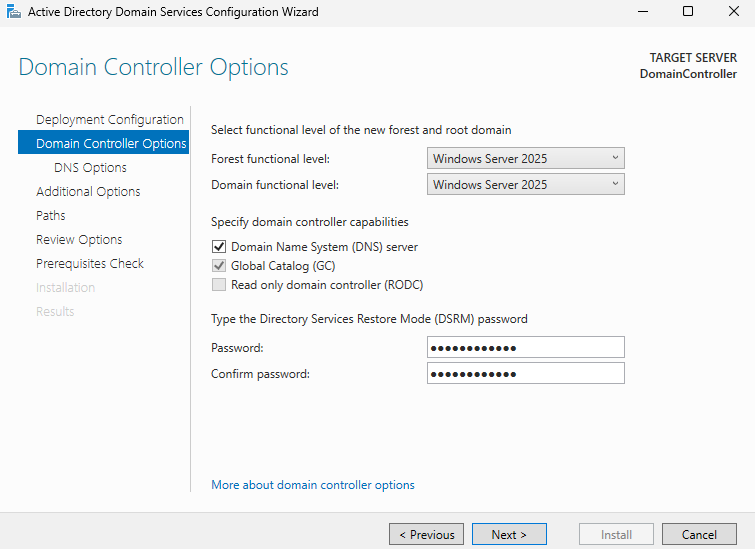
Leave the forest and domain functional levels at the default (Windows Server 2016)
Make sure DNS server and Global Catalog (GC) are checked
Set a DSRM password. Take note of it just in case
Next
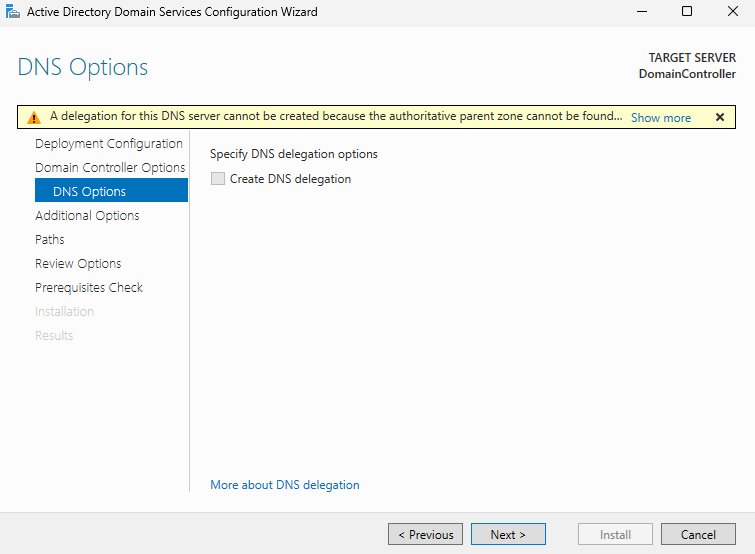
Don’t worry about this error message, click Next
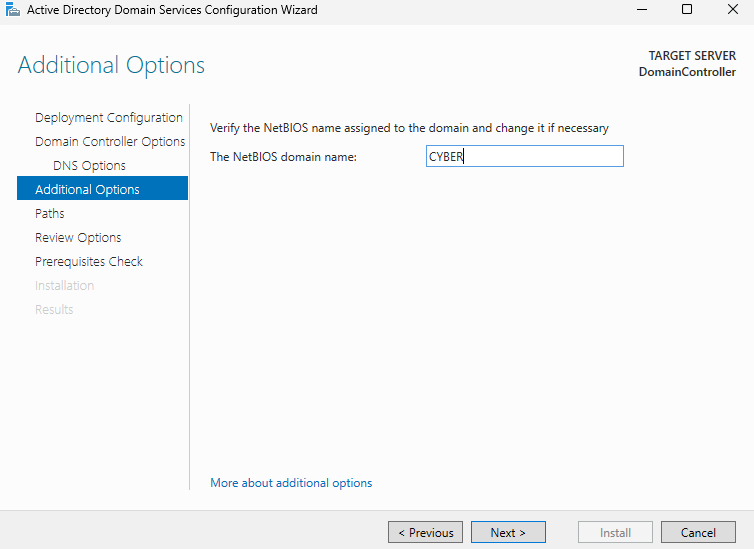
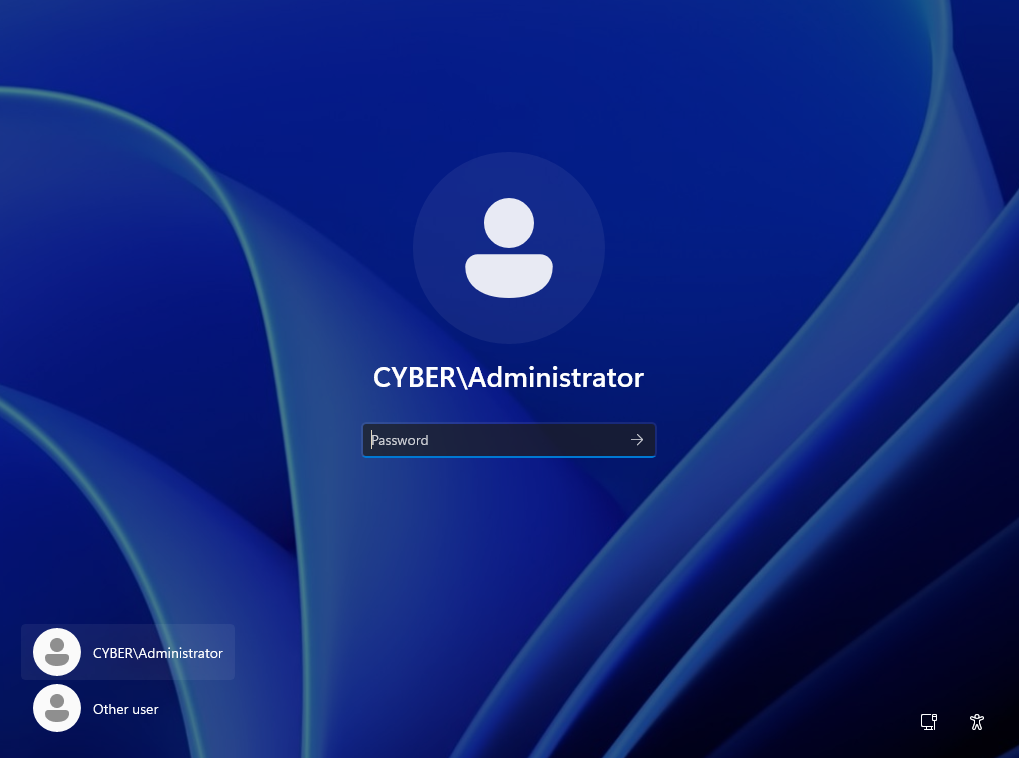
Set a NetBIOS domain name (CYBER)
Next
Leave at default again
Next
Next
Click Install

The VM may automatically restart
Log back in
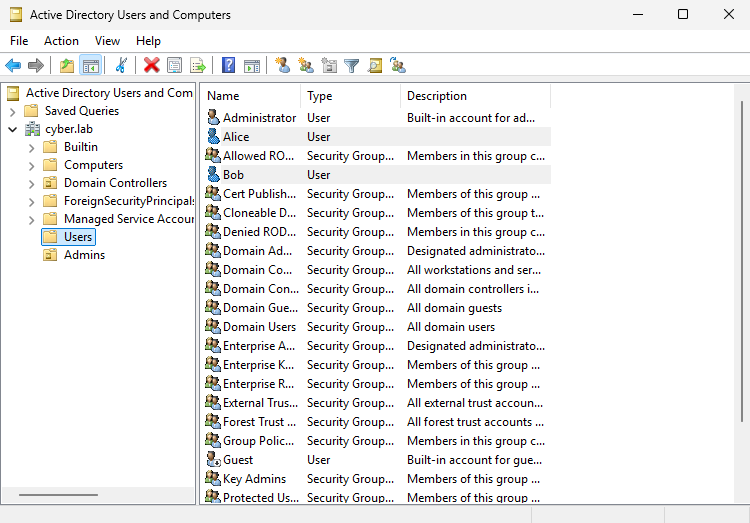
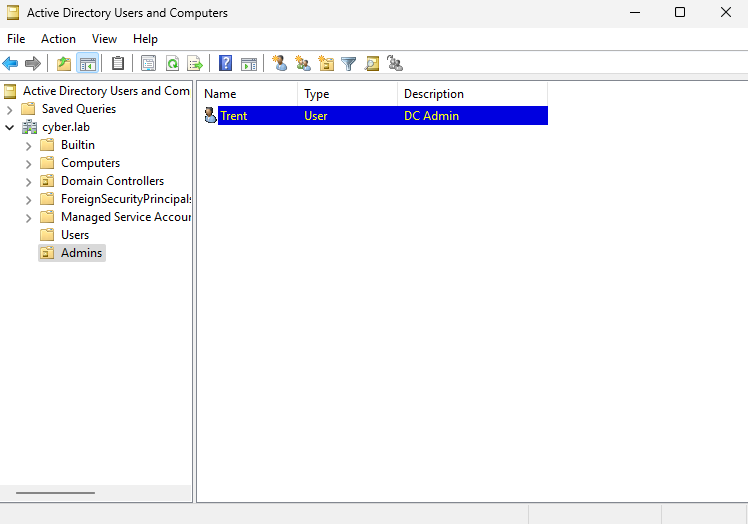
Adding Activer Directory Users
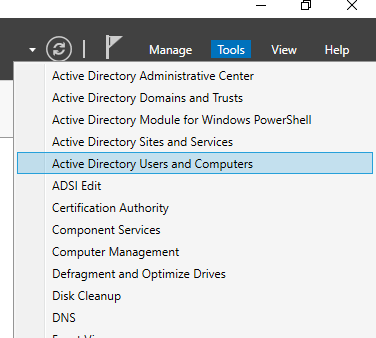
When we’re back in the server manager, click on Tools > AD Users and Computers
Right click the domain > New > Organizational Unit
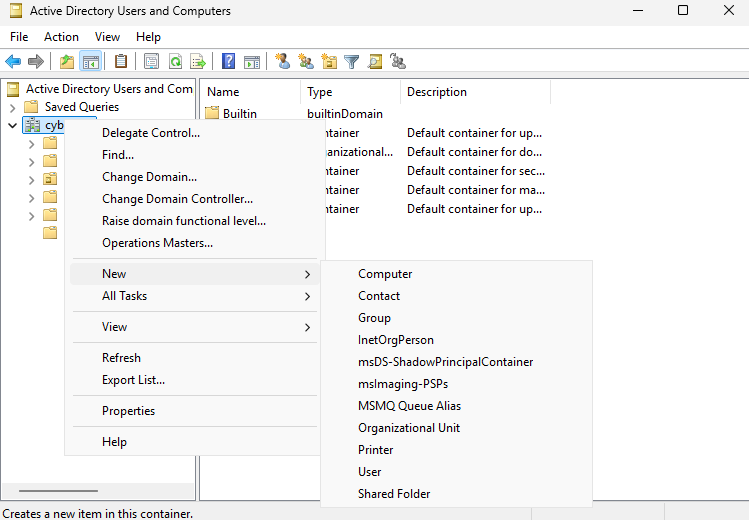
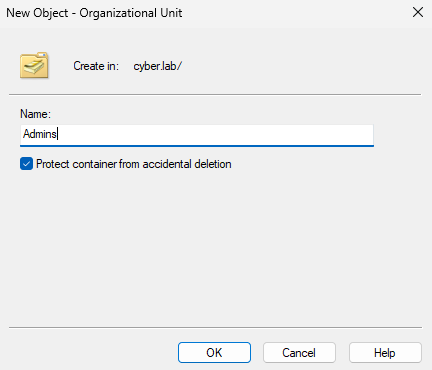
We will create the Admins OU
Name it accordingly and click OK
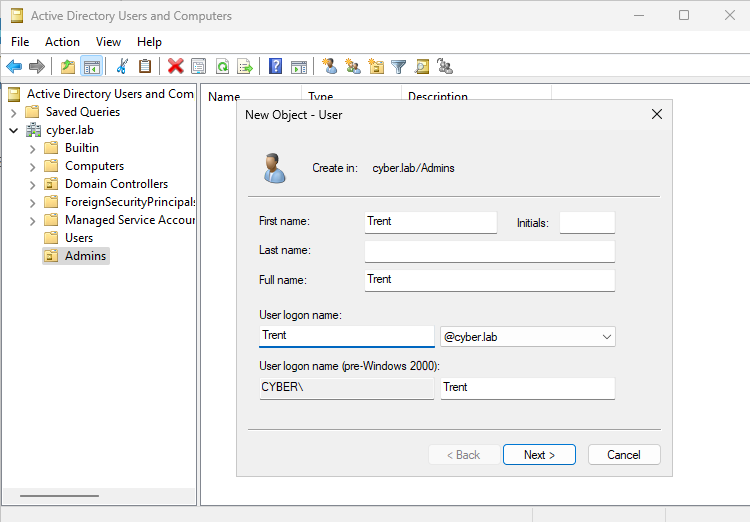
Right click Admins > New User
Give the new admin a name (Trent)
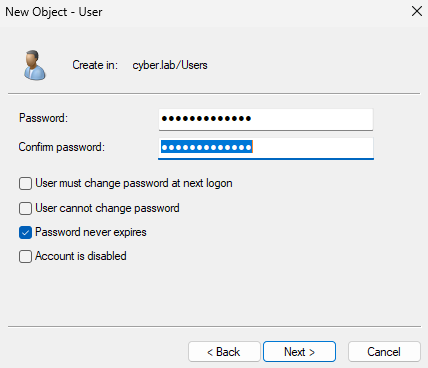
Set a password. Make sure you take note of these. Windows 10 and up have strong password requirements on by default and it could be difficult to remember them for all of your VMs
Set the password to never expire
Next

You may add a Description to the new user (DC Admin)
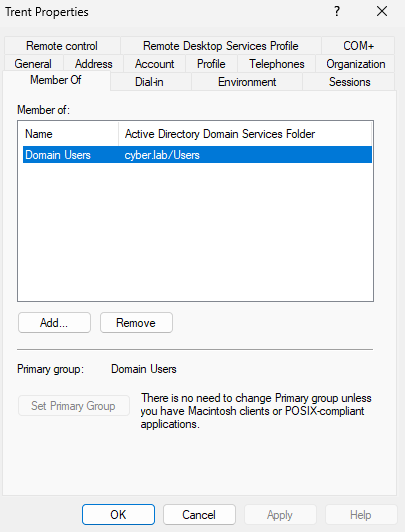
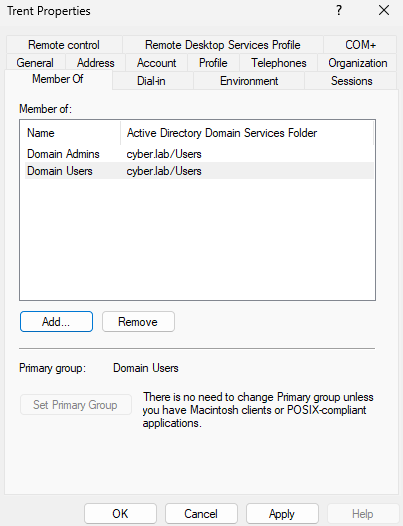
Right click on the new Admin > Properties > Member Of
Click Add
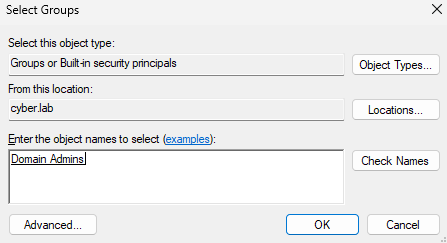
Enter Domain Admins
Click Check Names
OK
Apply
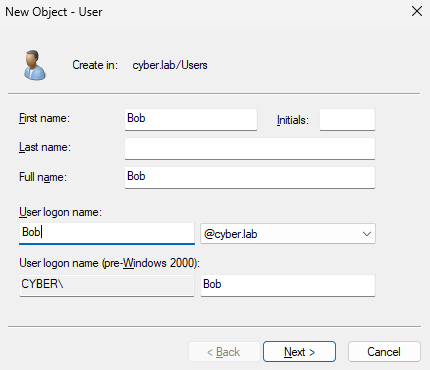
We will now add our 2 clients, which should be regular users
Right Click on Users > New > User
Enter a password and set it so that it never expires
Next
I created 2 users, Bob and Alice