Cybersecurity Lab - OpenVAS VM Setup
Deploying OpenVAS via docker
By the end of this exercise, we will have:
- OpenVAS deployed on Docker
OpenVAS VM Setup
There is a full guide to setup OpenVAS here, however it is a bit outdated and if you follow it step by step you may run into significant errors: https://greenbone.github.io/docs/latest/22.4/container/index.html
I will be running OpenVAS on an Ubuntu server VM (24.04.4 LTS). See my Ubuntu server VM guide here.
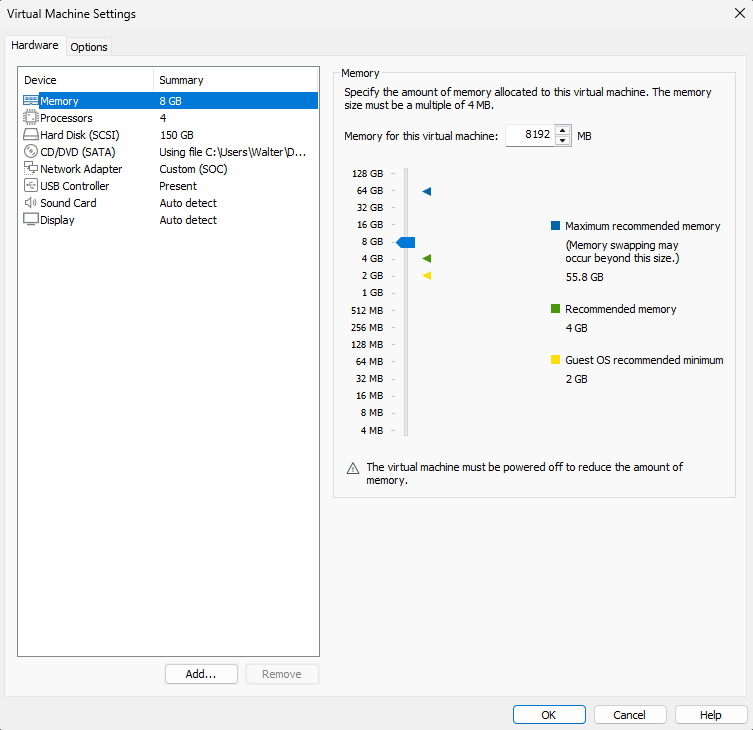
VM Settings (my recommended minimum)
- 8GB Memory
- 4 Processors
- 120GB Storage
- Network Adapters
- Adapter 1: SOC (10.10.3.0/24)
I went with 150GB to be safe.
Do not follow their recommended guideline of 60GB of storage, the updated vulnerability databases take up way more storage and you will run into partition and Docker related issues if you go any lower than 120GB.
Once you have set the right hardware configurations, proceed to set up Ubuntu server.
Once you are able to SSH into the server, we can begin to download Docker and the OpenVAS containers.
Docker Installation
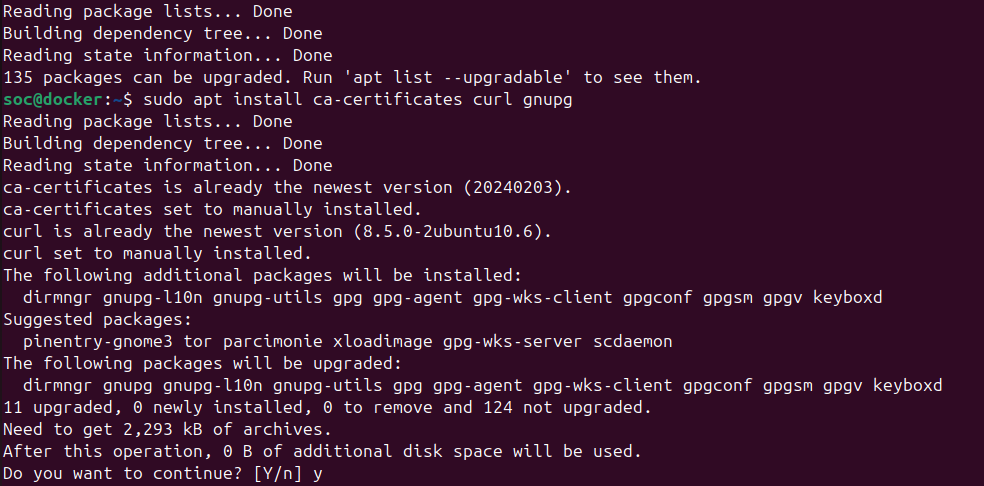
Install Dependencies
Make sure to run sudo apt update first, then run
1
sudo apt install ca-certificates curl gnupg
Install Docker
Install the ca-certificates, curl and gnupg Debian/Ubuntu packages
1
sudo apt install ca-certificates curl gnupg
Uninstall any conflicting Ubuntu packages (not necessary on a fresh install, just an extra safety precaution)
1
for pkg in docker.io docker-doc docker-compose podman-docker containerd runc; do sudo apt remove $pkg; done
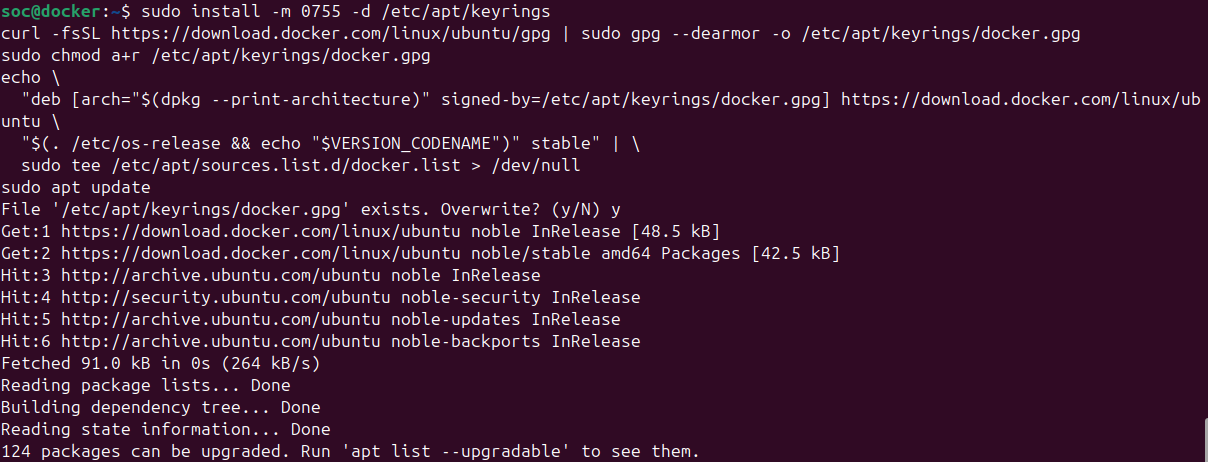
Set up the Docker repository
1
2
3
4
5
6
7
8
sudo install -m 0755 -d /etc/apt/keyrings
curl -fsSL https://download.docker.com/linux/ubuntu/gpg | sudo gpg --dearmor -o /etc/apt/keyrings/docker.gpg
sudo chmod a+r /etc/apt/keyrings/docker.gpg
echo \
  "deb [arch="$(dpkg --print-architecture)" signed-by=/etc/apt/keyrings/docker.gpg] https://download.docker.com/linux/ubuntu \
  "$(. /etc/os-release && echo "$VERSION_CODENAME")" stable" | \
  sudo tee /etc/apt/sources.list.d/docker.list > /dev/null
sudo apt update
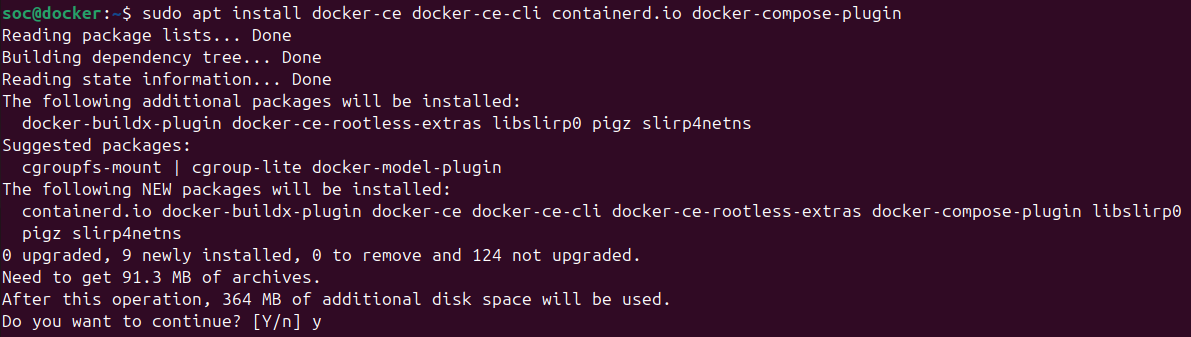
Install the Docker Ubuntu packages
1
sudo apt install docker-ce docker-ce-cli containerd.io docker-compose-plugin
Environment Setup
To allow the current user to run docker and therefore start the containers, they must be added to the docker user group. To make the group change effective, either logout and login again or use su
1
sudo usermod -aG docker $USER && su $USER
For downloading the Greenbone Community Edition docker compose file, a destination directory should be created.
1
export DOWNLOAD_DIR=$HOME/greenbone-community-container && mkdir -p $DOWNLOAD_DIR

OpenVAS Setup
Docker Compose File Download
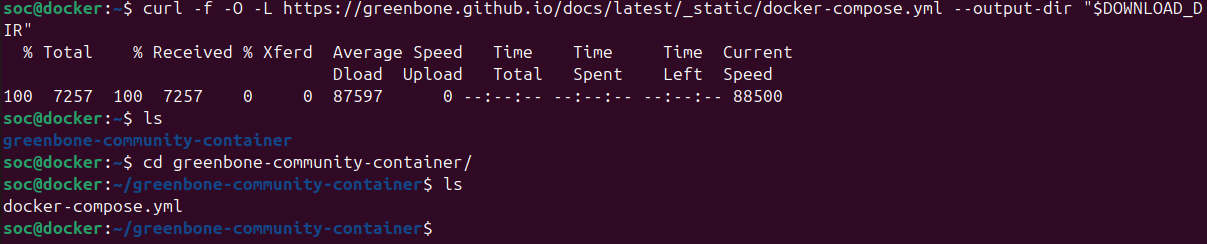
Download the Docker compose file for OpenVAS by running this command:
1
curl -f -O -L https://greenbone.github.io/docs/latest/_static/docker-compose.yml --output-dir "$DOWNLOAD_DIR"
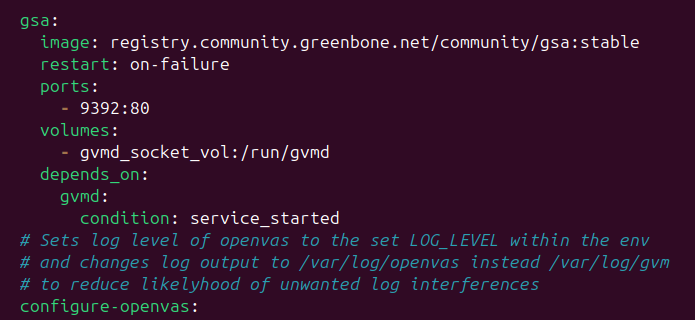
The only change I made to the file was changing the ports section under gsa from 127.0.0.1:9392:80 to just 9392:80
This allow any VM to access the OpenVAS web GUI
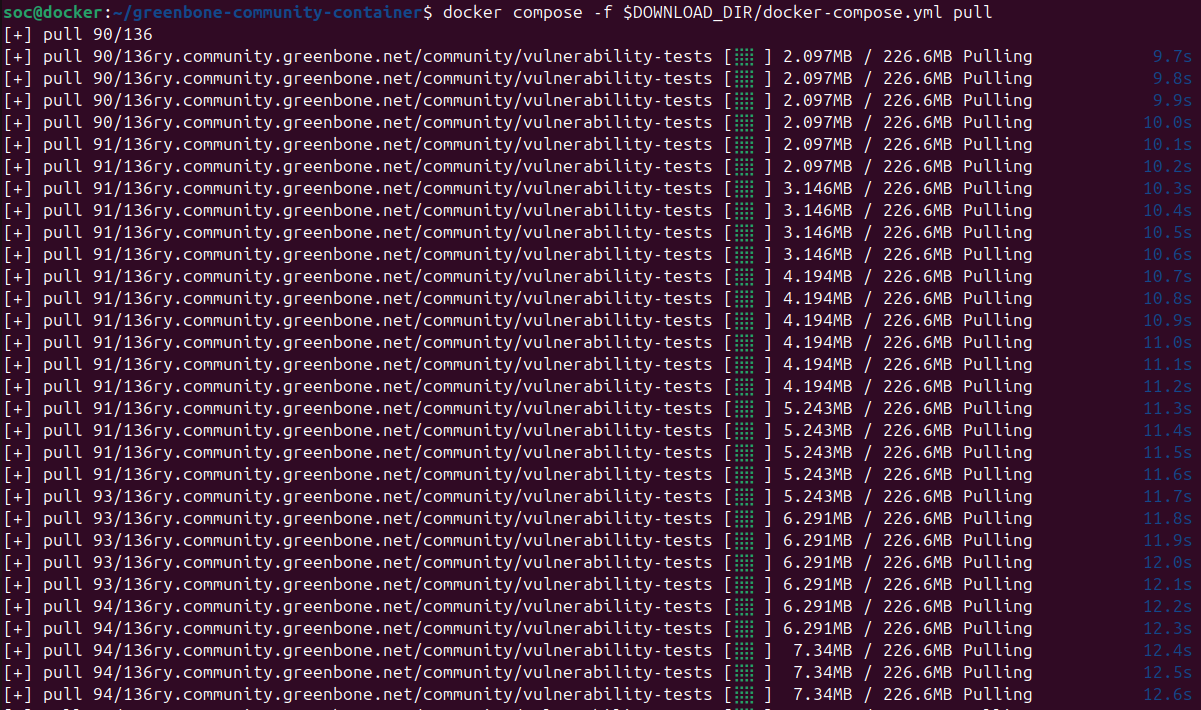
Starting the Greenbone Community Containers
Now download the Greenbone Community Containers
1
docker compose -f $DOWNLOAD_DIR/docker-compose.yml pull
This takes around 10 minutes to complete
Once finished, start the containers by running:
1
docker compose -f $DOWNLOAD_DIR/docker-compose.yml up -d
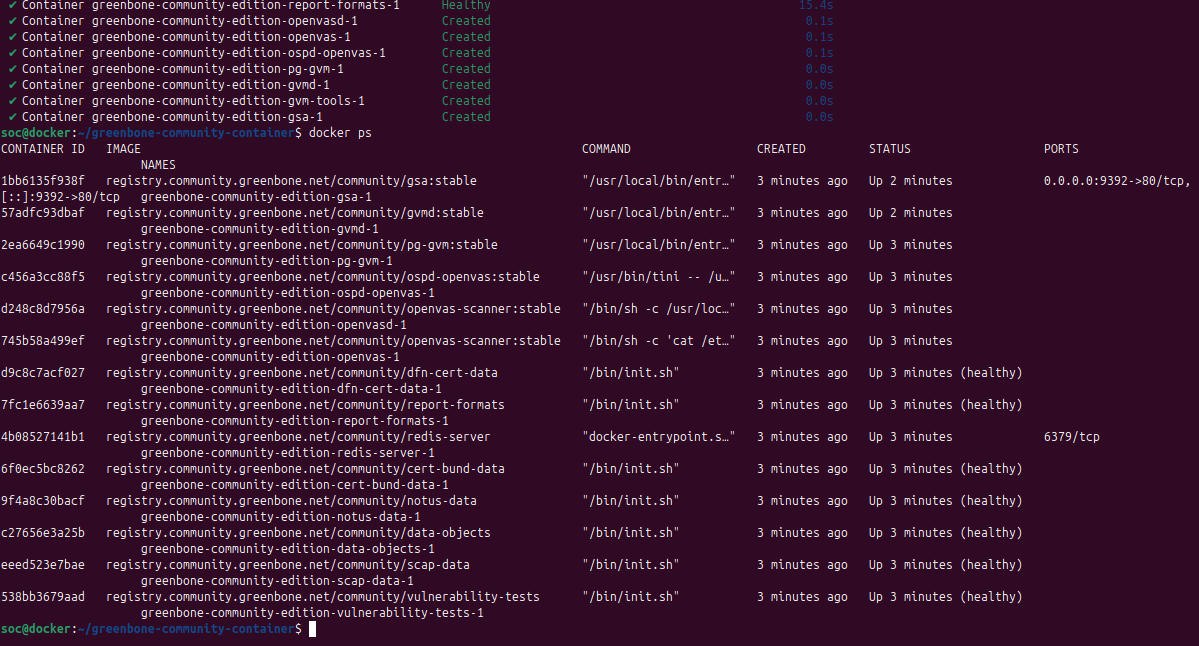
Then run docker ps to make sure they are all running
Setting up an Admin User
Run the following command to set up the admin user
1
2
docker compose -f $DOWNLOAD_DIR/docker-compose.yml \
    exec -u gvmd gvmd gvmd --user=admin --new-password='<password>'
I just used the default credentials of admin:admin
if you see No SCAP database found, this is fine and is expected after a fresh installation.
it could take up to 60 minutes for the SCAP database to sync. You can head to the web interface to track the syncing progress.

Accessing the OpenVAS Web Interface
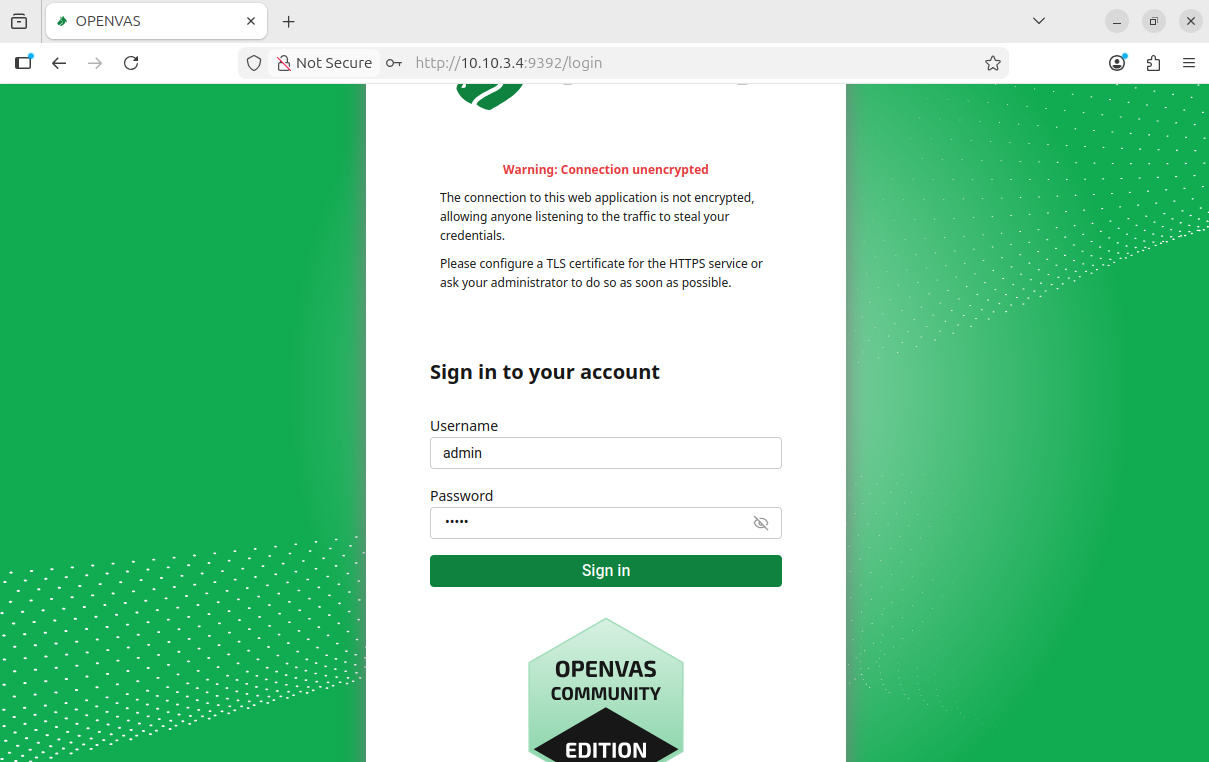
Access the OpenVAS web GUI by navigating to http://[YOUR_VM_IP]:9392
Enter your admin credentials
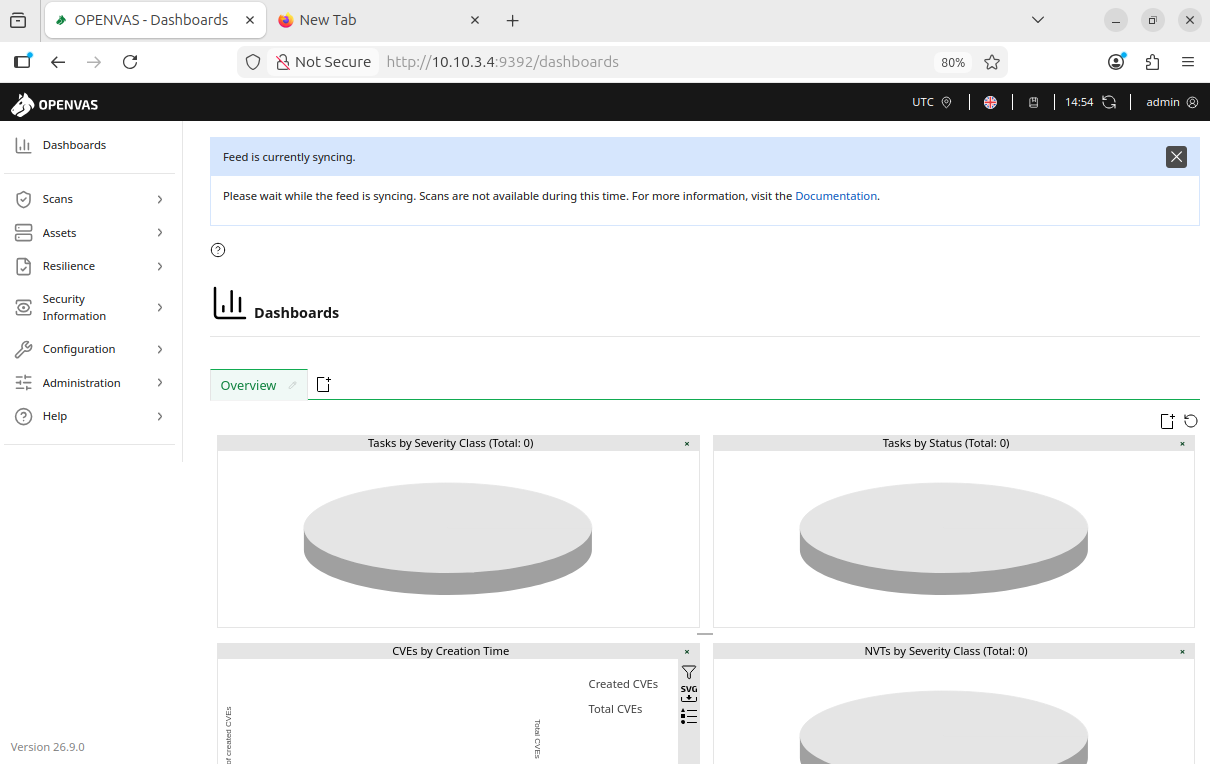
Once you log in, you should see this dashboard
Once again, it could take a while for all the feeds to finish syncing, just leave the OpenVAS VM running in the background while you do something else.
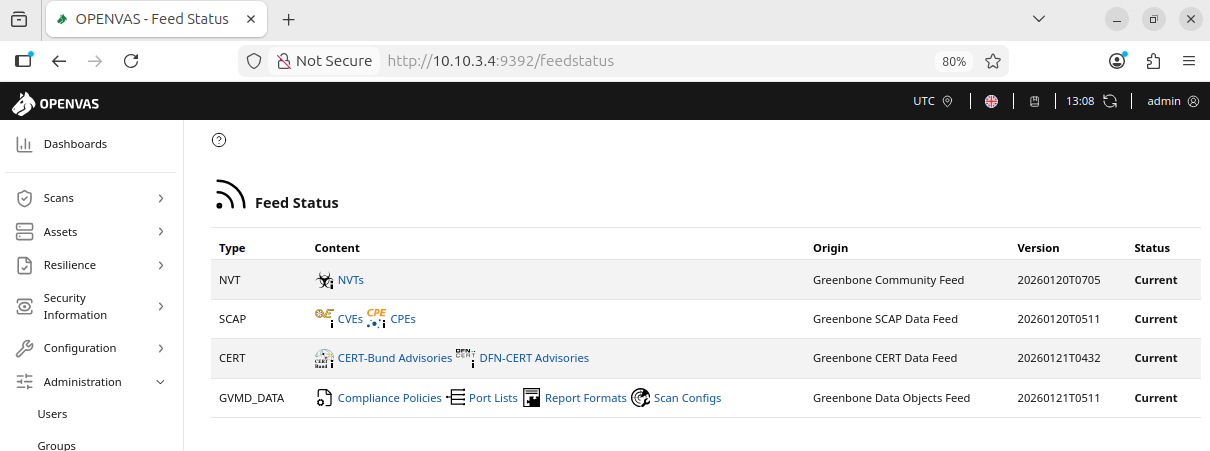
To track your progress, head to Administration > Feed Status
The status for all feeds should be “Current” once they are finished syncing
This could take minutes to hours depending on your hardware and Internet connection.
Mine ended up taking about half an hour.