Cybersecurity Lab - Security Onion Setup
Full Security Onion setup guide (VMware)
By the end of this exercise, we will have:
- Security Onion VM set up
Security Onion VM Setup
Security Onion ISO: https://securityonionsolutions.com/software/
I am on version 2.4.200
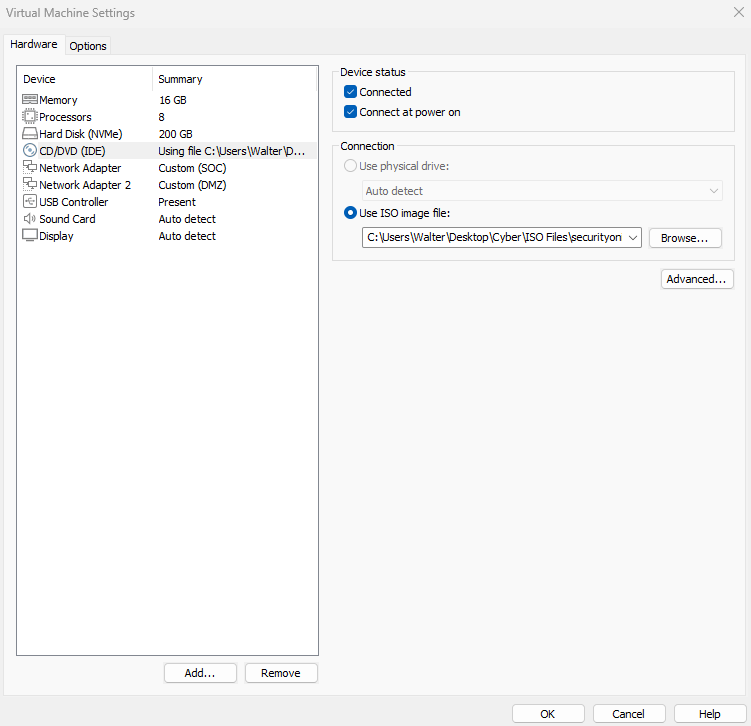
VM specs (recommended minimum):
- 16GB Memory
- 8 Processors
- 200GB Storage
- Network Adapters:
- Adapter 1: SOC (10.10.3.0/24)
- Adapter 2: DMZ
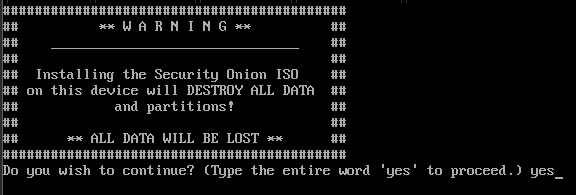
Boot the VM
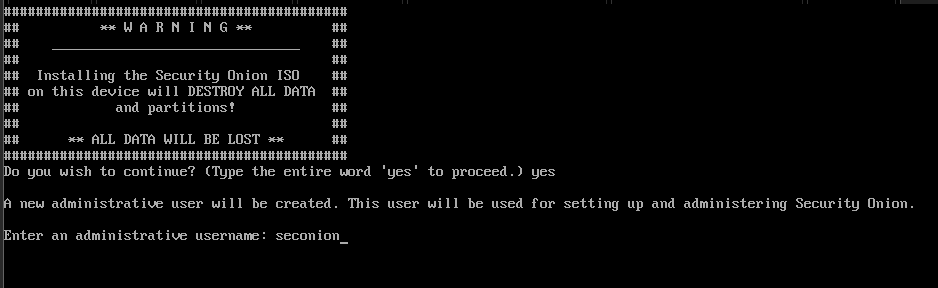
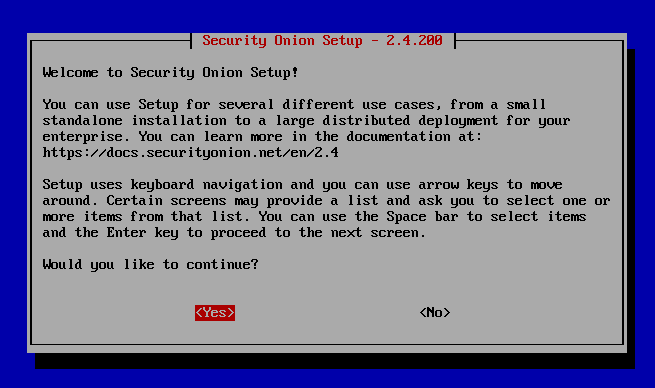
Enter ‘yes’ to proceed
Enter an admin username and password. We will use these credentials to SSH into the VM.
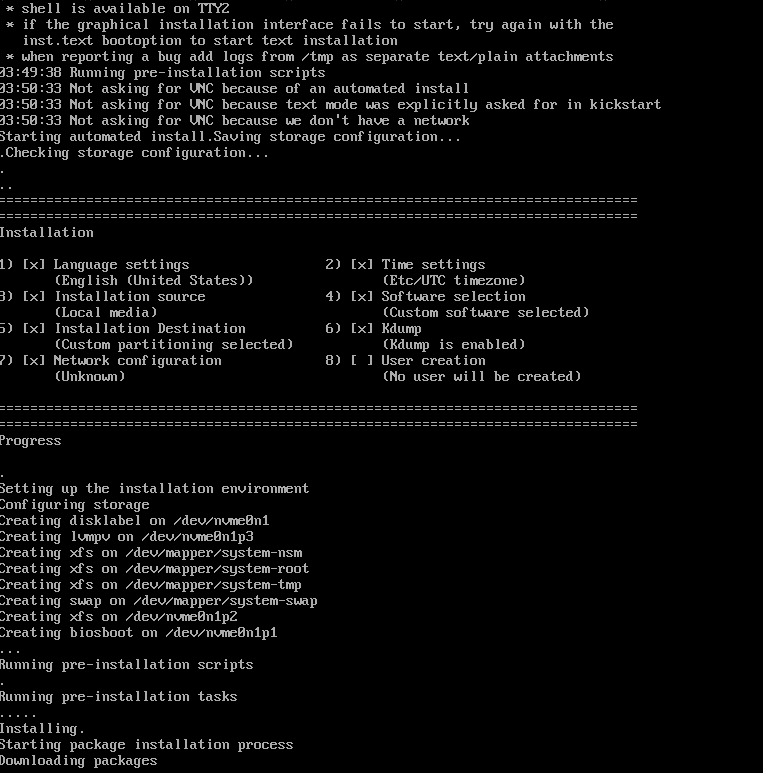
installation should begin shortly after
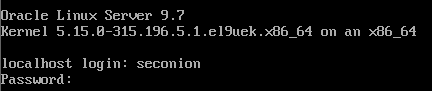
Reboot the VM

Log in using the credentials from earlier
Yes
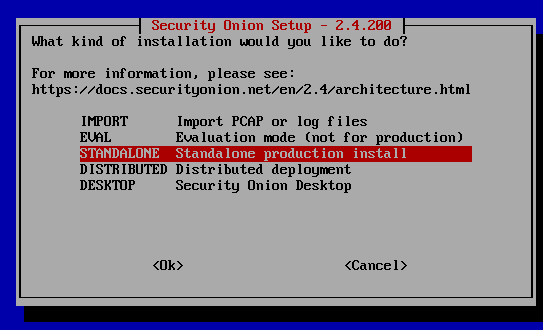
Install

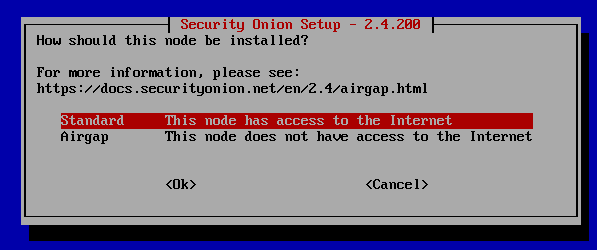
Standalone
Standard
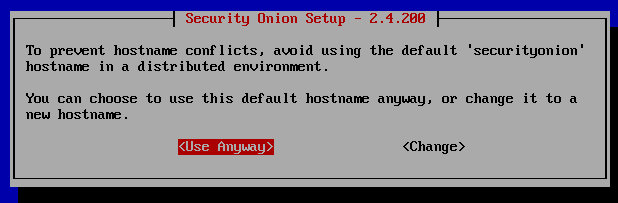
Set a hostname (or leave at default)
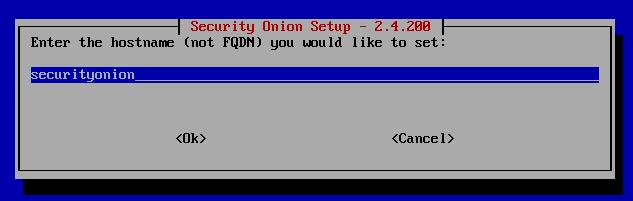
Since this is a lab environment running 1 Security Onion instance, the default hostname is fine
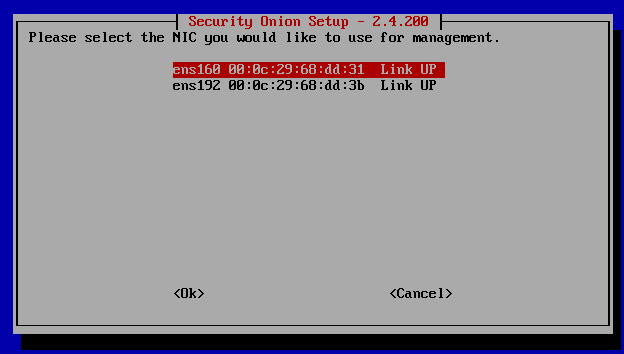
Select the SOC NIC as the management interface (ens160 in my case)
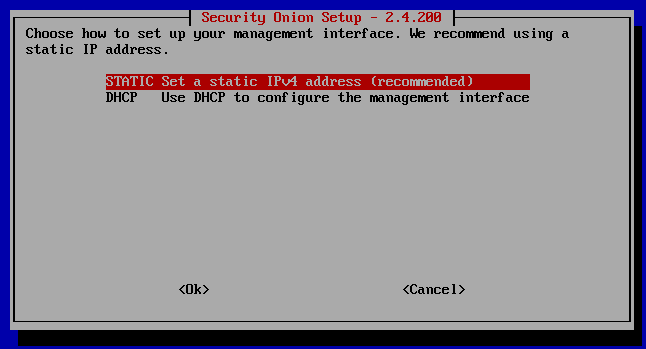
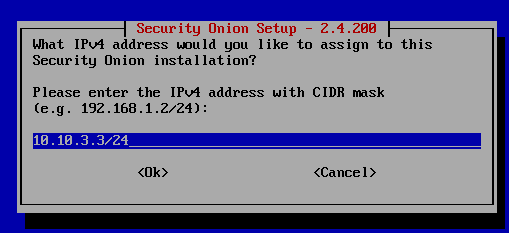
Set a static IP
I gave this VM the IP address 10.10.3.3.
Set the default gateway

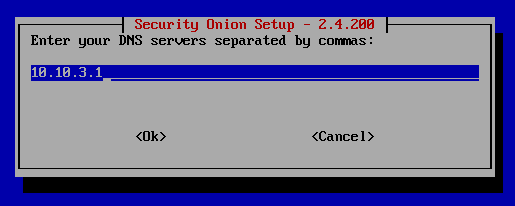
Set the DNS server
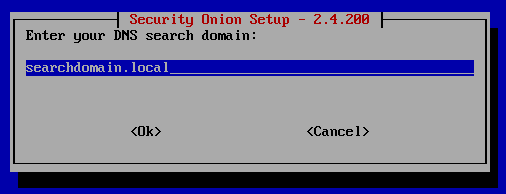
Leave at default
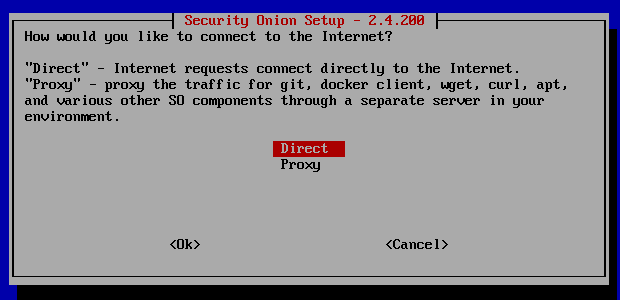
Leave at direct
Yes

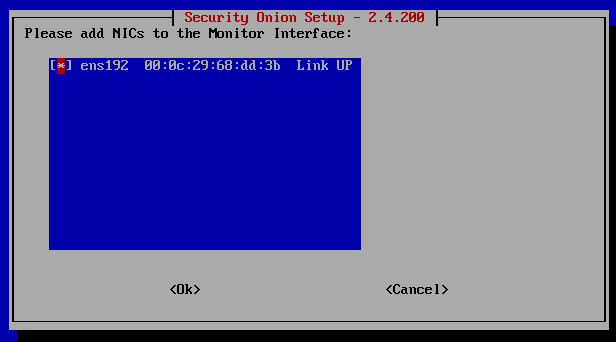
ens192 corresponds to the adapter that is attached to the DMZ network. Security Onion does not need (and shouldn’t have) an IP address on this network.
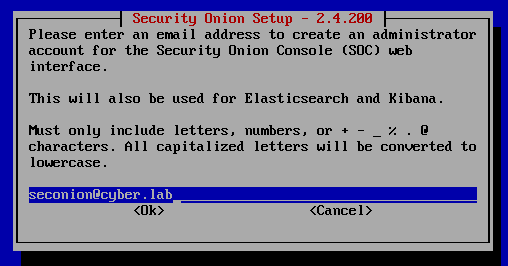
Create an admin account to log into the Security Onion console (web interface). This does not have to be a real email.
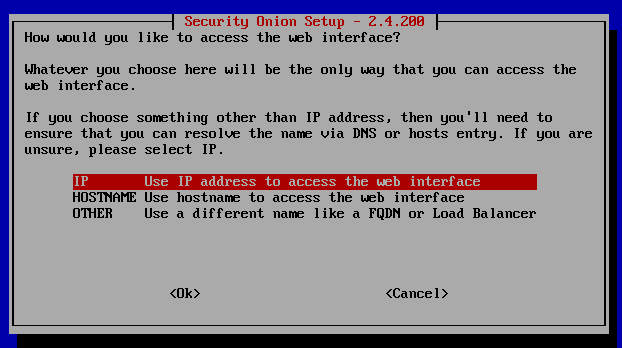
Select IP
Yes

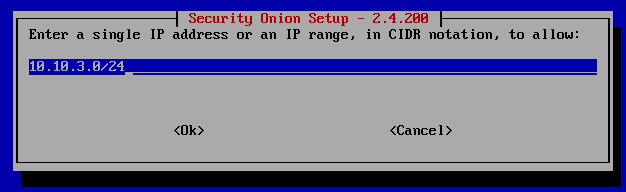
Allow the entire SOC net
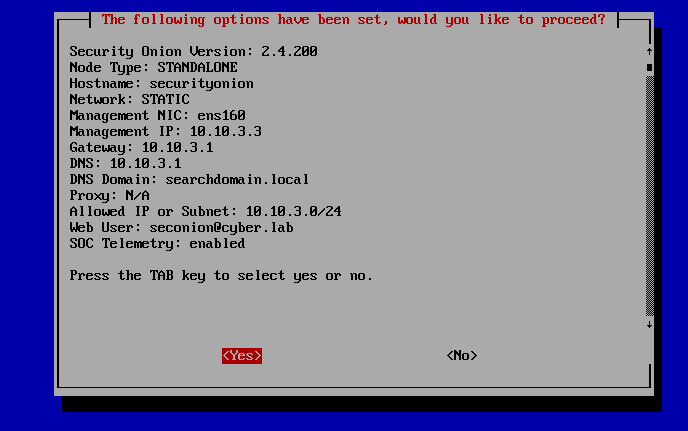
Make sure your configurations are correct before proceeding
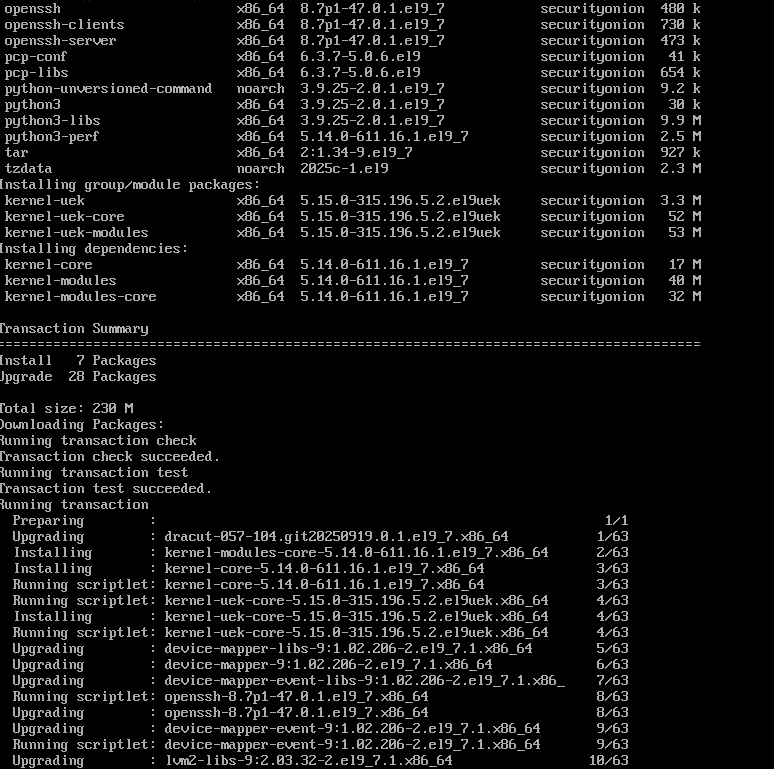
The Security Onion installation will now begin. This may take a while (30-60 minutes)
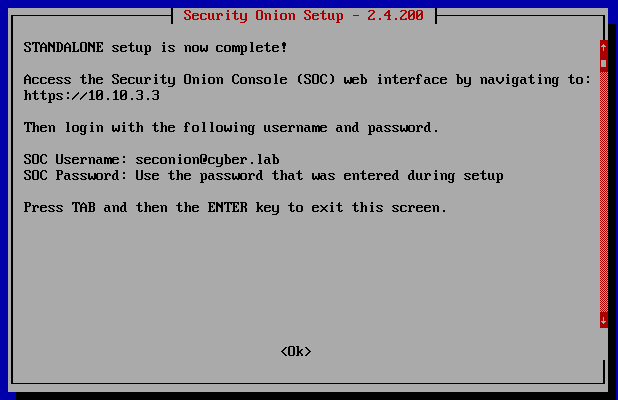
After Security Onion is done setting up, we should be able to access the console
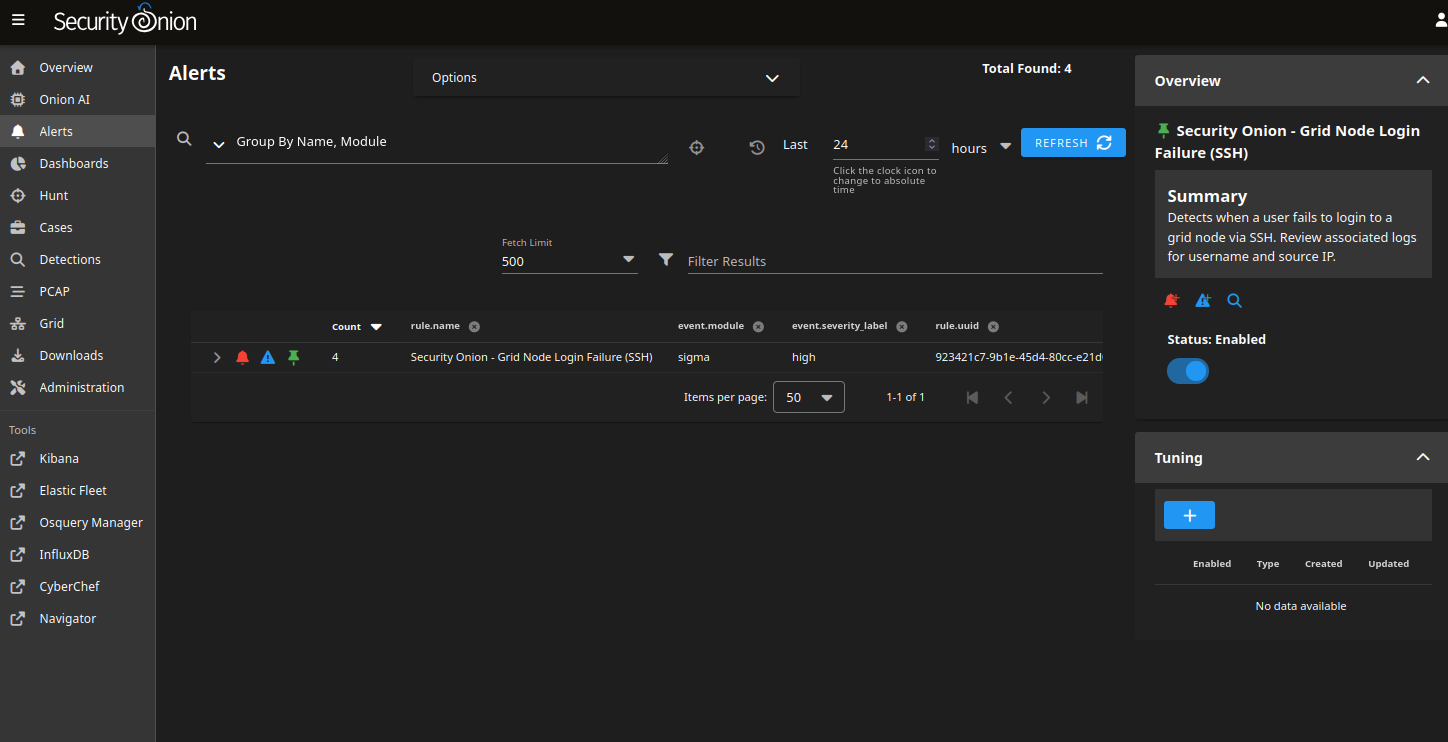
Security Onion Web Interface + Testing
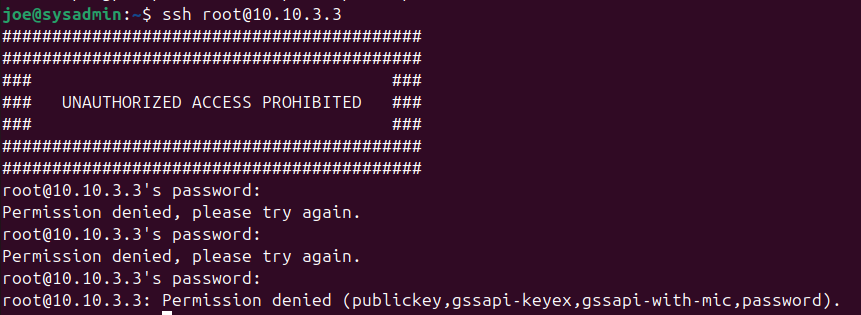
From the Ubuntu VM, I generated some failed SSH logins.
When I head to the Security Onion web interface, my failed logins got logged
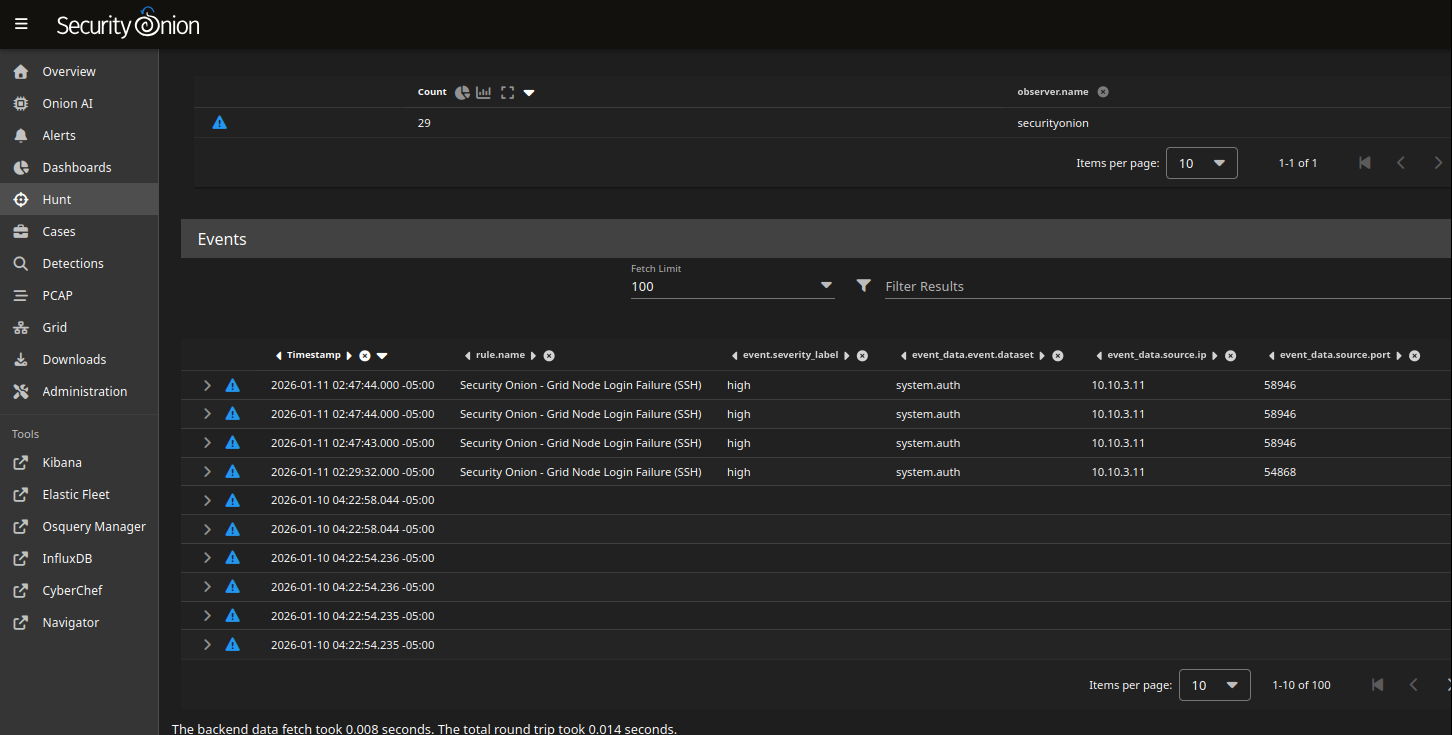
An alert was also created.
Security Onion offers lots of customization options and integrations, however this is fine for now. See Log Visibility. We will improve log visibility and detection capabilities over time, as we run attack simulations.