TheHive Configuration
Configuring our TheHive VM
Cassandra
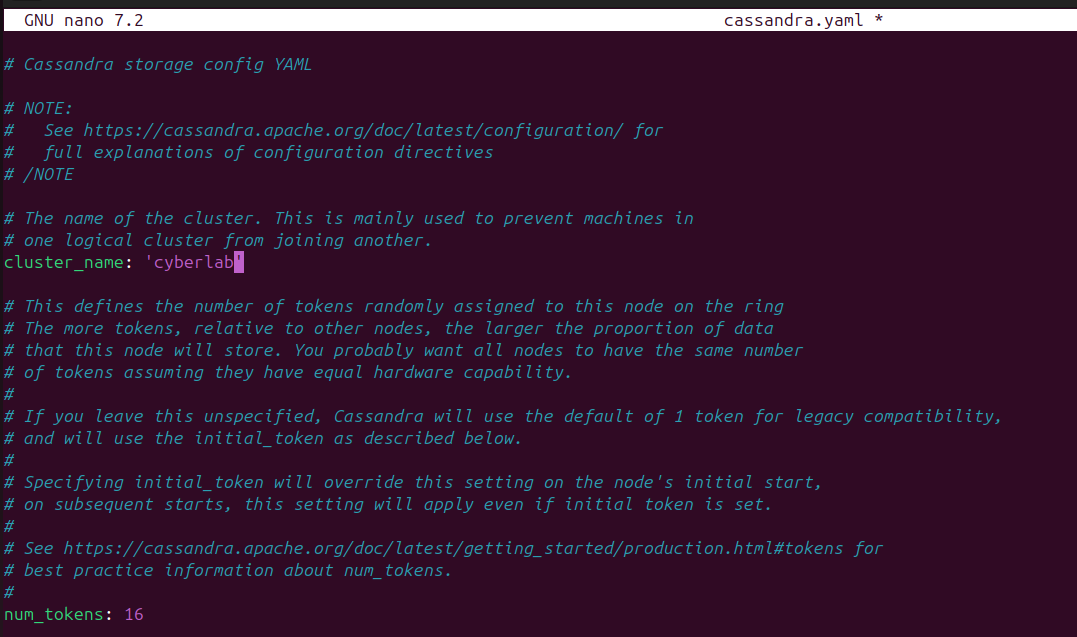
Run sudo nano /etc/cassandra/cassandra.yaml
Change cluster_name to anything you’d like (I changed mine to ‘cyberlab’)
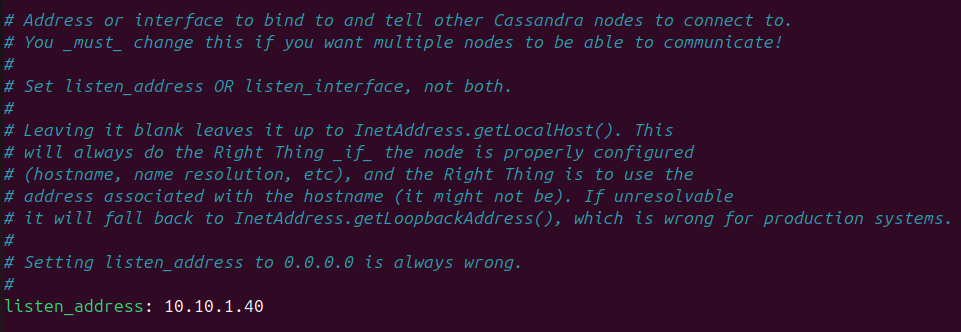
Look for “listen_address”
You can use Ctrl + W to look for a specific string in the nano text editor
Change this value to the IP address of TheHive VM (10.10.1.40 in my case)
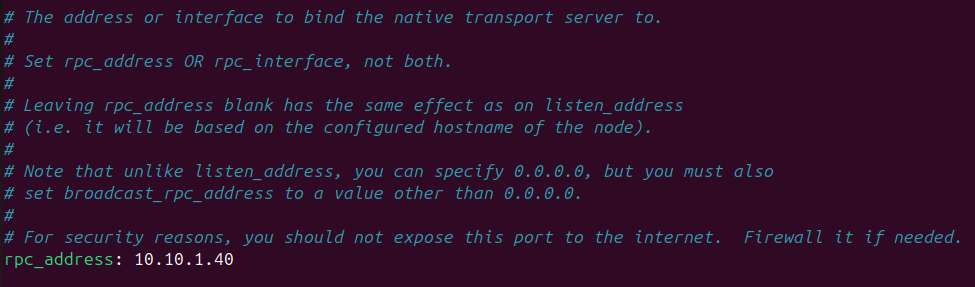
Look for “rpc_address”
Change this value to the IP address of TheHive VM
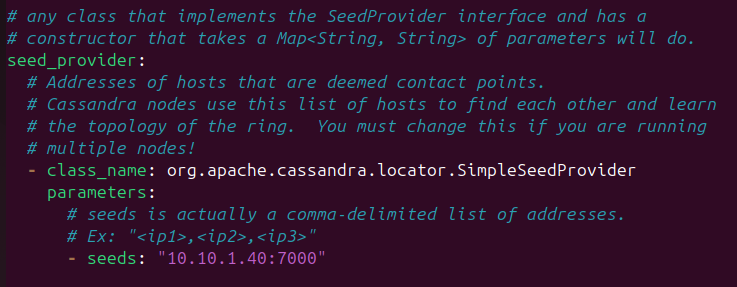
Then, look for “seed_provider”
Under seeds, set the value to the IP address of the TheHive VM. Set the port to 7000
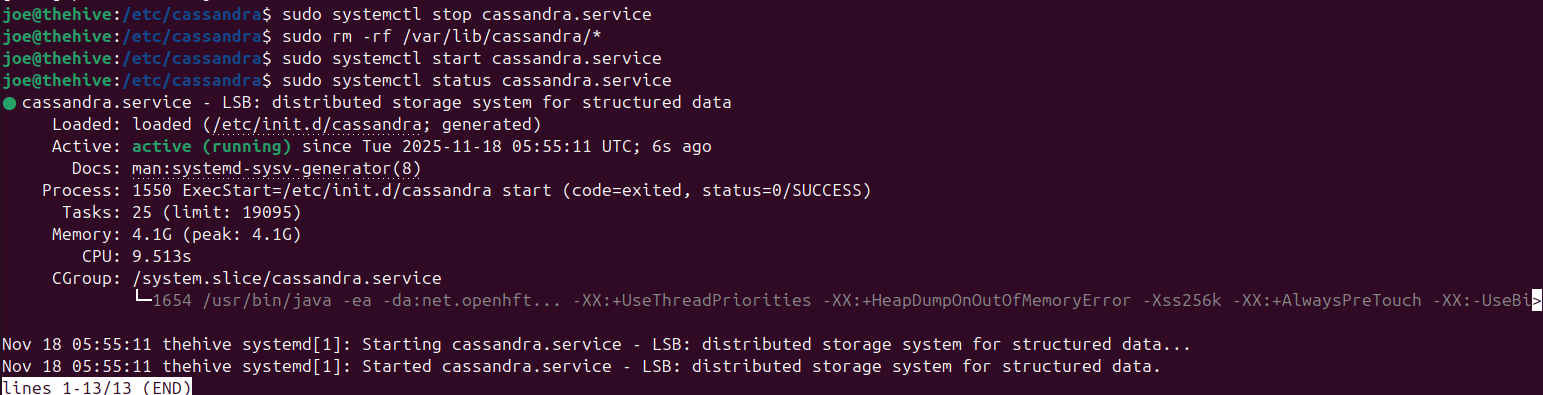
Save your changes (Ctrl + O) and stop the cassandra service
Run sudo systemctl stop cassandra.service
Then, run sudo rm -rf /var/lib/cassandra/*
Start the service again: sudo systemctl start cassandra.service
Run sudo systemctl status cassandra.service to make sure it is running
Elasticsearch
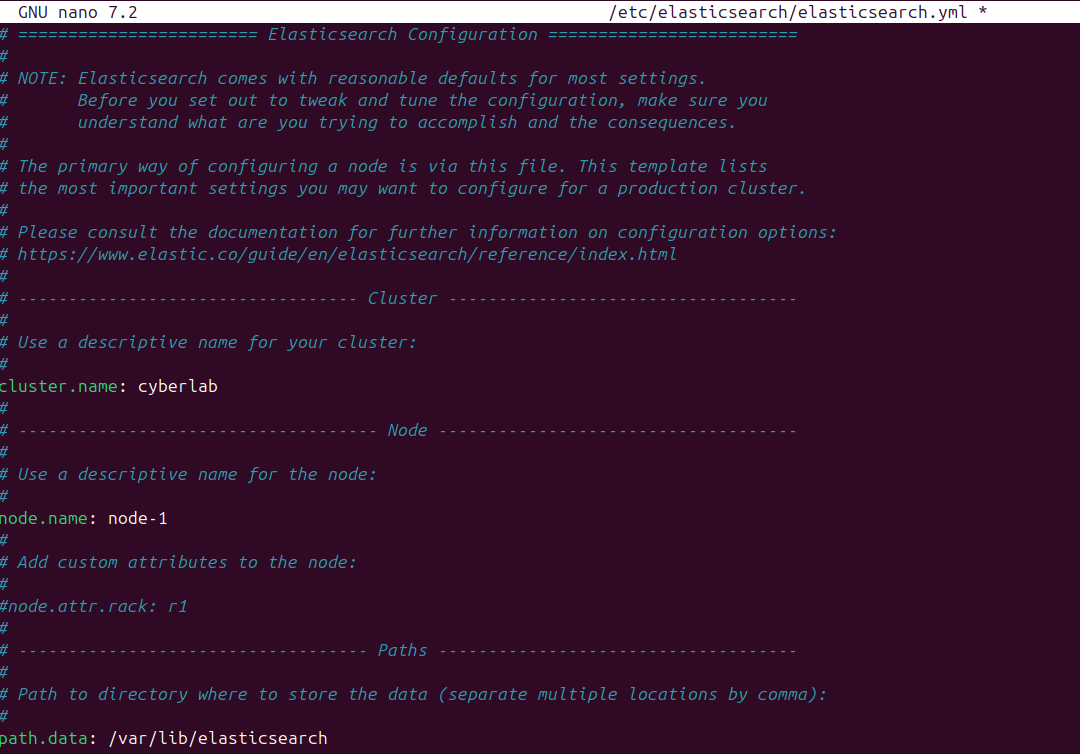
Run sudo nano /etc/elasticsearch/elasticsearch.yml
Uncomment cluster.name, set a name (cyberlab)
Uncomment node.name, leave at default (node-1)
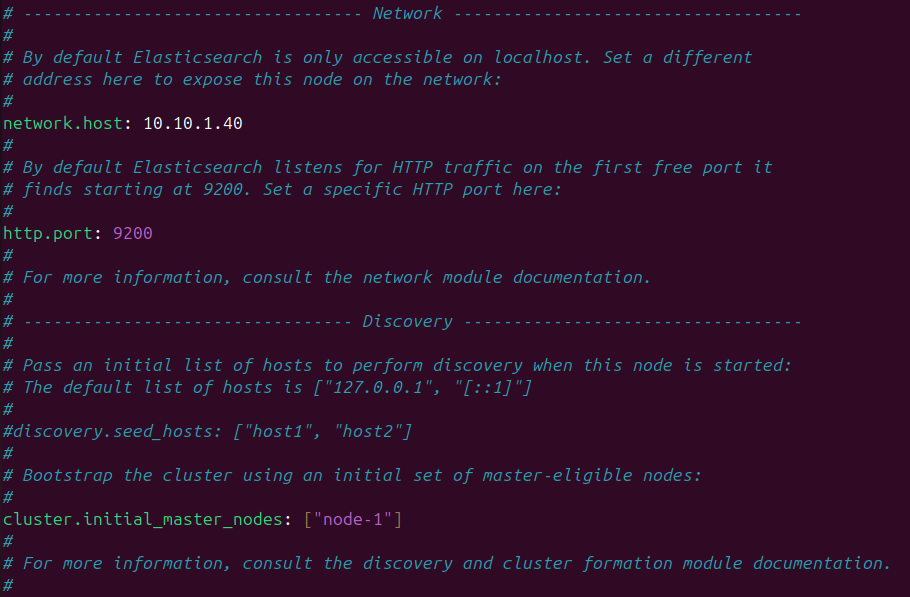
Set network.host to the IP of TheHive VM
Uncomment http.port, leave it at 9200
Uncomment cluster.initial_master_nodes and remove node-2 (only node-1 should be in the array)
Save and exit
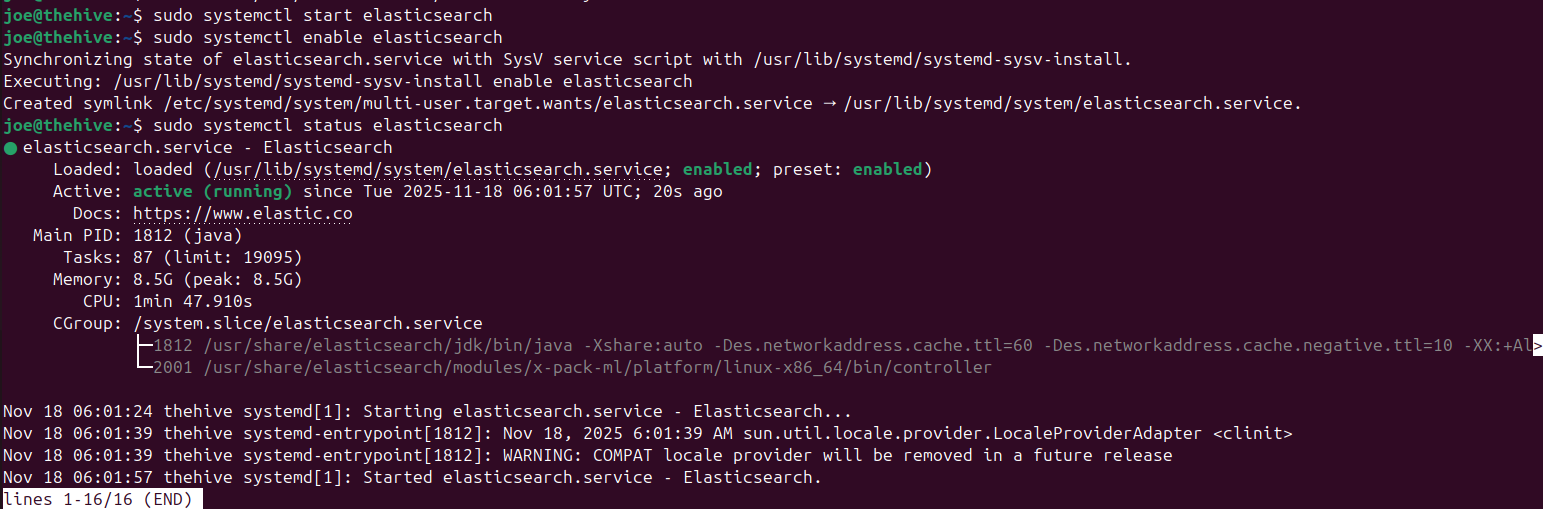
Commands to run:
sudo systemctl start elasticsearch
sudo systemctl enable elasticsearch
sudo systemctl status elasticsearch
TheHive
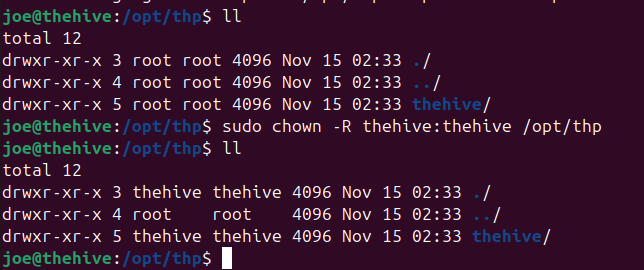
Run cd /opt/thp
Change the ownership of this directory, it should be owned by the thehive user and group: sudo chown -R thehive:thehive /opt/thp
Run ll to make sure the ownership changed
Then, run sudo nano /etc/thehive/application.conf
In db.janusgraph,
under storage, change the value of hostname to the IP of the VM
under cql, change clustername to any name
under index.search, change the value of hostname to the IP of the VM
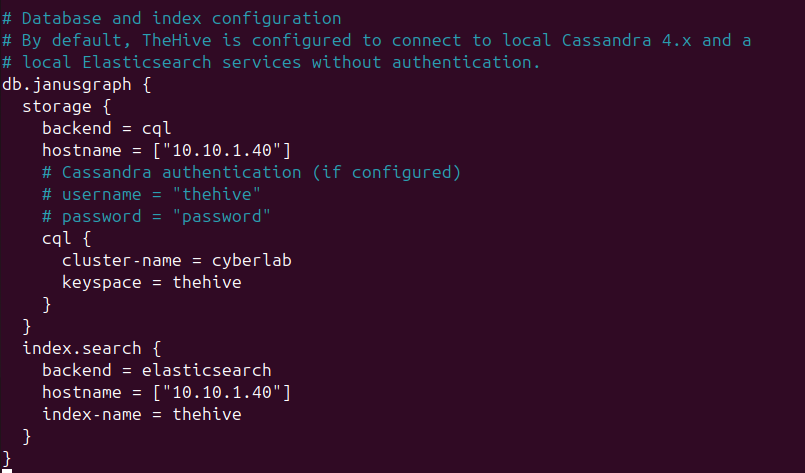
under service configuration, change application.baseUrl to “http://thehiveVMIP:9000”

Save and write changes
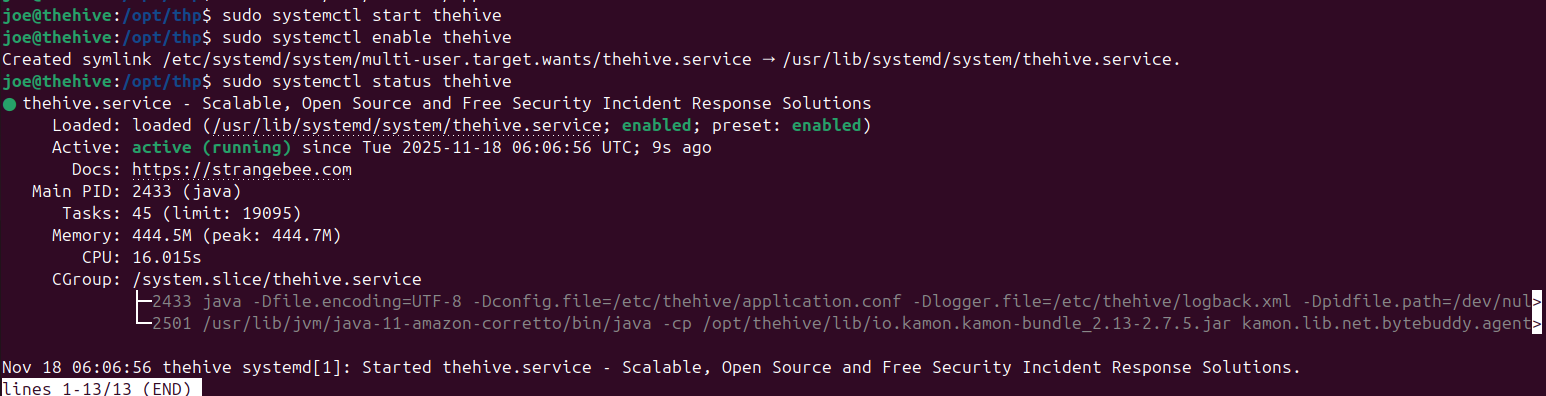
Commands to run:
sudo systemctl start thehive
sudo systemctl enable thehive
sudo systemctl status thehive
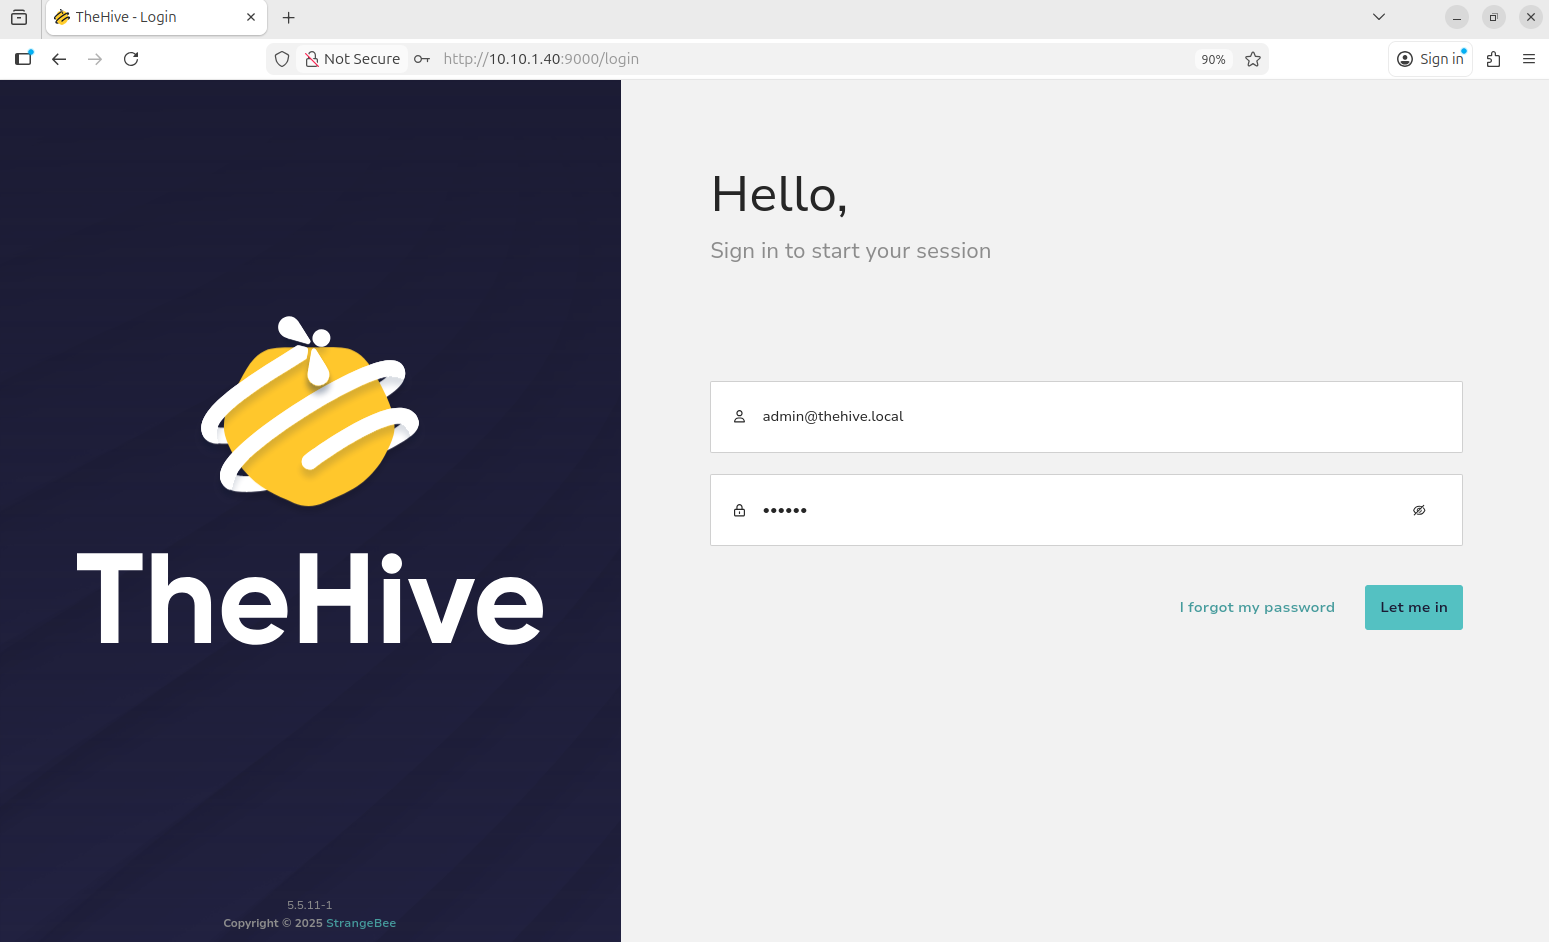
Access TheHive at http://10.10.1.40:9000 (or whatever the IP of your TheHive VM is)
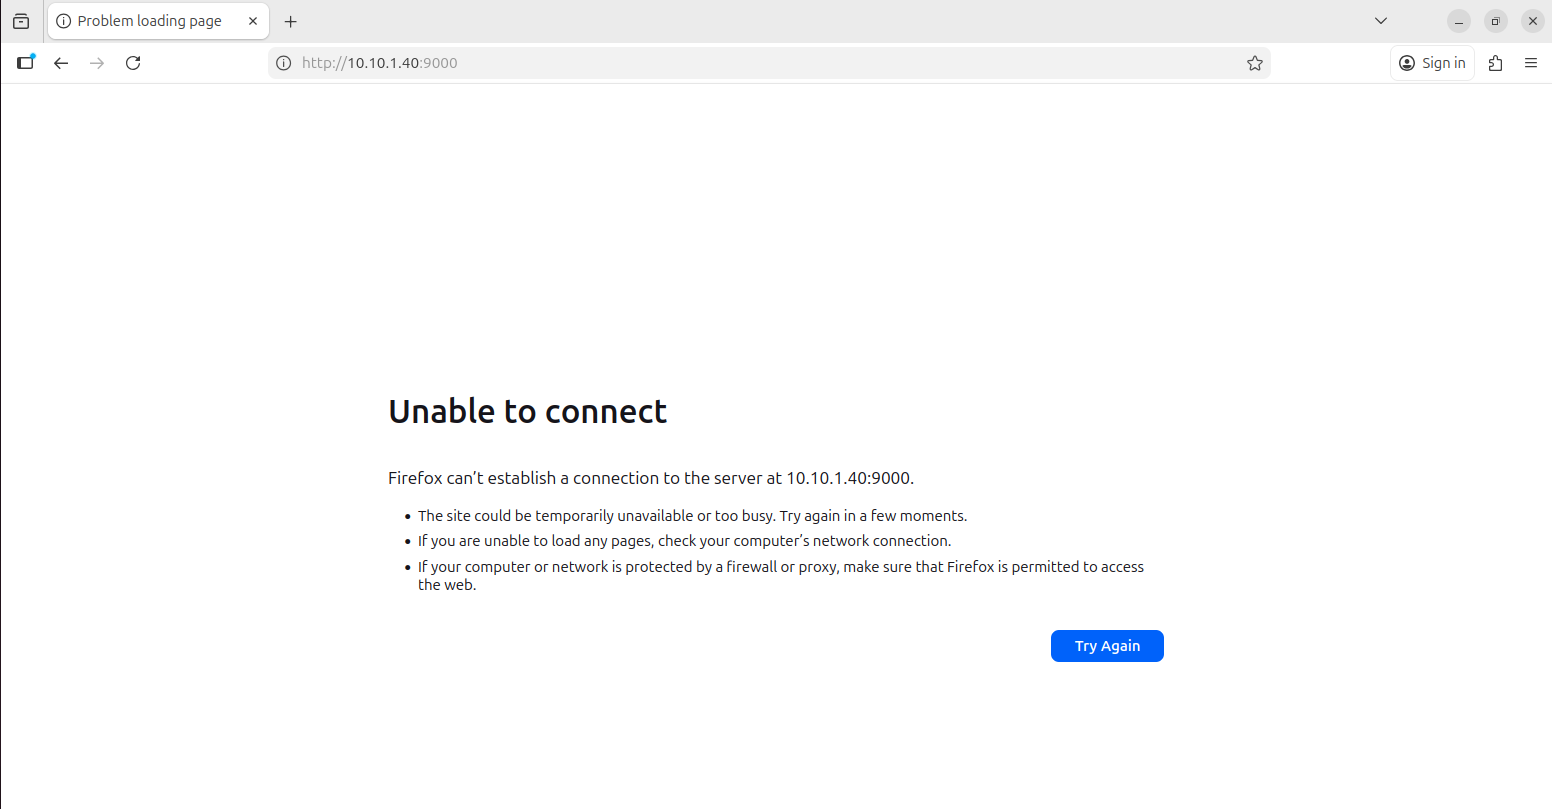
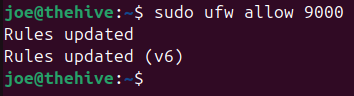
If you see “Unable to connect”, run this command: sudo ufw allow 9000
TheHive listens on all network interfaces ( 0.0.0.0 ) at port 9000
Wait a few minutes and the page should load
Log in in using the default credentials
Email: admin@thehive.local
Password: secret
We should see this dashboard
TheHive has a free trial period of 14 days (mine was 16 for some reason) so make sure to complete this project within the time frame.
