Ubuntu Desktop VM Setup
Setting up an Ubuntu VM to manage our servers.
Ubuntu Desktop Setup
We will use an Ubuntu Desktop environment to manage various aspects of the SOC.
For now, we will use it to manage the OPNsense Firewall.
Get the ISO from: https://ubuntu.com/download/desktop
VM Setup
Follow the same process of setting a VM like earlier:
On the left of OracleBox, click Machine > New
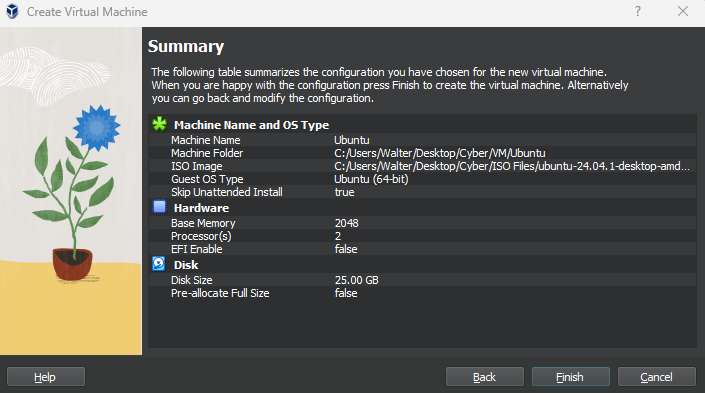
Give the VM a name
Select the ISO path
I gave this VM 2GB RAM, 2 CPUs, and 25GB storage (again, we can adjust this later as needed)
Skip unattended installation
For now, set Adapter 1 to NAT and Adapter 2 to cyberlab-soc.
Note: During this set up, we are not going to stay loyal to the topology. The reason for this is because:
The router/firewall is not completely set up. The VMs will be unable to communicate with each other, let alone access the Internet.
Most installations require internet access. The NAT option is the most convenient option for Internet access right out of the gate.

Ubuntu Download
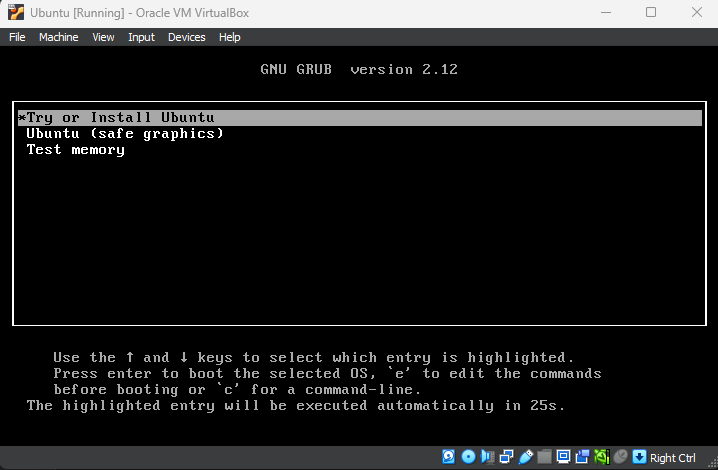
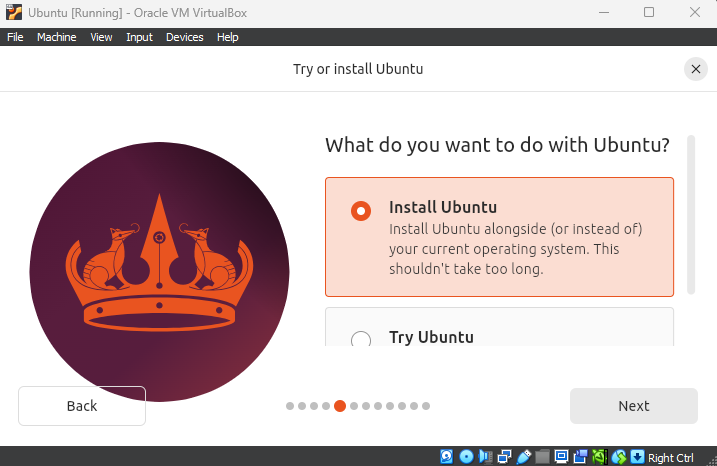
Boot the VM and select Try or Install Ubuntu
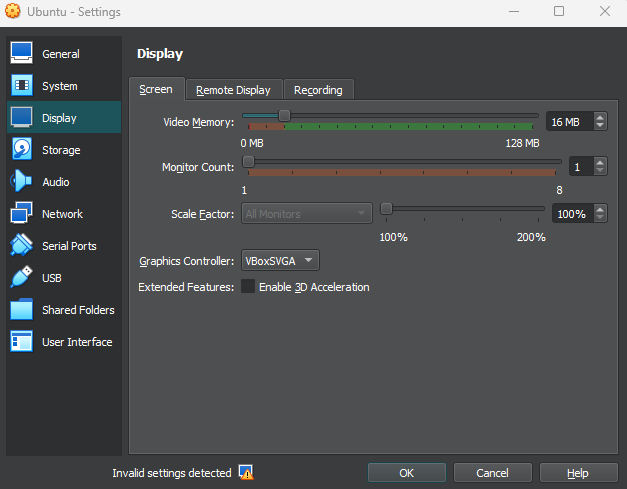
You may run into this graphics controller error
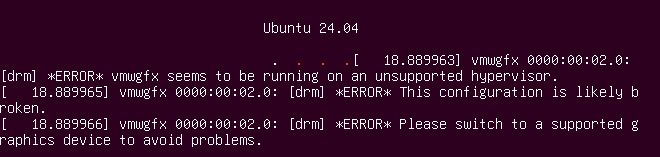
To fix it, stop the VM
Right click the VM > Settings > Display
Set the graphics controller to VBoxSVGA
Boot the VM again and run through the installation (language, keyboard set up, etc)

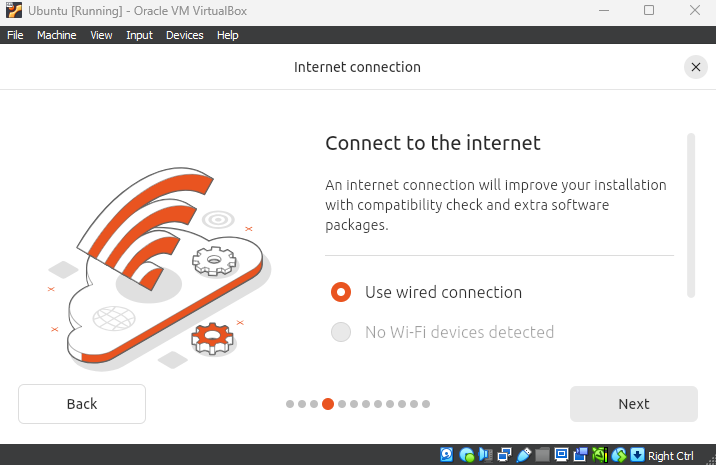
Use wired connection (NAT)
Install Ubuntu
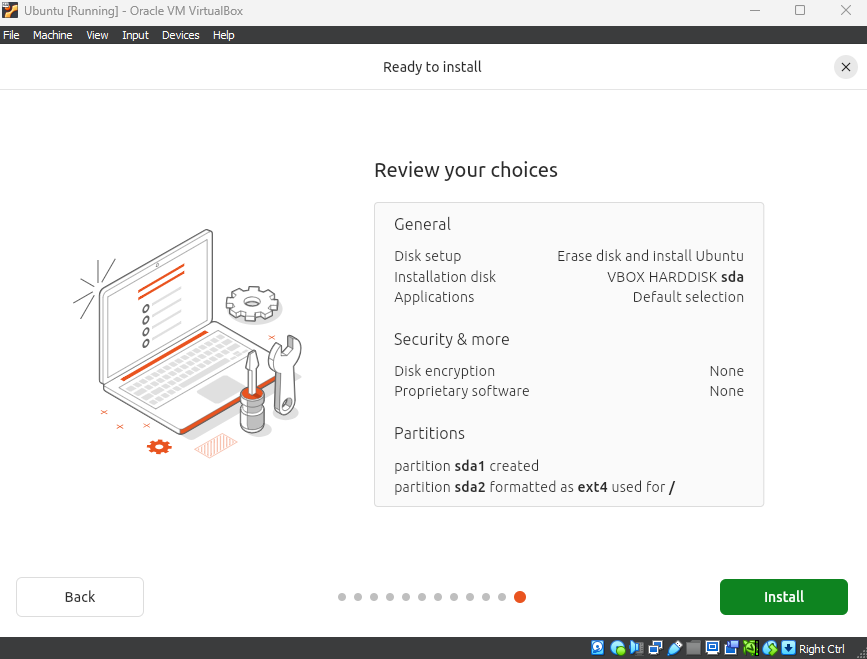
Interactive Installation
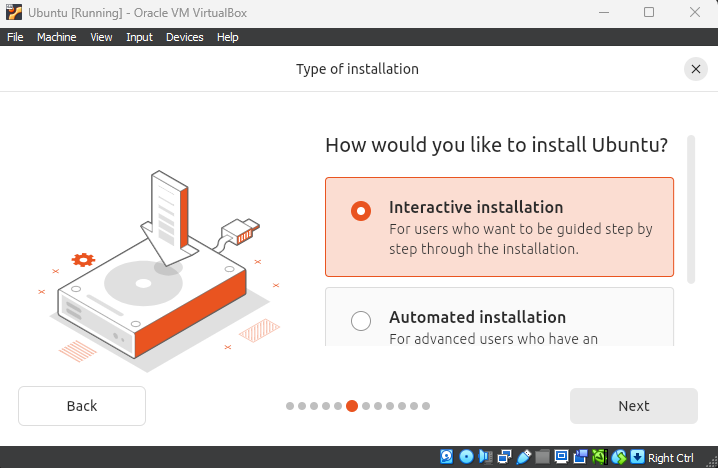
Default selection
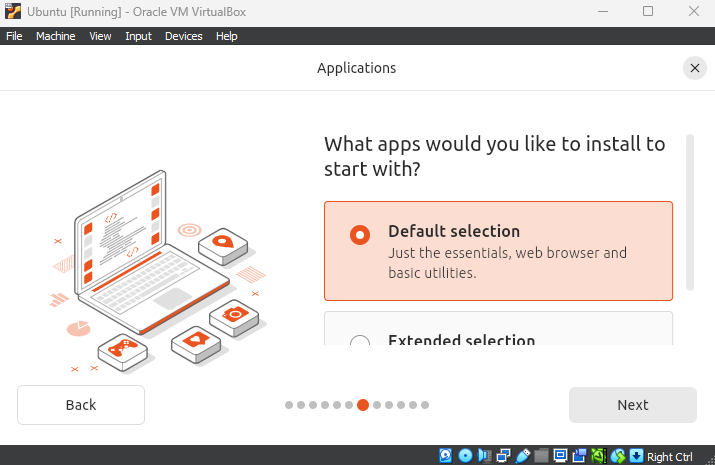
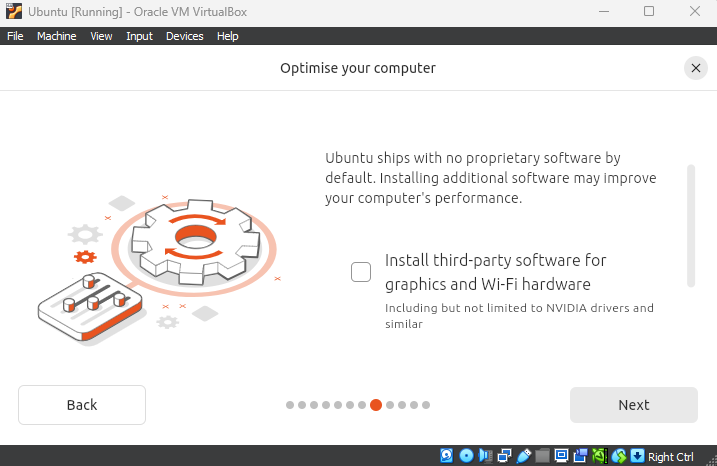
Did not check, next
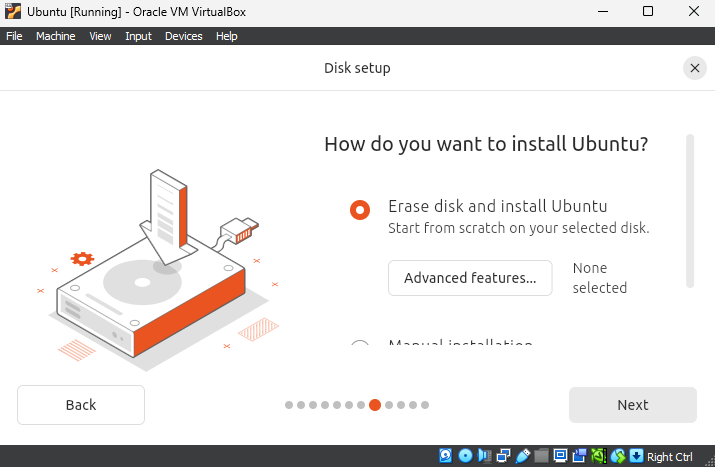
Erase disk and install Ubuntu. This shouldn’t take too long (~5 minutes)
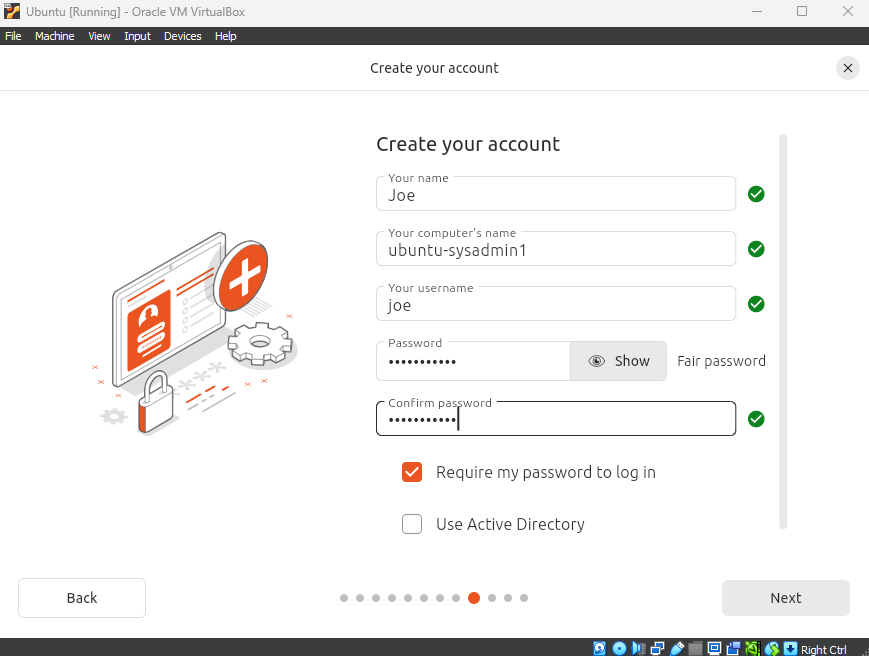
Give the VM a name and host name
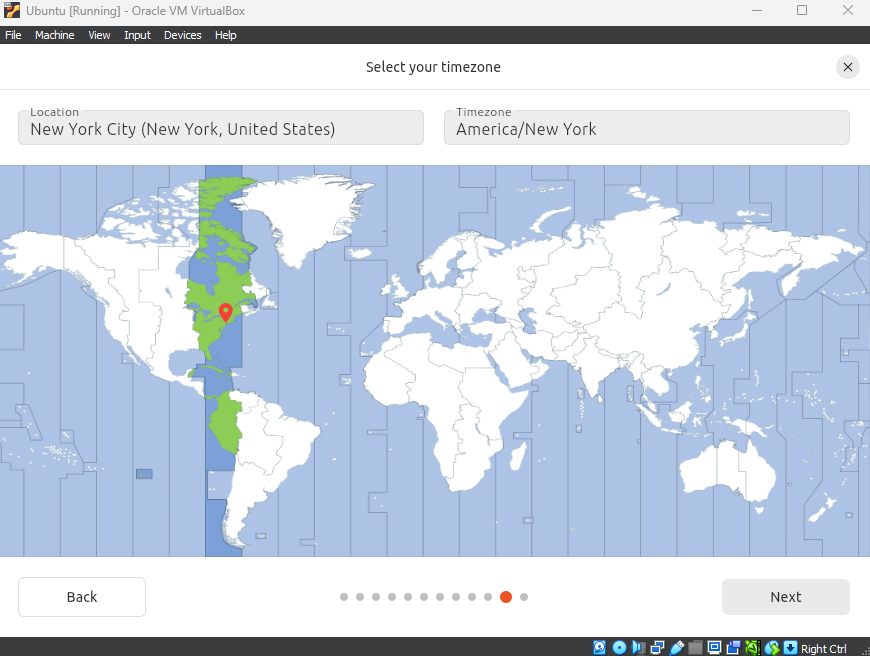
Select a timezone
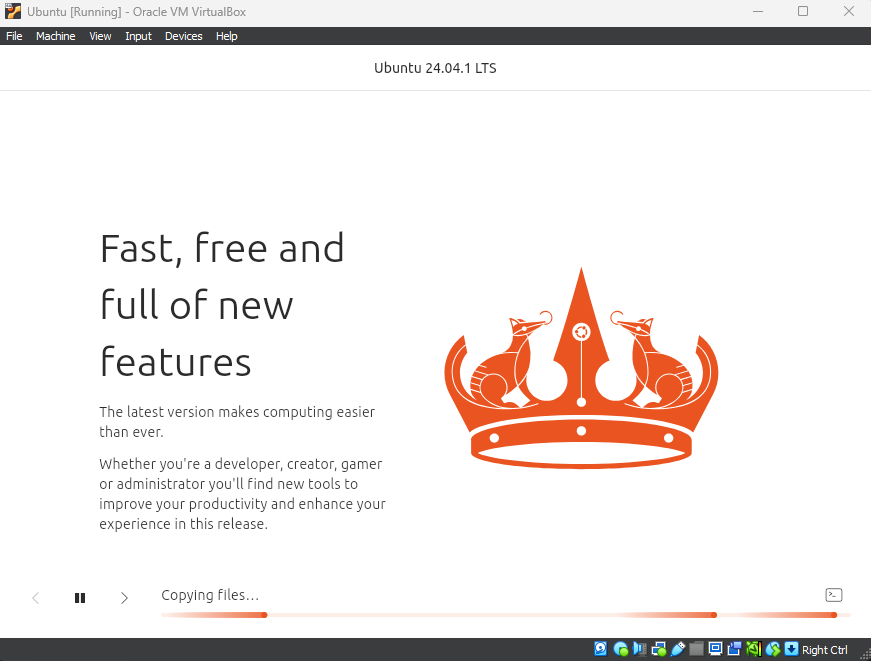
Install
It shouldn’t take too long (~ 5 minutes)
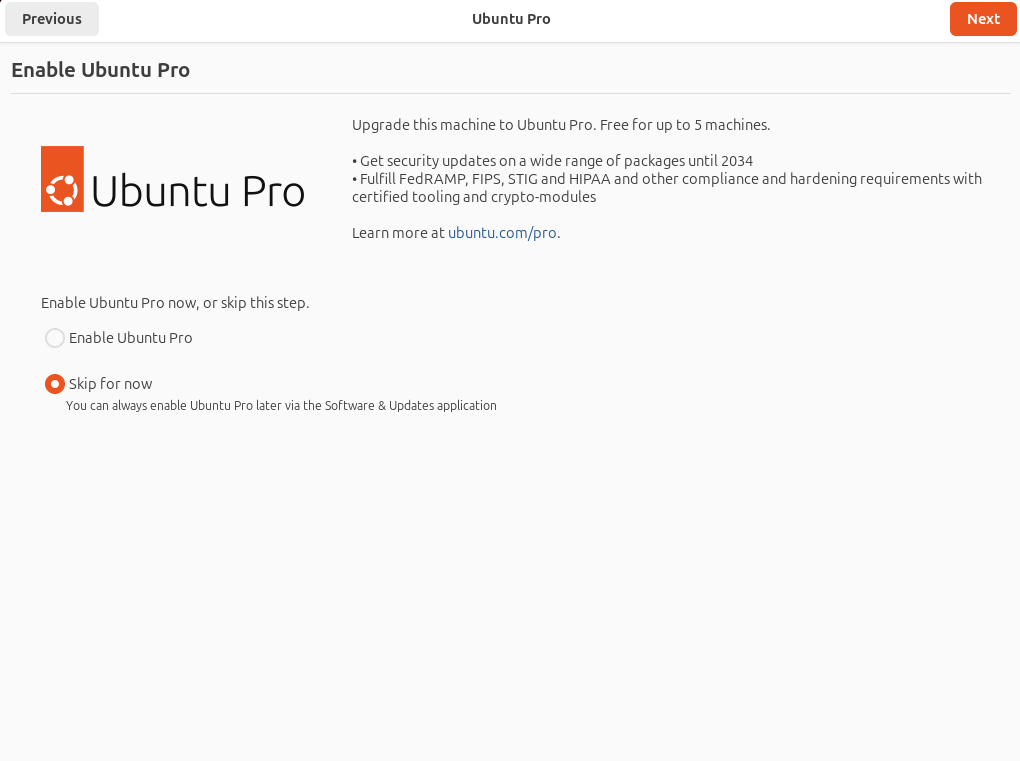
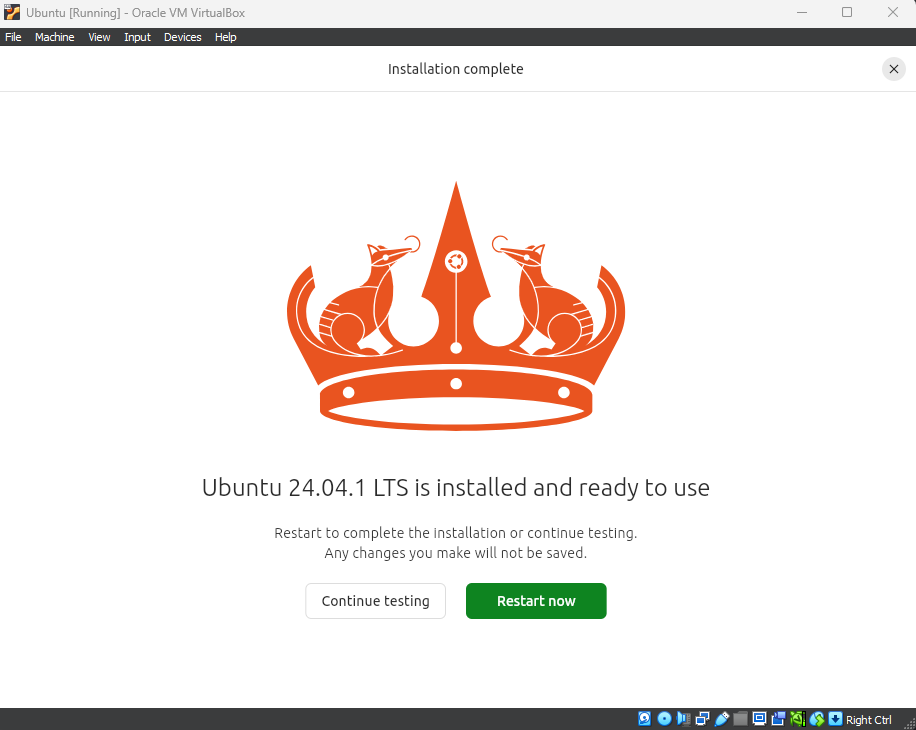
Skip
Restart now
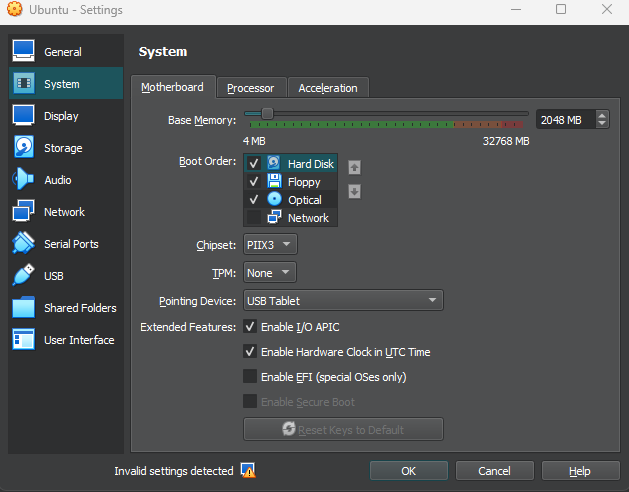
Shut the VM and set it so that it boots from the hard disk
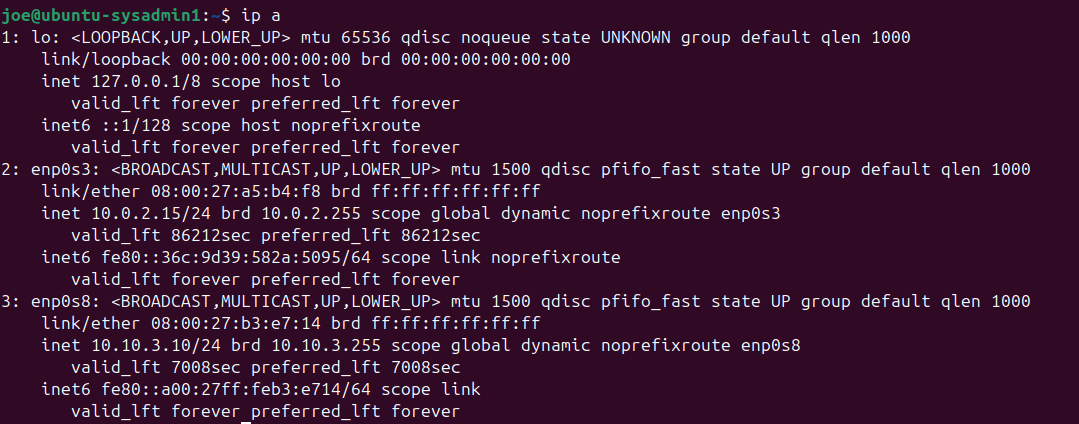
Once we are back in, open a terminal and run ip a
We should have 2 IPs
enp0s3 (Adapter 1: NAT)
enp0s8 (Adapter 2: cyberlab-soc) - It should receive an IP since we enabled DHCP for this LAN
This VM can access the internet via Adapter 1 and communicate with OPNsense via Adapter 2, but we still need to set up the routing rules
Guest Additions Installation
Before proceeding, set up VBox guest additions for a smoother experience
On top of the VM, click Devices > Insert VBox Guest Additions
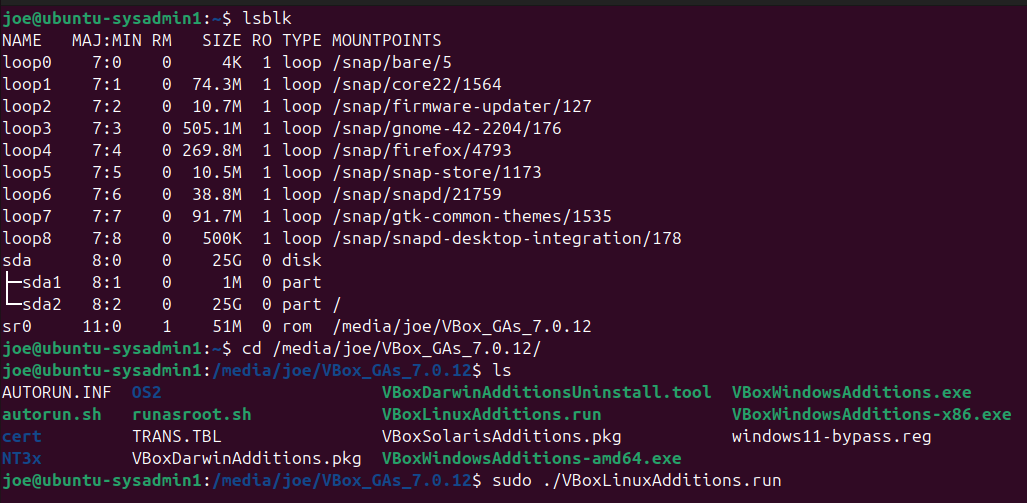
Run lsblk in the terminal
You should see /media/name/VBox_GAs_version
cd into this directory
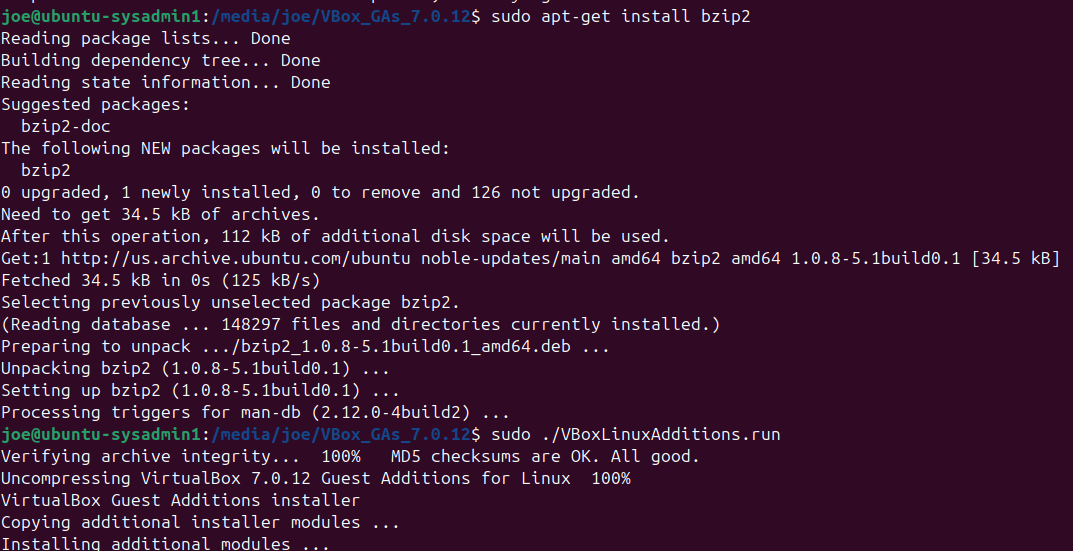
run sudo ./VBoxLinuxAdditions.run
Note: You may need to install bzip2 first
In this case, just run sudo apt-get install bzip2