Cybersecurity Lab - Wazuh Setup
Wazuh VM + agent deployment checkpoint
By the end of this exercise, we will have:
- Wazuh VM set up
- Wazuh agents deployed on both Windows machines and the Ubuntu VM
Once again, I already wrote a step-by-step guide to setup the Wazuh OVA and to deploy the agents. This page is not a full guide, more of a checkpoint.
I am using Wazuh version 4.14.2 for this lab - https://documentation.wazuh.com/current/deployment-options/virtual-machine/virtual-machine.html
Full guide here
Importing the OVA is a bit different in VMware.
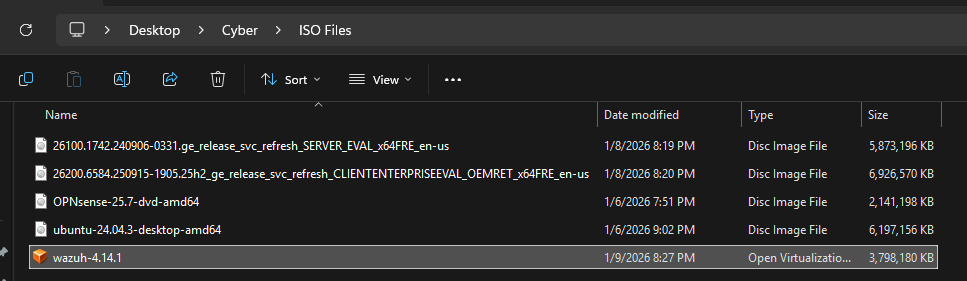
After downloading the OVA, right click the file > Open with > VMware Workstation
Wazuh VM specs:
- 8GB RAM
- 4 Processors
- 50GB storage
- Network Adapters
- Adapter 1: SOC (10.10.3.0/24)
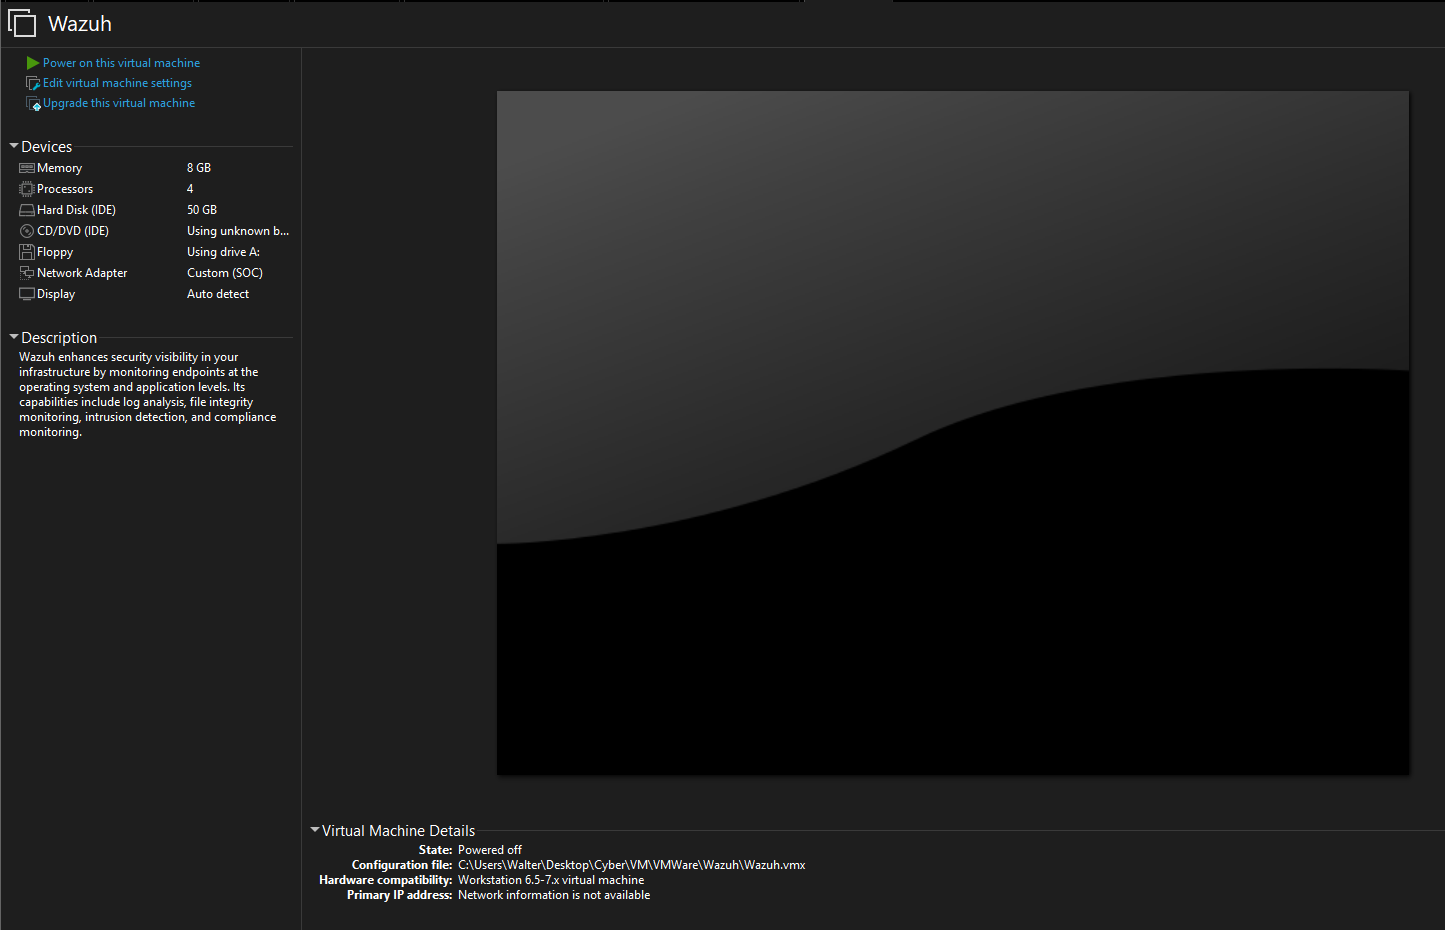
Checkpoint 1 - Wazuh OVA Installed
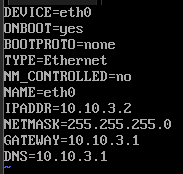
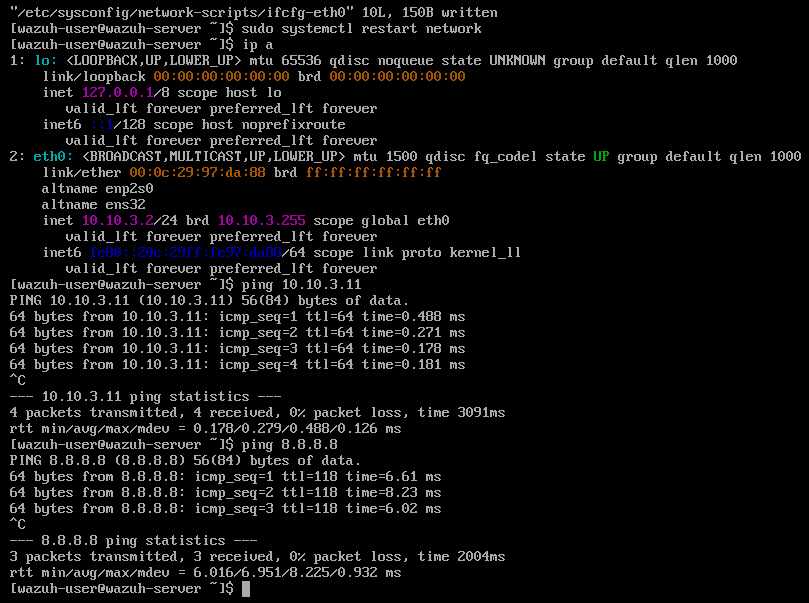
After Wazuh is finished installing, change the IP address of the VM. I am still using network-scripts over NetworkManager. I gave this VM the IP address 10.10.3.2
Edit /etc/sysconfig/network-scripts/ifcfg-eth0
Then run sudo systemctl restart network and run a few ping tests.
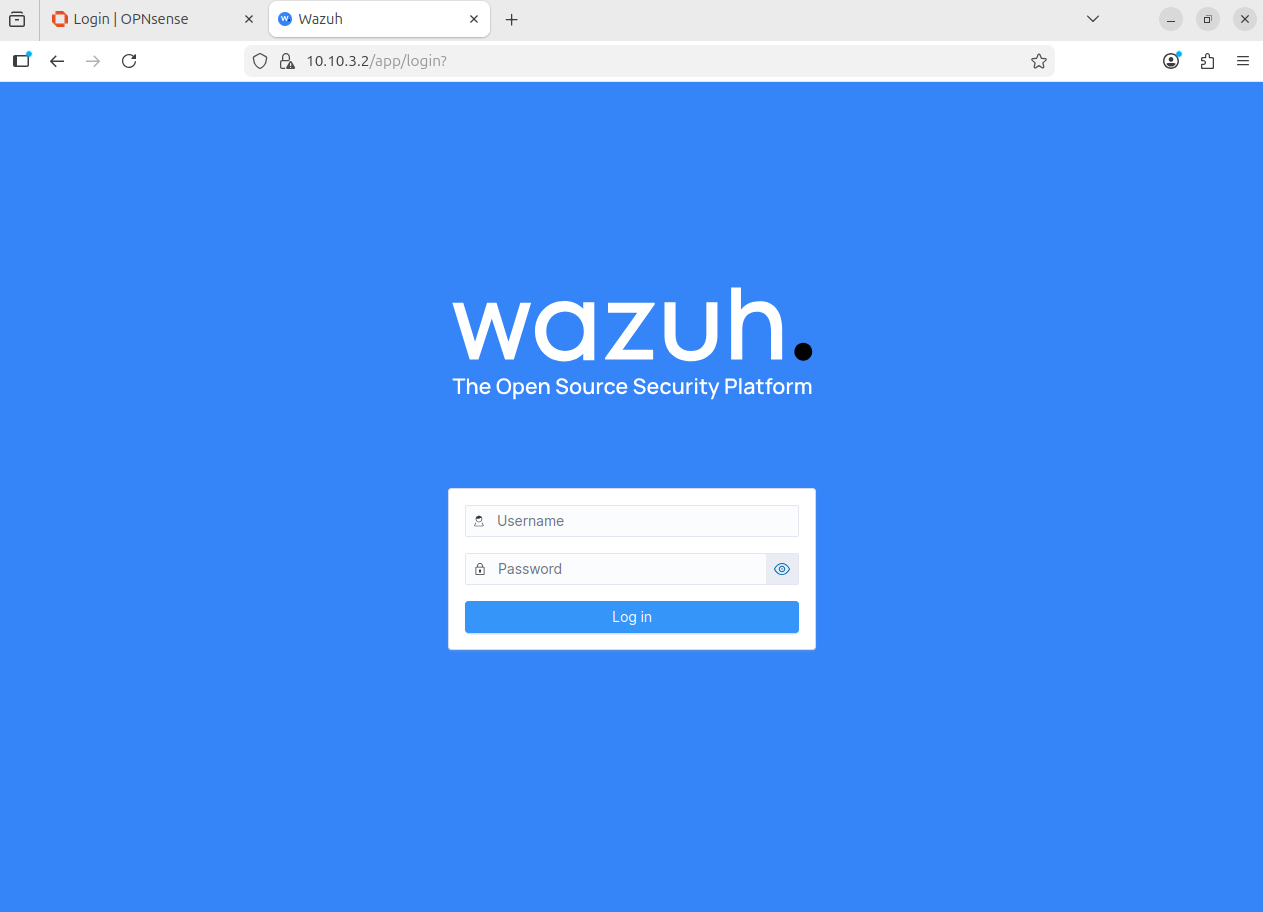
Access the web GUI from Ubuntu
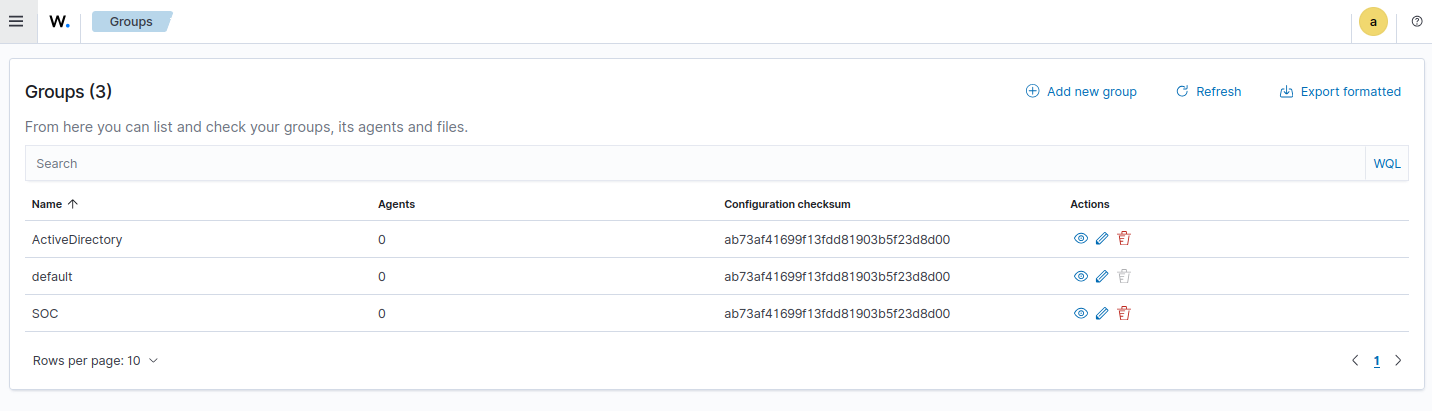
Optional - Create Endpoint Groups
Endpoint groups are now in the Agents Management tab, not Server Management
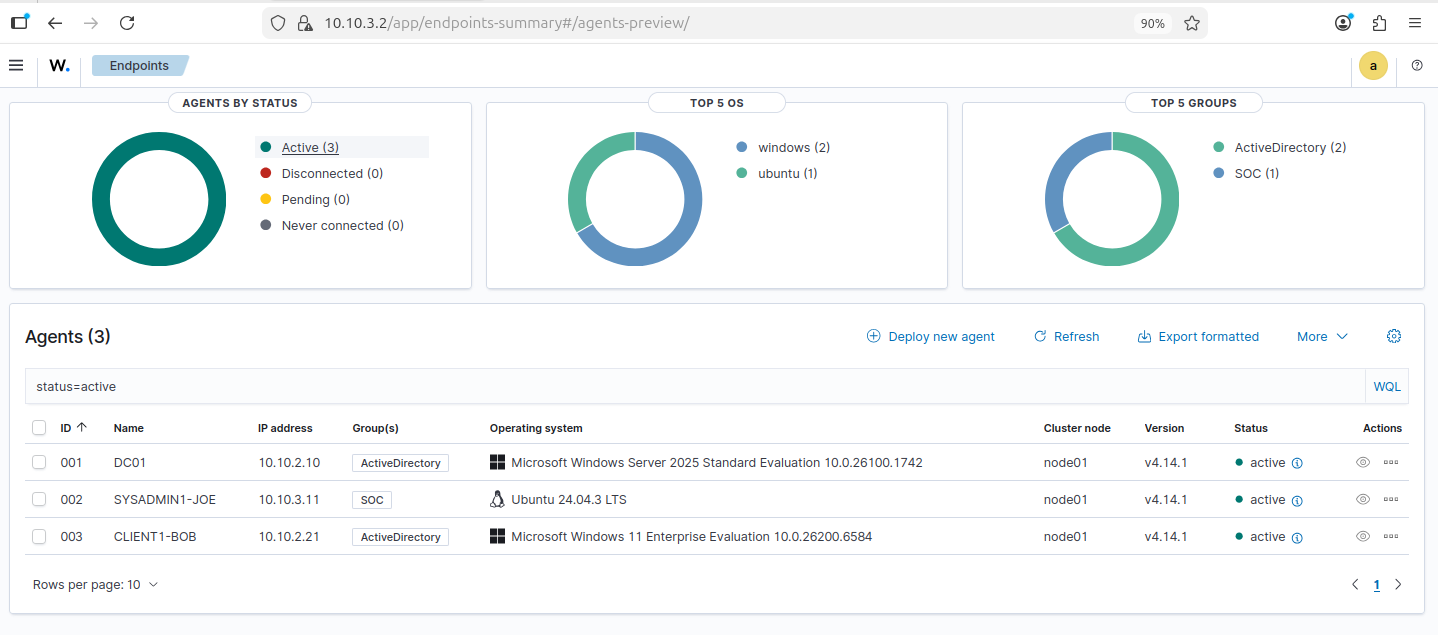
Checkpoint 2 - Wazuh Agents Deployed
Head to Agent Management > Summary
Currently, I have agents installed on the Windows Server VM, the Windows 11 VM, and the Ubuntu VM.